
$150 Renter-Friendly Kitchen Makeover (Contact Paper Cabinets)
How did I transform this outdated rental kitchen with $150 and 4 simple steps? Watch the full renter-friendly kitchen makeover below, or scroll down.

THE CHALLENGE
My good friend/comedian Rachele Friedland has one of those apartments that’s a total steal. (If I told you how much she pays for rent in LA, you would kill me and her—and I would respect you for it.) Of course, Rach works hard, but the devil works harder. Because her kitchen was…hell. It featured glamorous wood laminate cabinets from the ‘70s? ‘80s? Your dad’s divorce? The floors were an equal nightmare: gross brown linoleum. It felt dingy, small, and cramped. Obviously, we ain’t about that life. Luckily, this is exactly the type of project I love to tackle, especially when it’s time to activate my cheap wh*re superpowers. (Our budget was under $200.) Rach is not a fan of DIYing, so I told her my plan to lighten and brighten the space. She emotionally processed it with her therapist, as well as her roommate, and gave me the green light. She even volunteered to help.
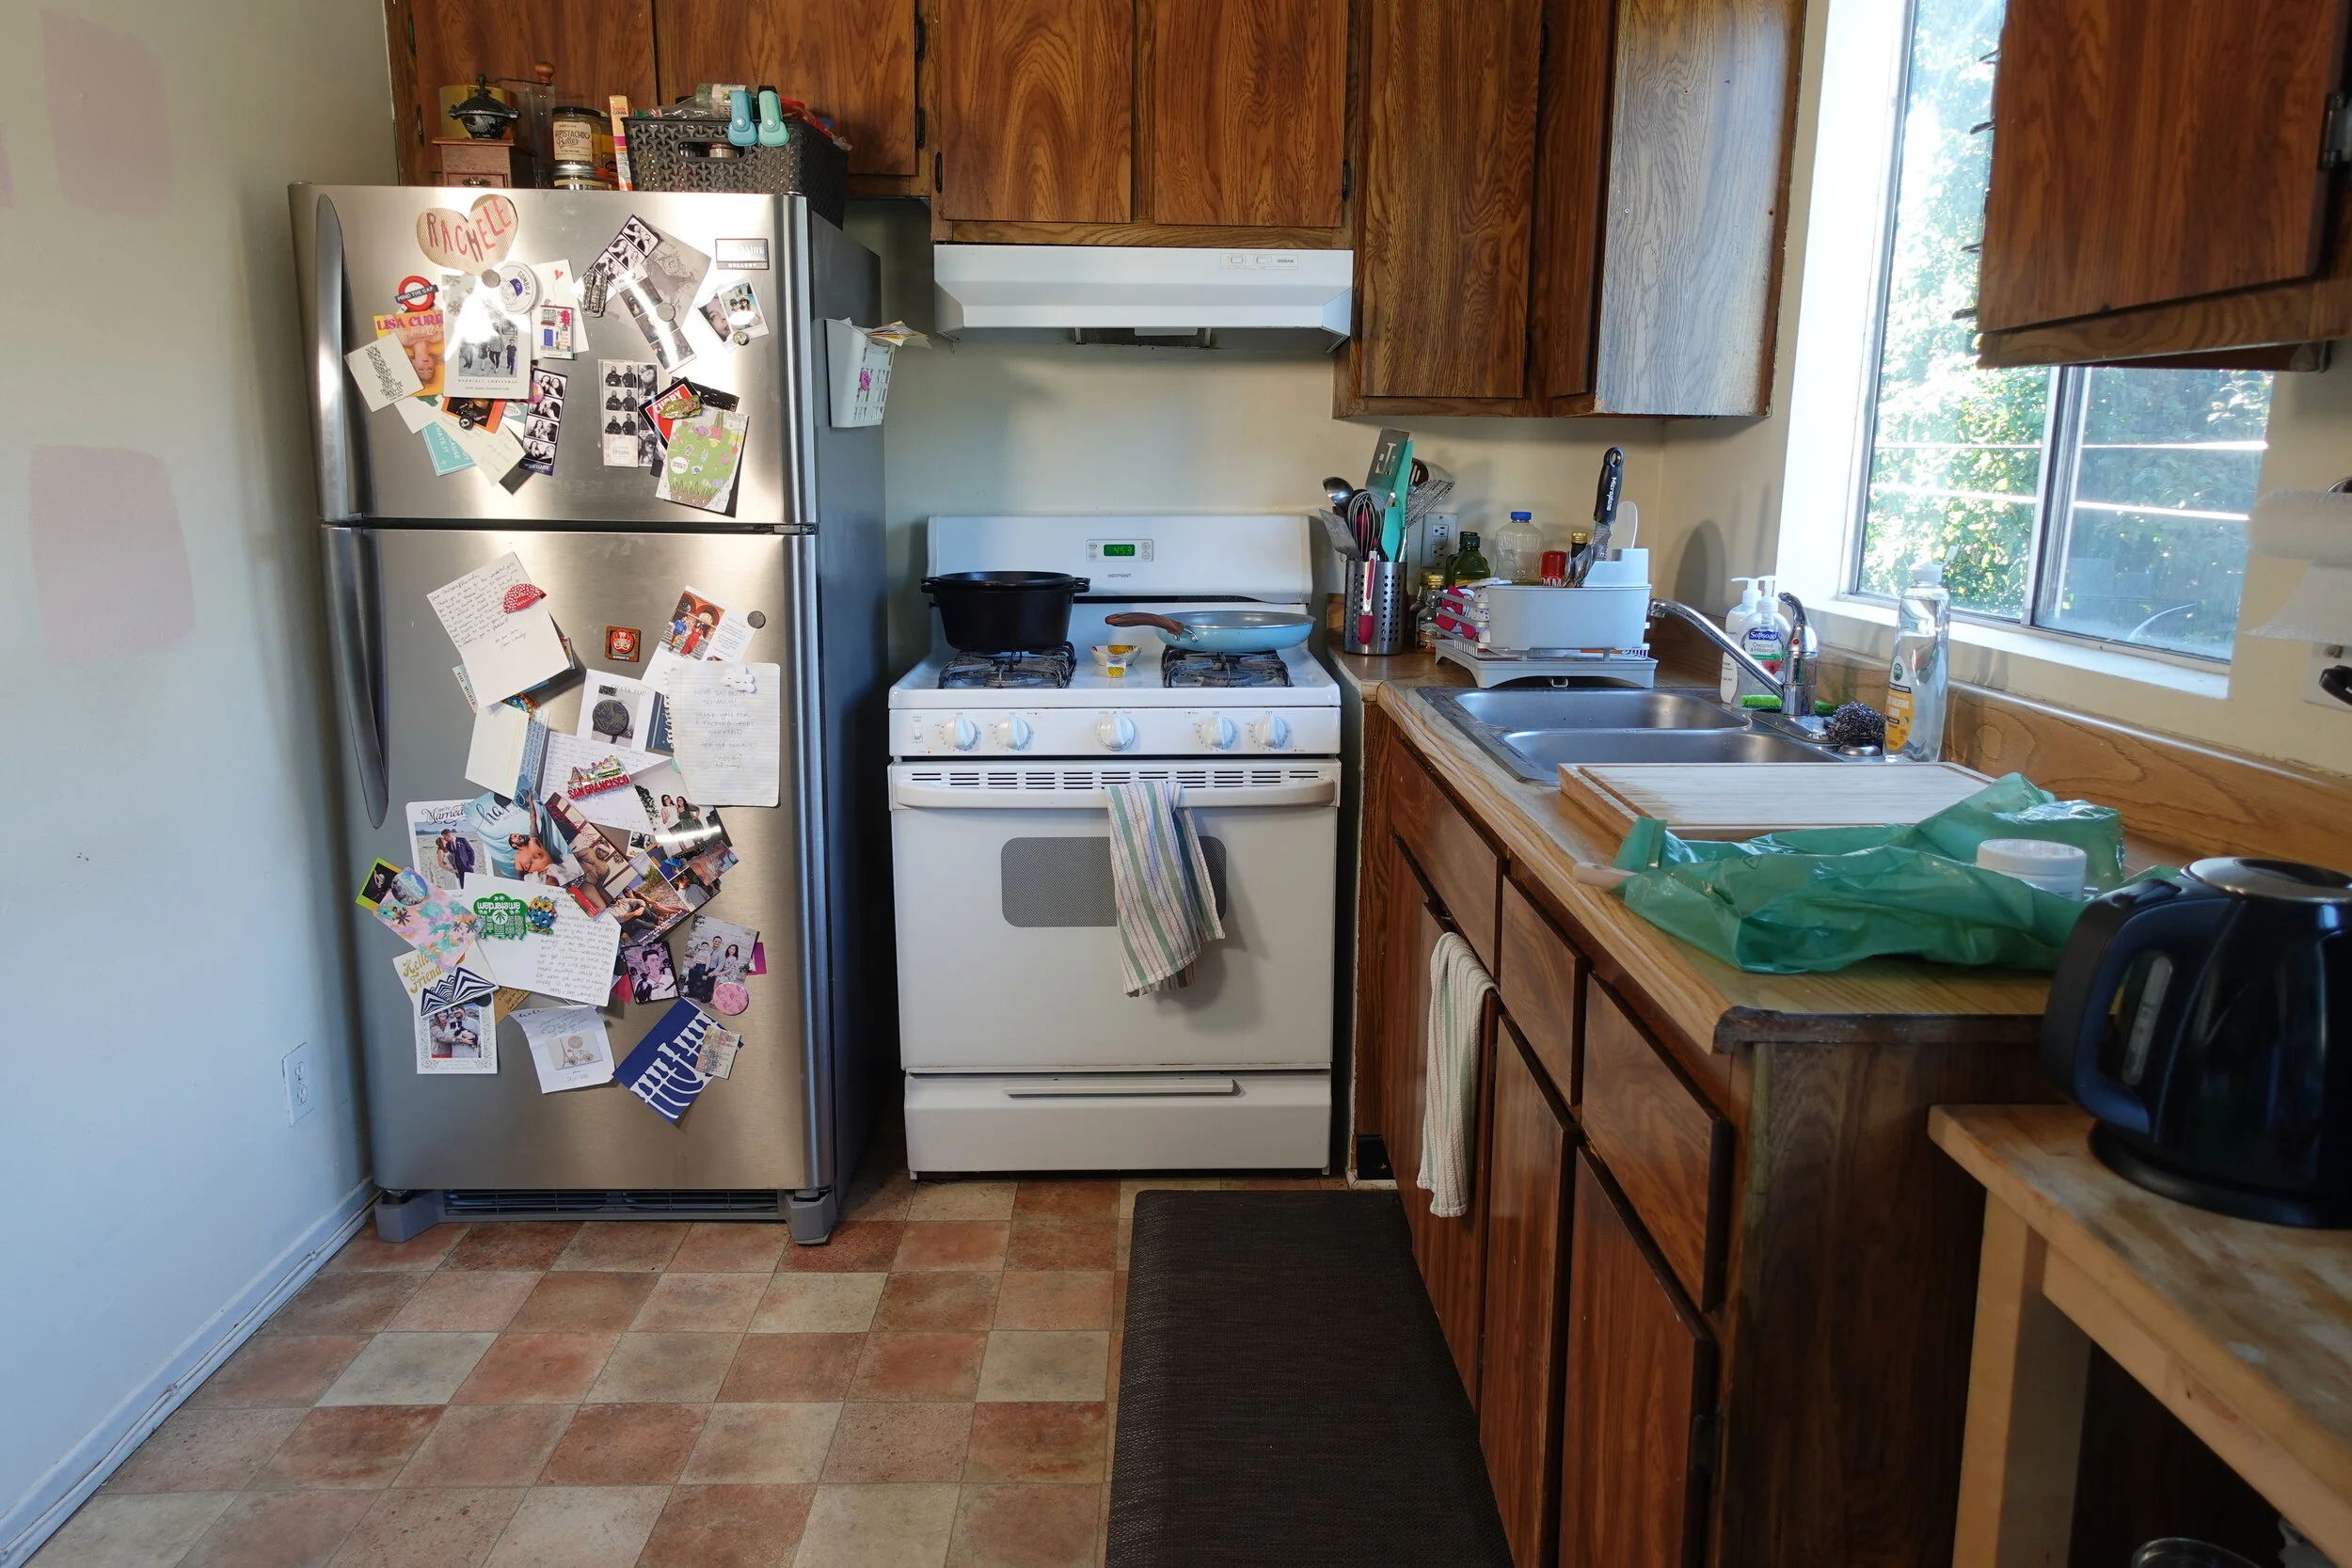
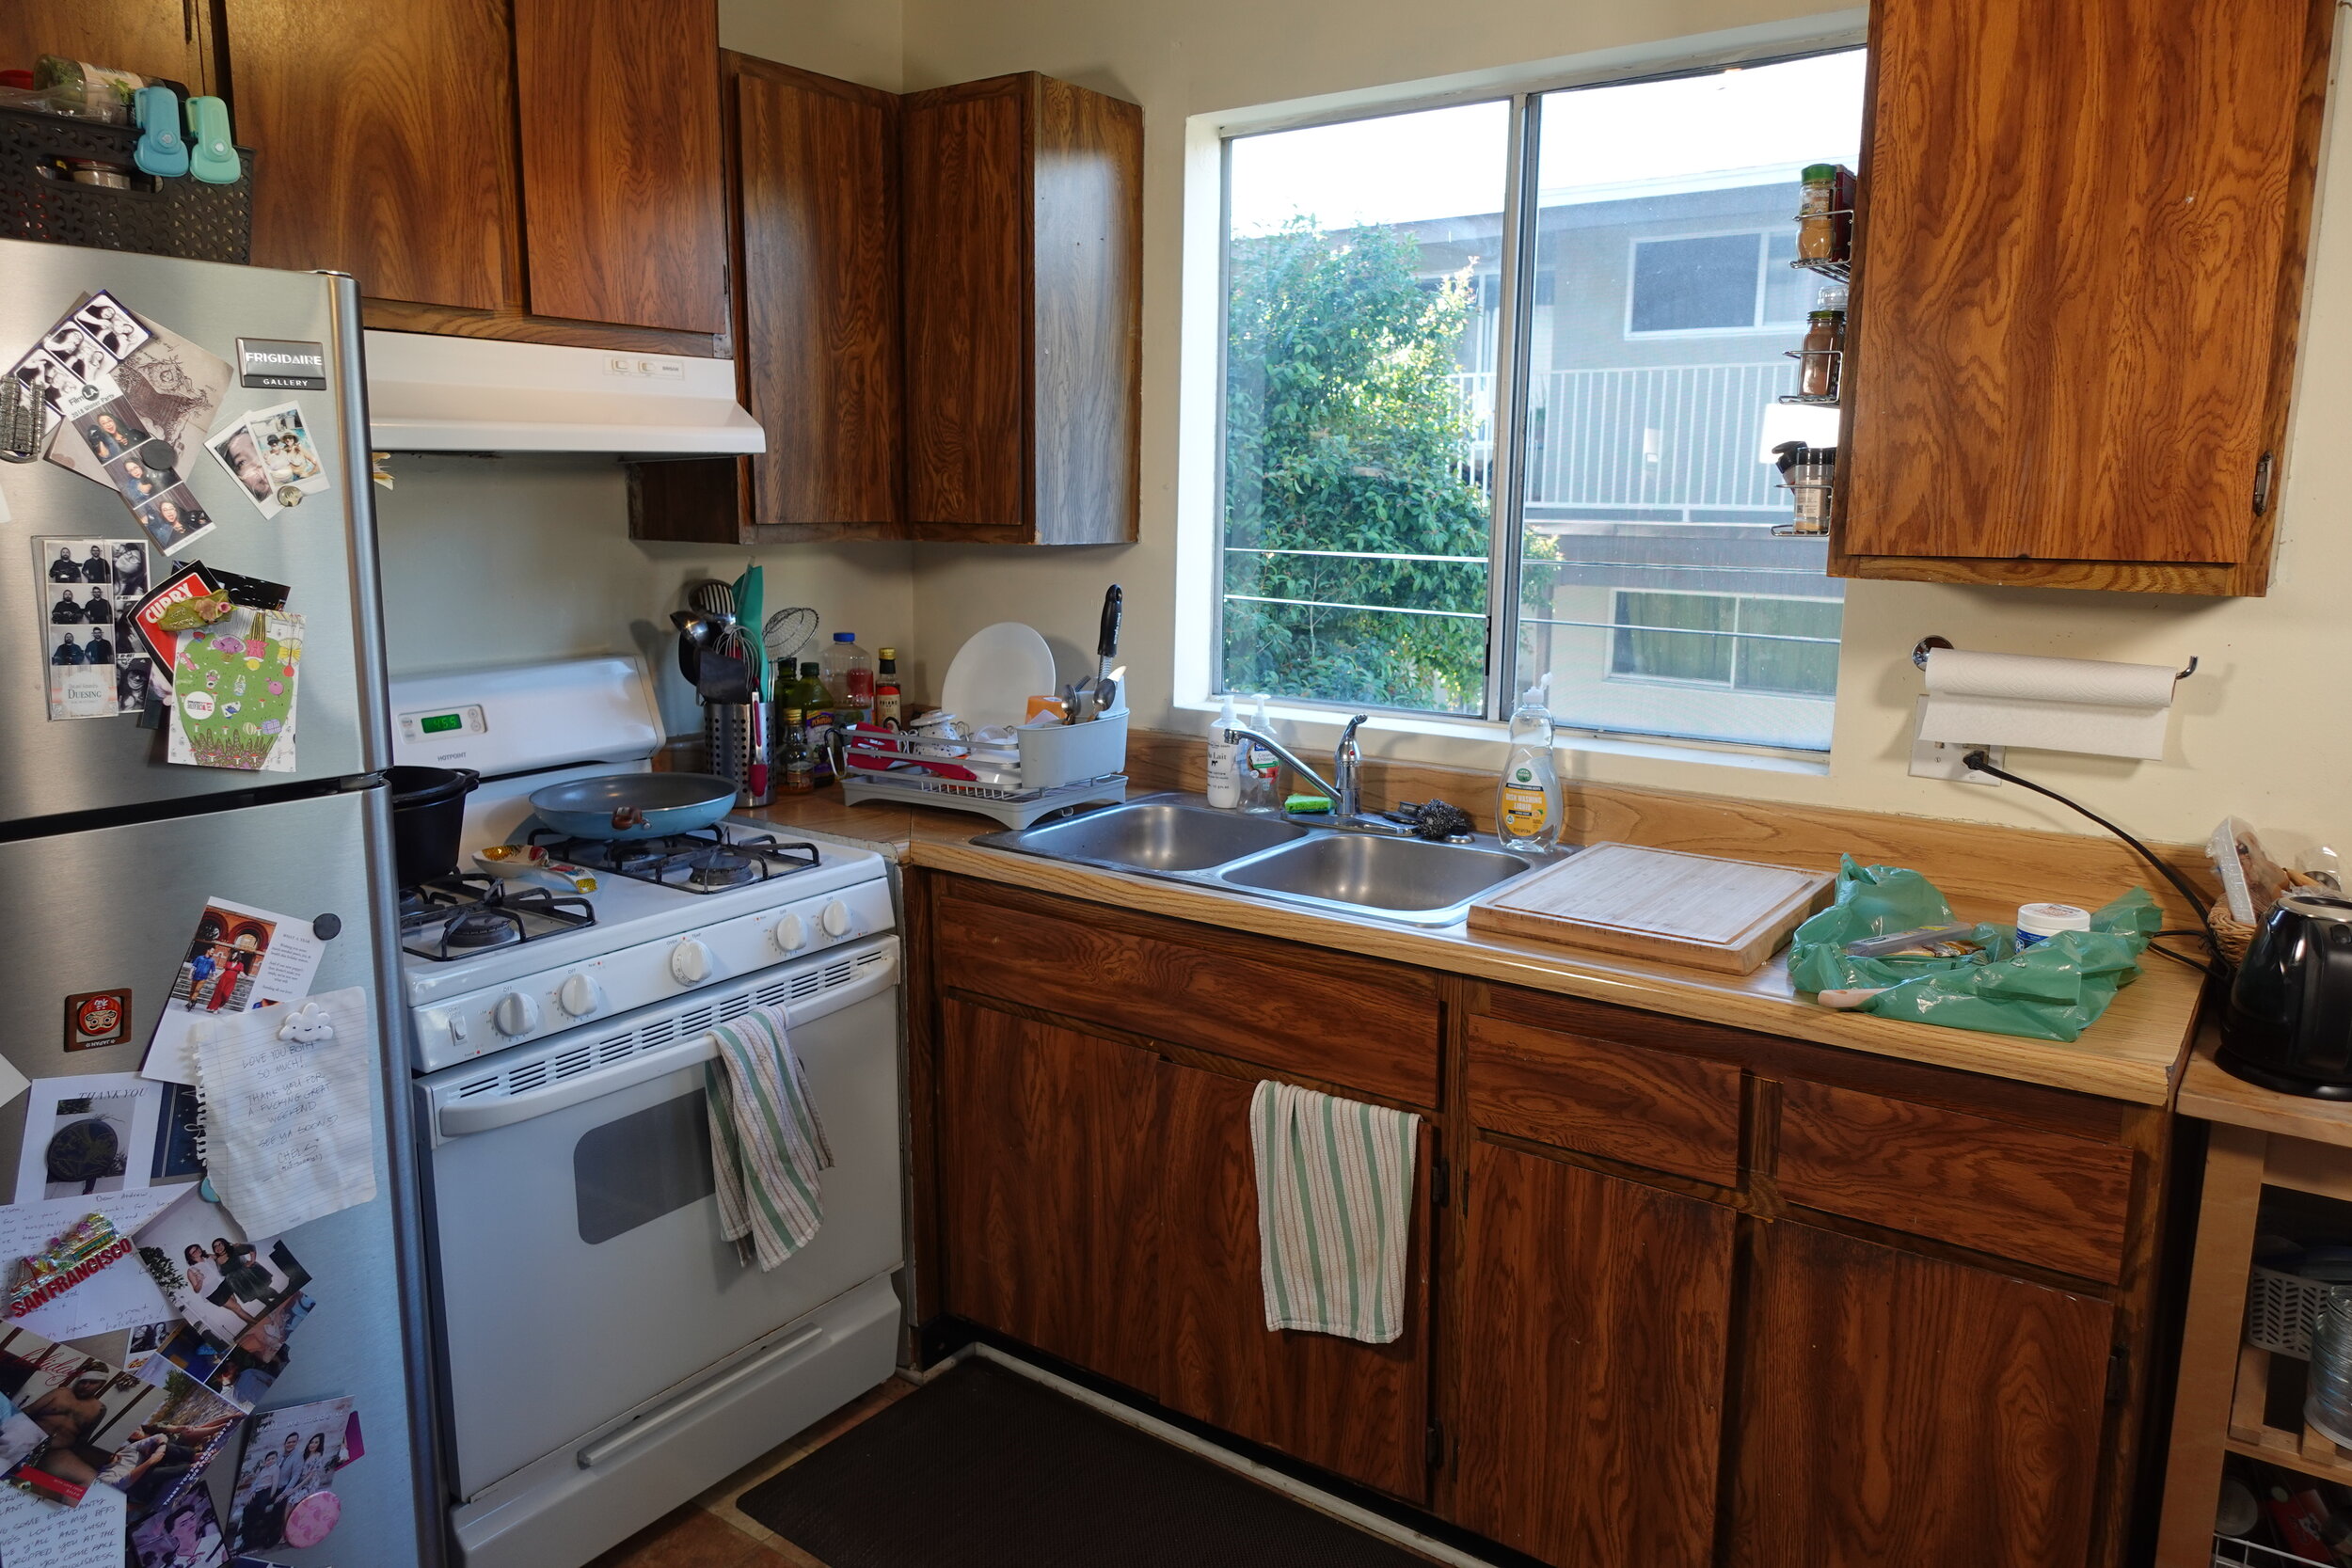
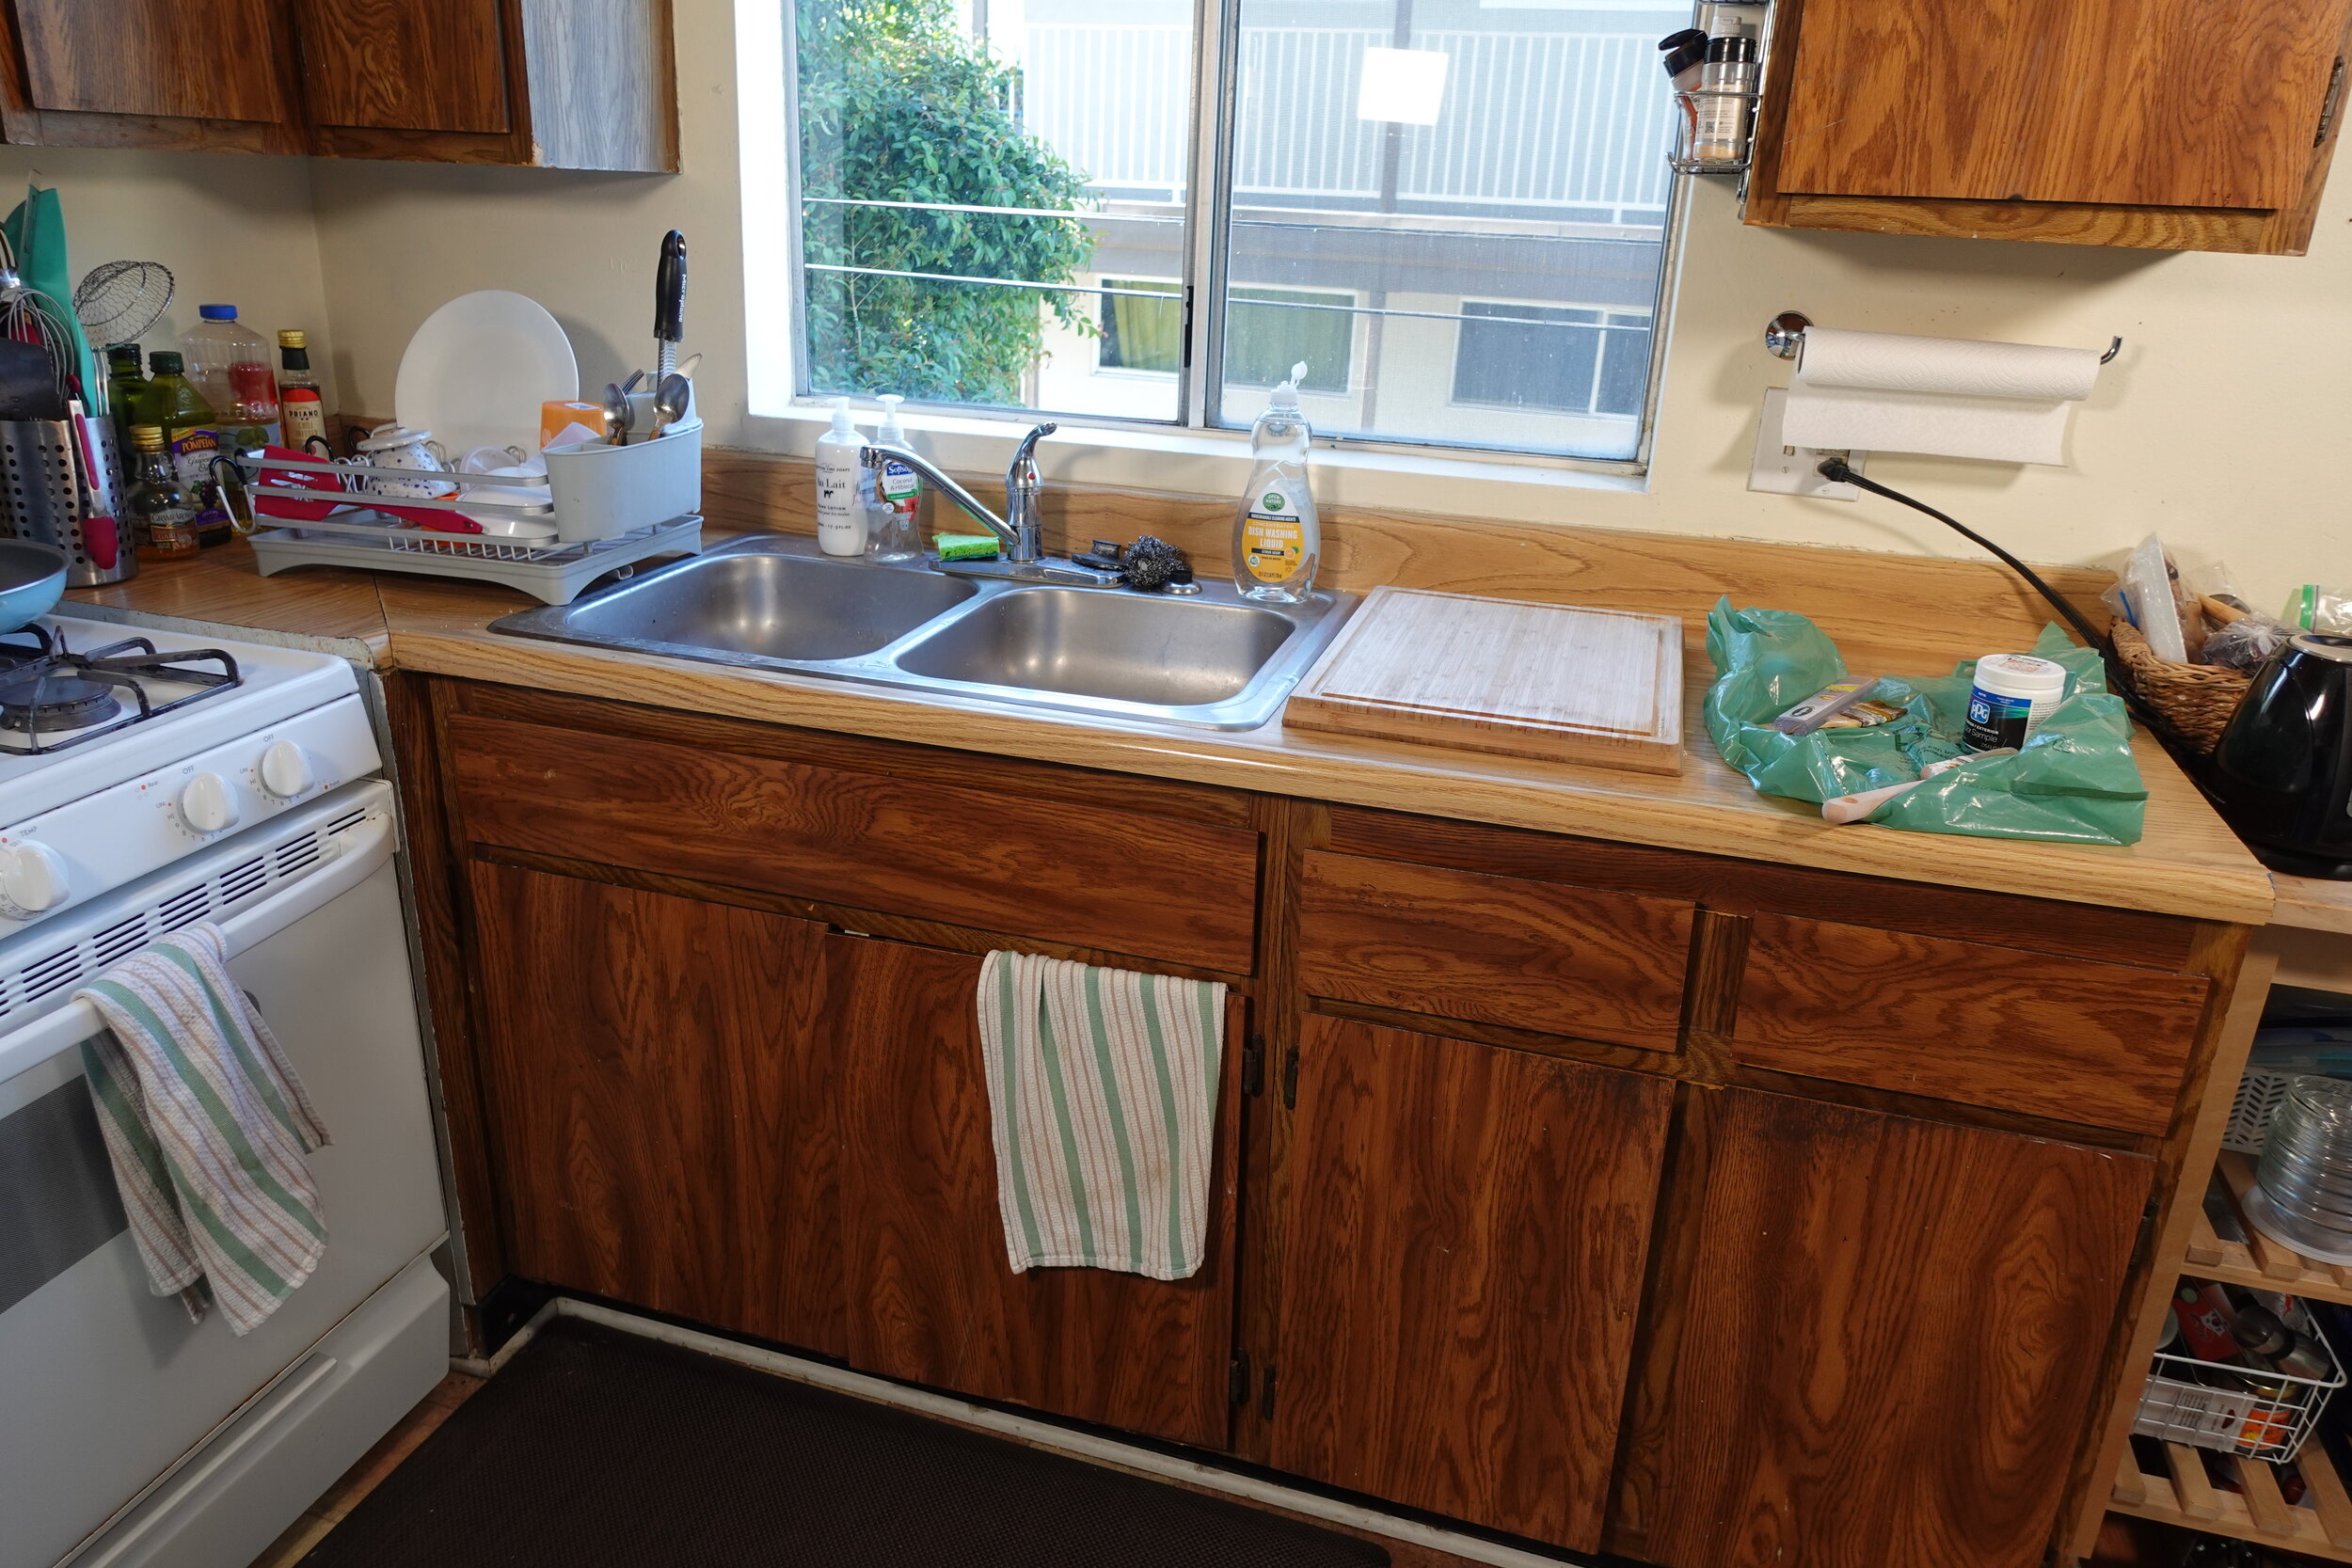
THE BEFORE
Welcome to the horror show.

THE INSPIRATION
Rach and I are still—and will always be—in love with pink-and-green vibes. (Yeah, we’re basic. Sue us.) We also dig black, white, and gold because we’re layered and sophisticated. We also live for a bold, graphic pattern. So I mocked up my vision to get Rach’s OK before we went all in. (BTW, I respect anyone who is brave enough to completely surprise someone with a makeover. The idea is terrifying to me.)

Don’t be jealous of my Photoshop skillz.
THE SUPPLIES
*Gold hardware ($25 for 15)
Cabinet handle template (makes it easier to drill hardware holes)
*Rustoleum Metallic gold spray paint (my go-to)
Paint: Flamingo peach by Glidden
*Affiliate links that offer me a percentage of the revenue made from purchases made using this link.
THE 4-STEP PROCESS
It didn’t take much to completely transform this dated, dark, and dull kitchen—just paint, hardware, contact paper cabinets, and peel-and-stick floor tiles. Here’s how we did it.
STEP 1: Brighten up the walls.
We could have done basic-ass white paint, and it would have done wonders to brighten things up. But we wanted to add a little somethin’ somethin’. Rach and I are still (and will always be) in love with pink-and-green vibes. (Yeah, we’re basic. Sue us.) So we wanted to hit the walls with a soft, subtle, and warm pinky-peach. We swatched 4 shades (I will never get over how insanely different paint looks on a wall vs. in-store) and settled on Flamingo Peach by Glidden.
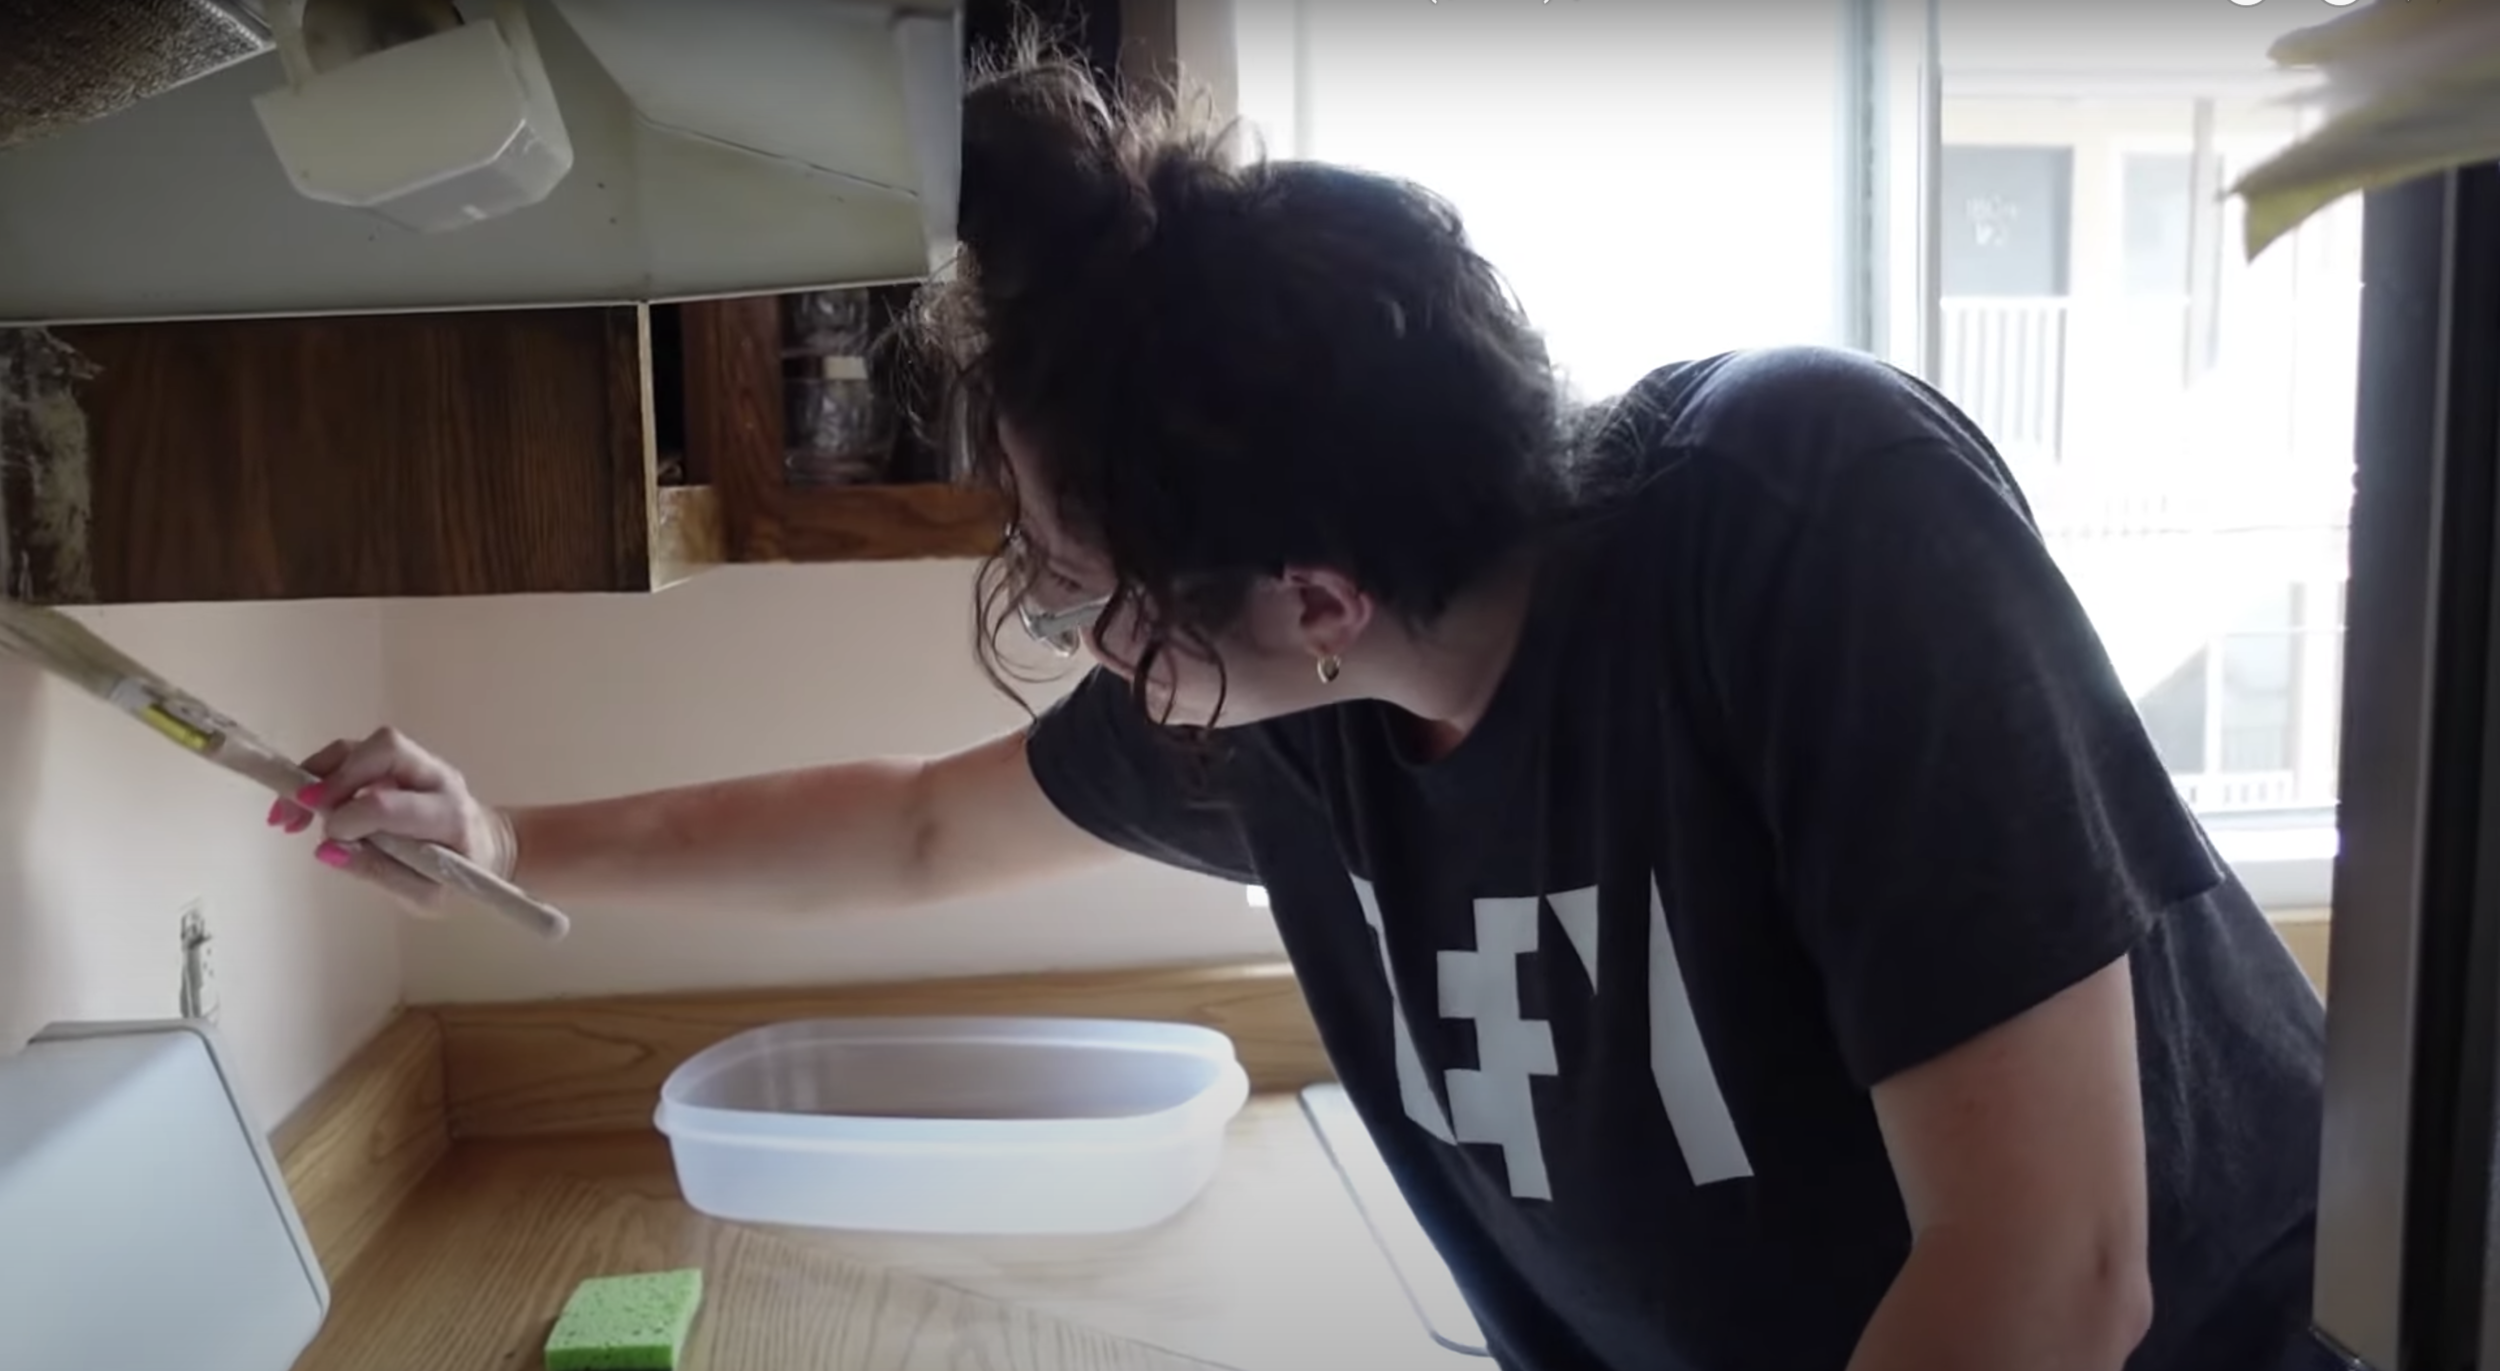
The paint looks light on camera, but trust it’s very cute.
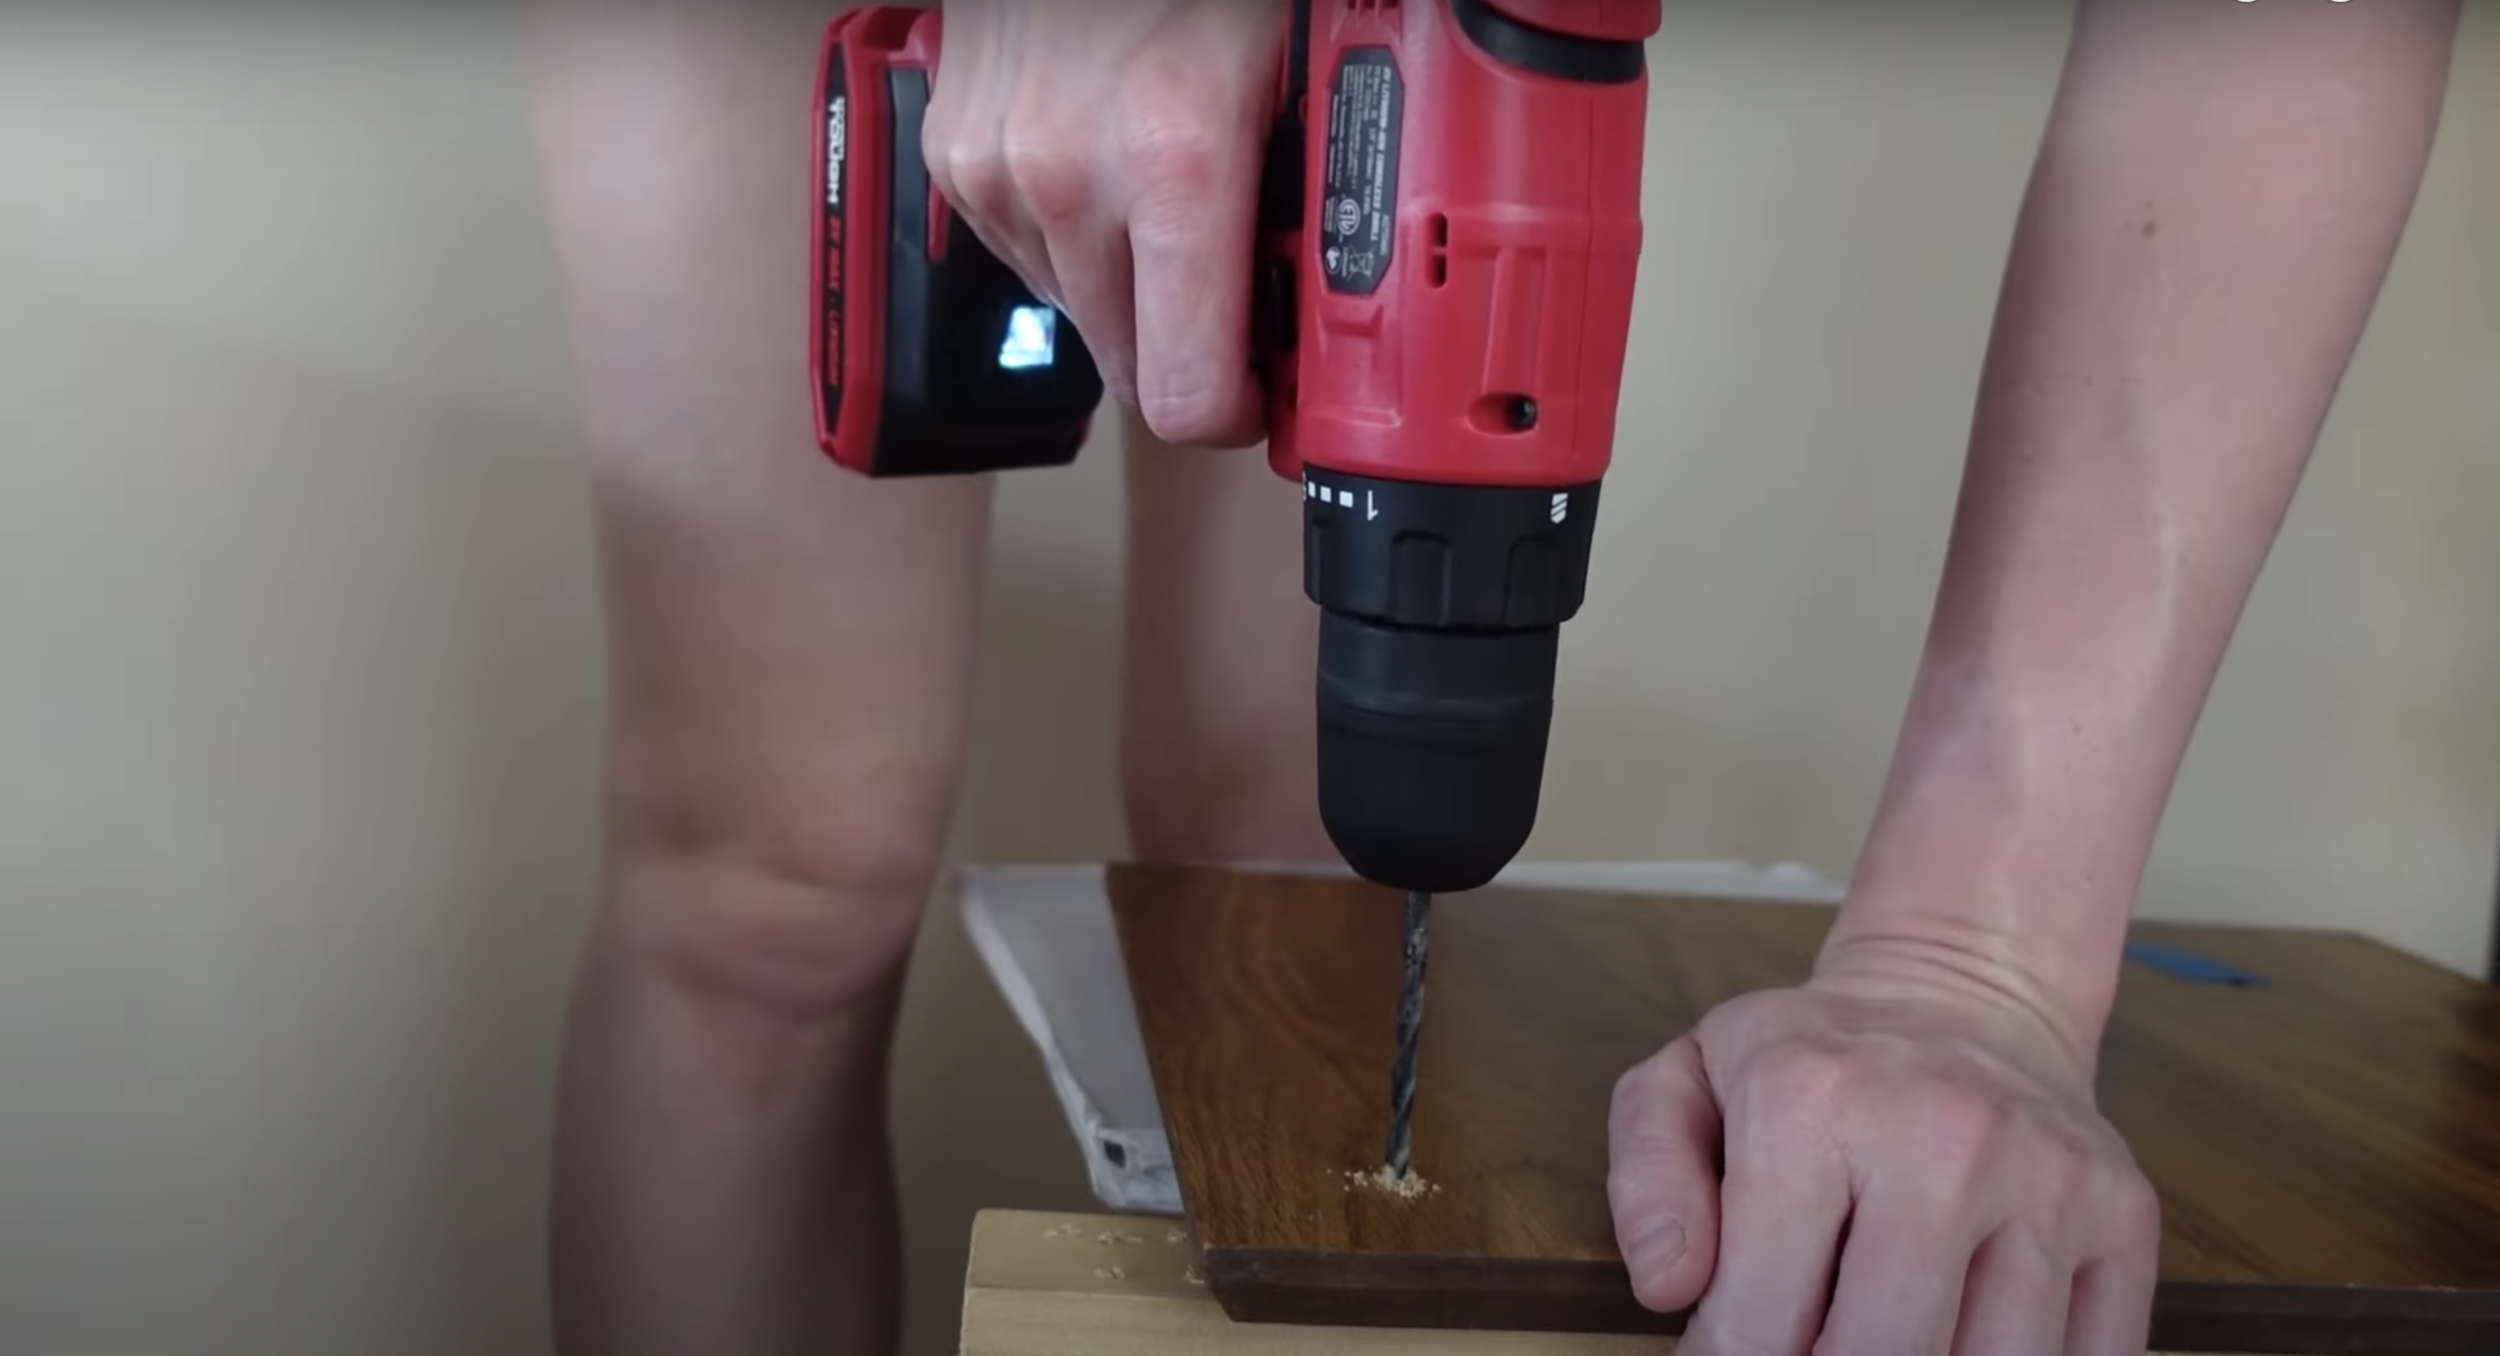
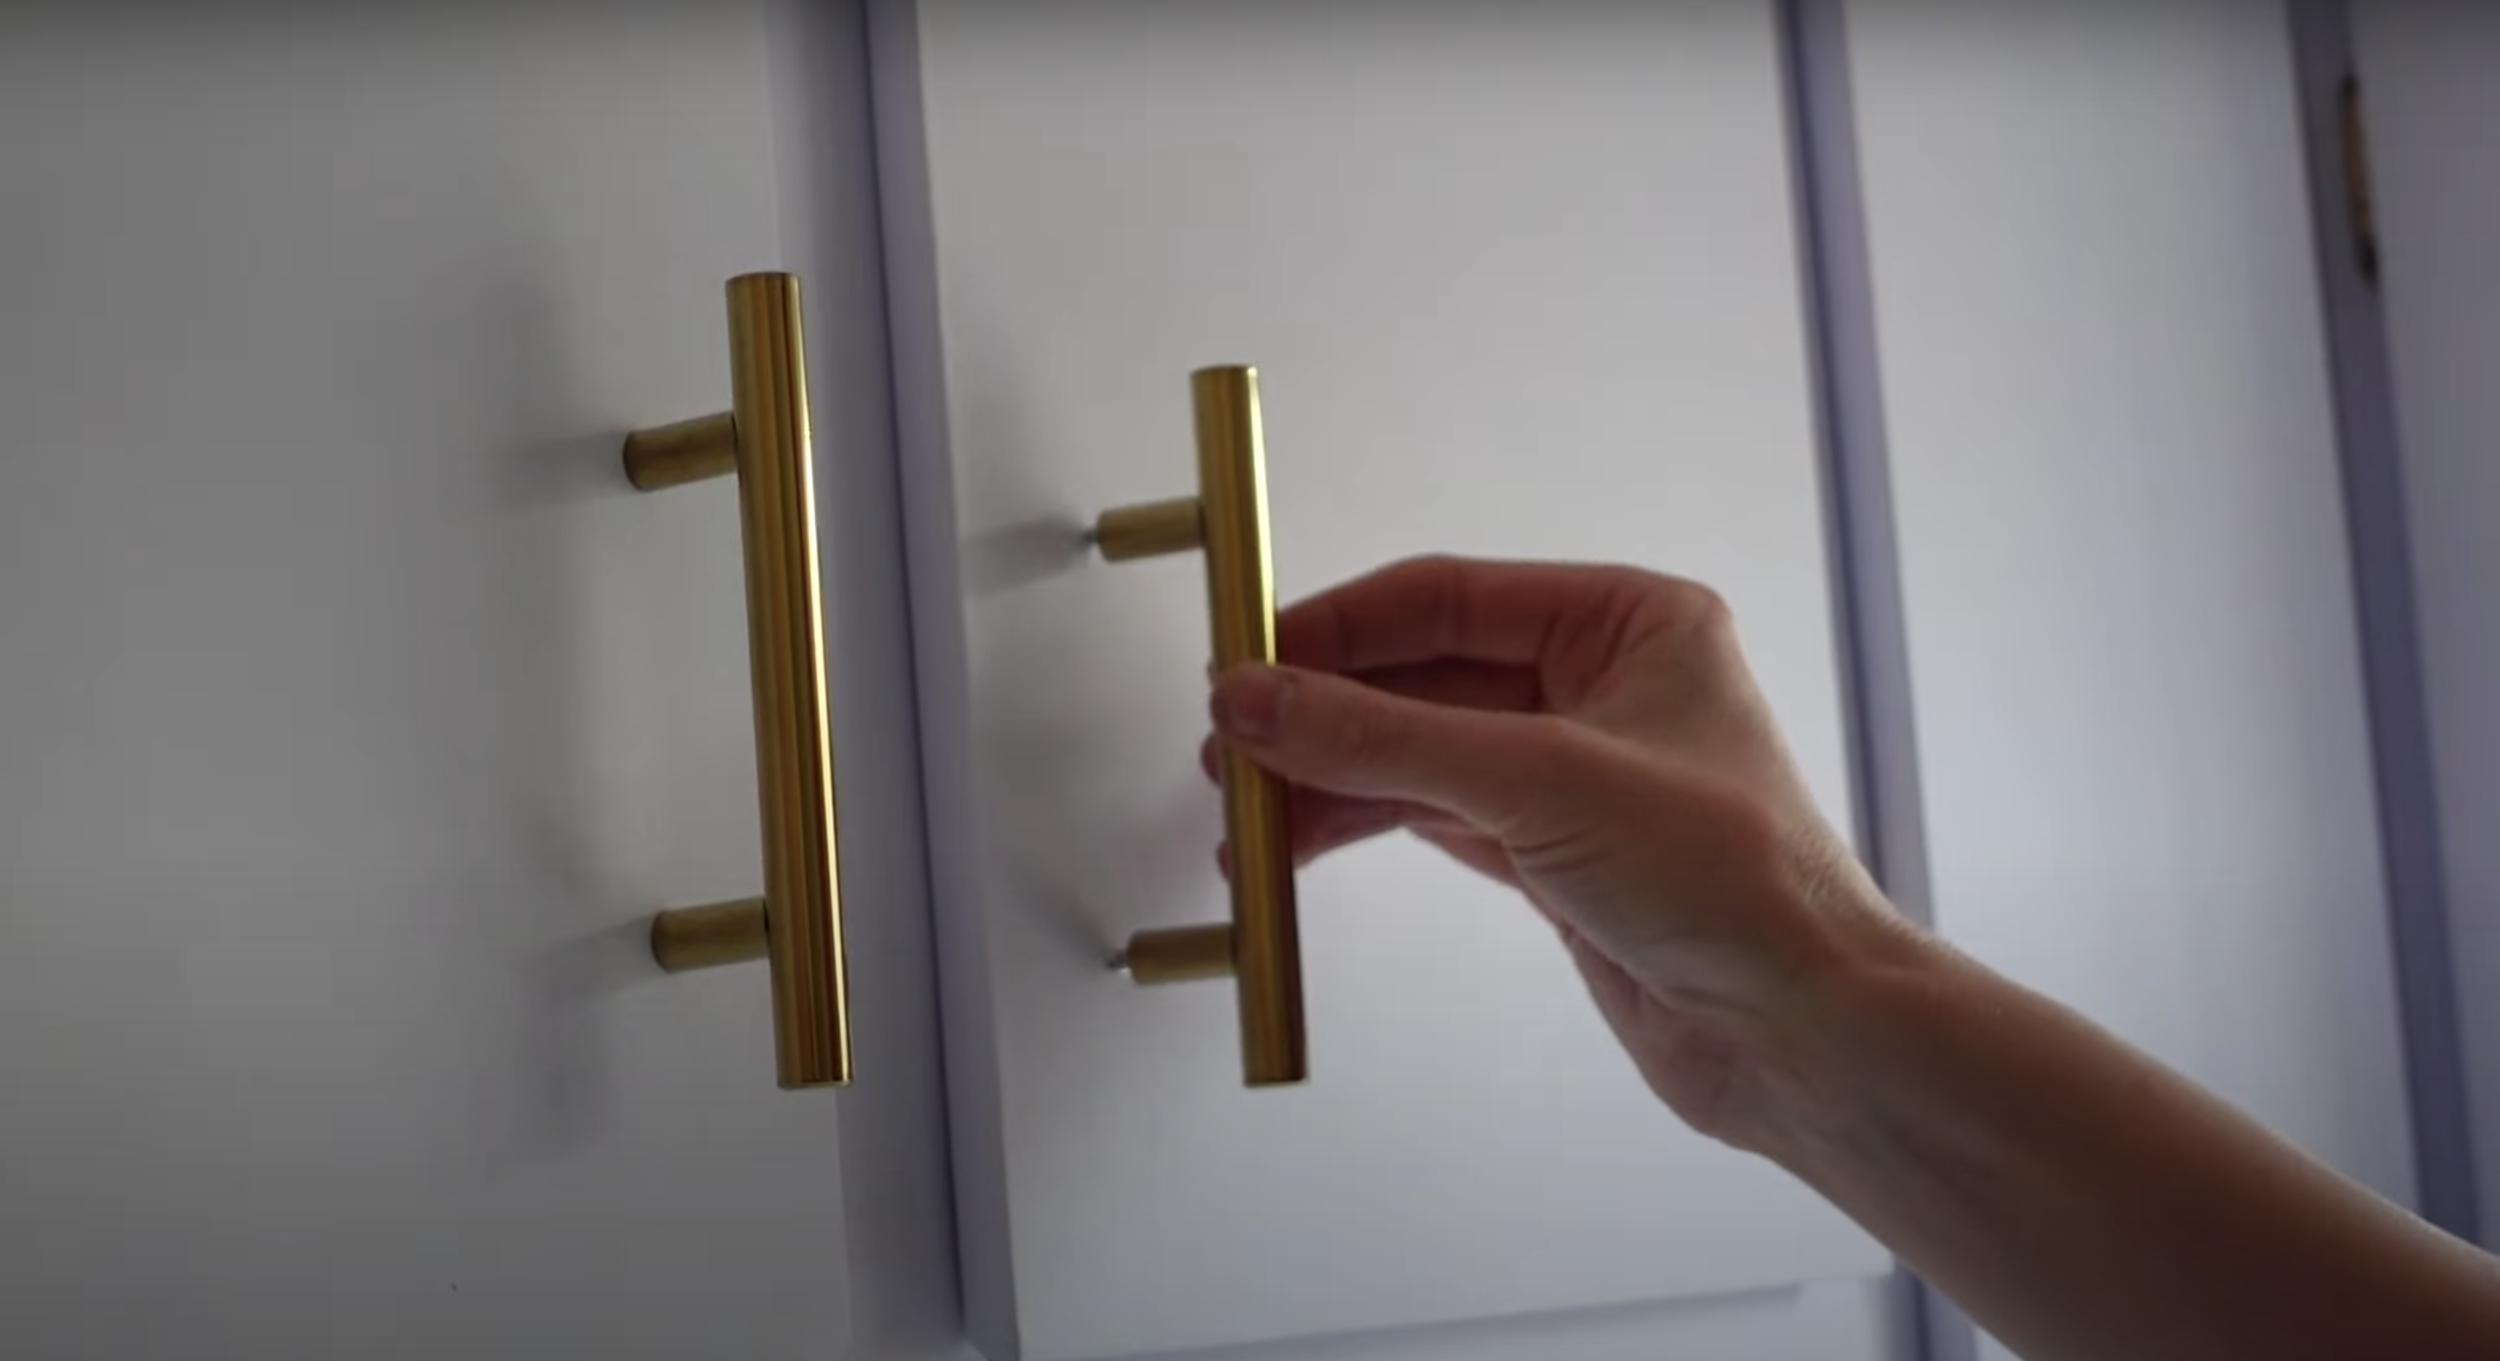
STEP 2: Add cabinet hardware.
I realize not every renter will have permission to do this, but I would also guess that many of us already have cabinet hardware, so this one is a very simple but impactful change. Rach had no hardware (hence, her cabinet corners were reeeallllyyy busted). So we grabbed a simple cabinet hole template, which makes it super easy to create perfectly spaced holes, and drilled holes in every damn drawer. This was a little tedious and repetitive, but the jig made it pretty easy.
Fun fact: I had never done this before. Now that I can, all my friend’s cabinets should be very scared. We also soaked her dusty and cruddy hinges, then hit them with gold spray paint and a protective coat. Boom.


We added the actual handles later, as we needed to contact paper the cabinets first.
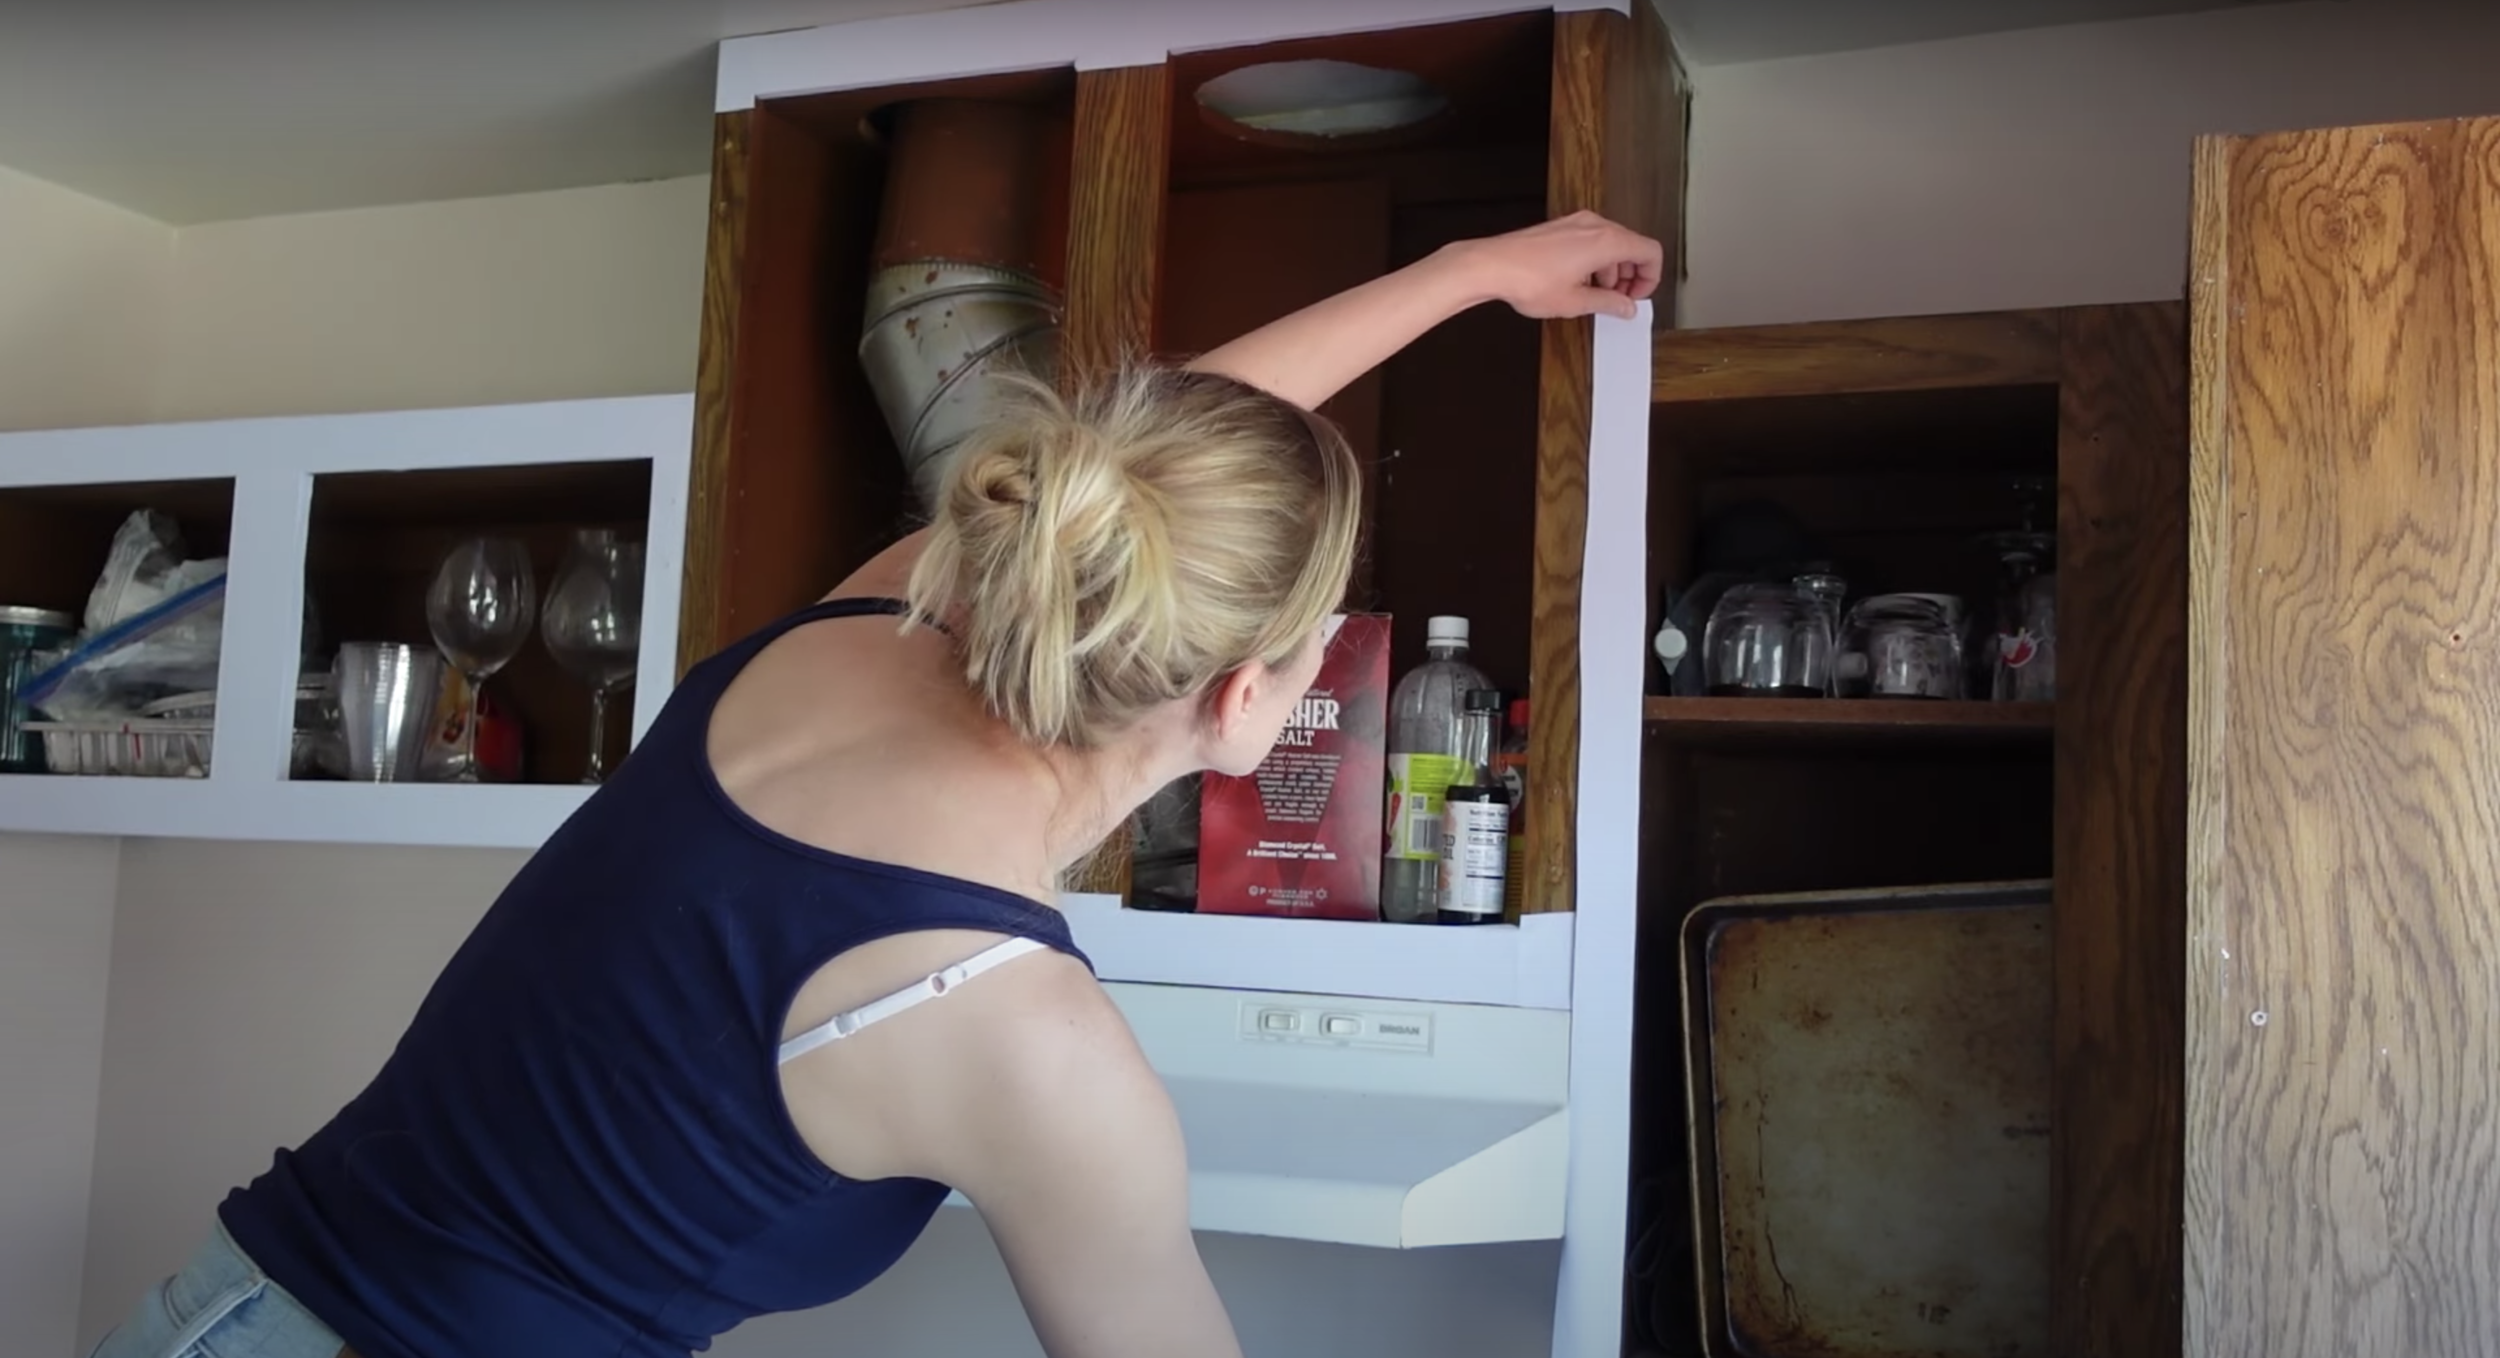
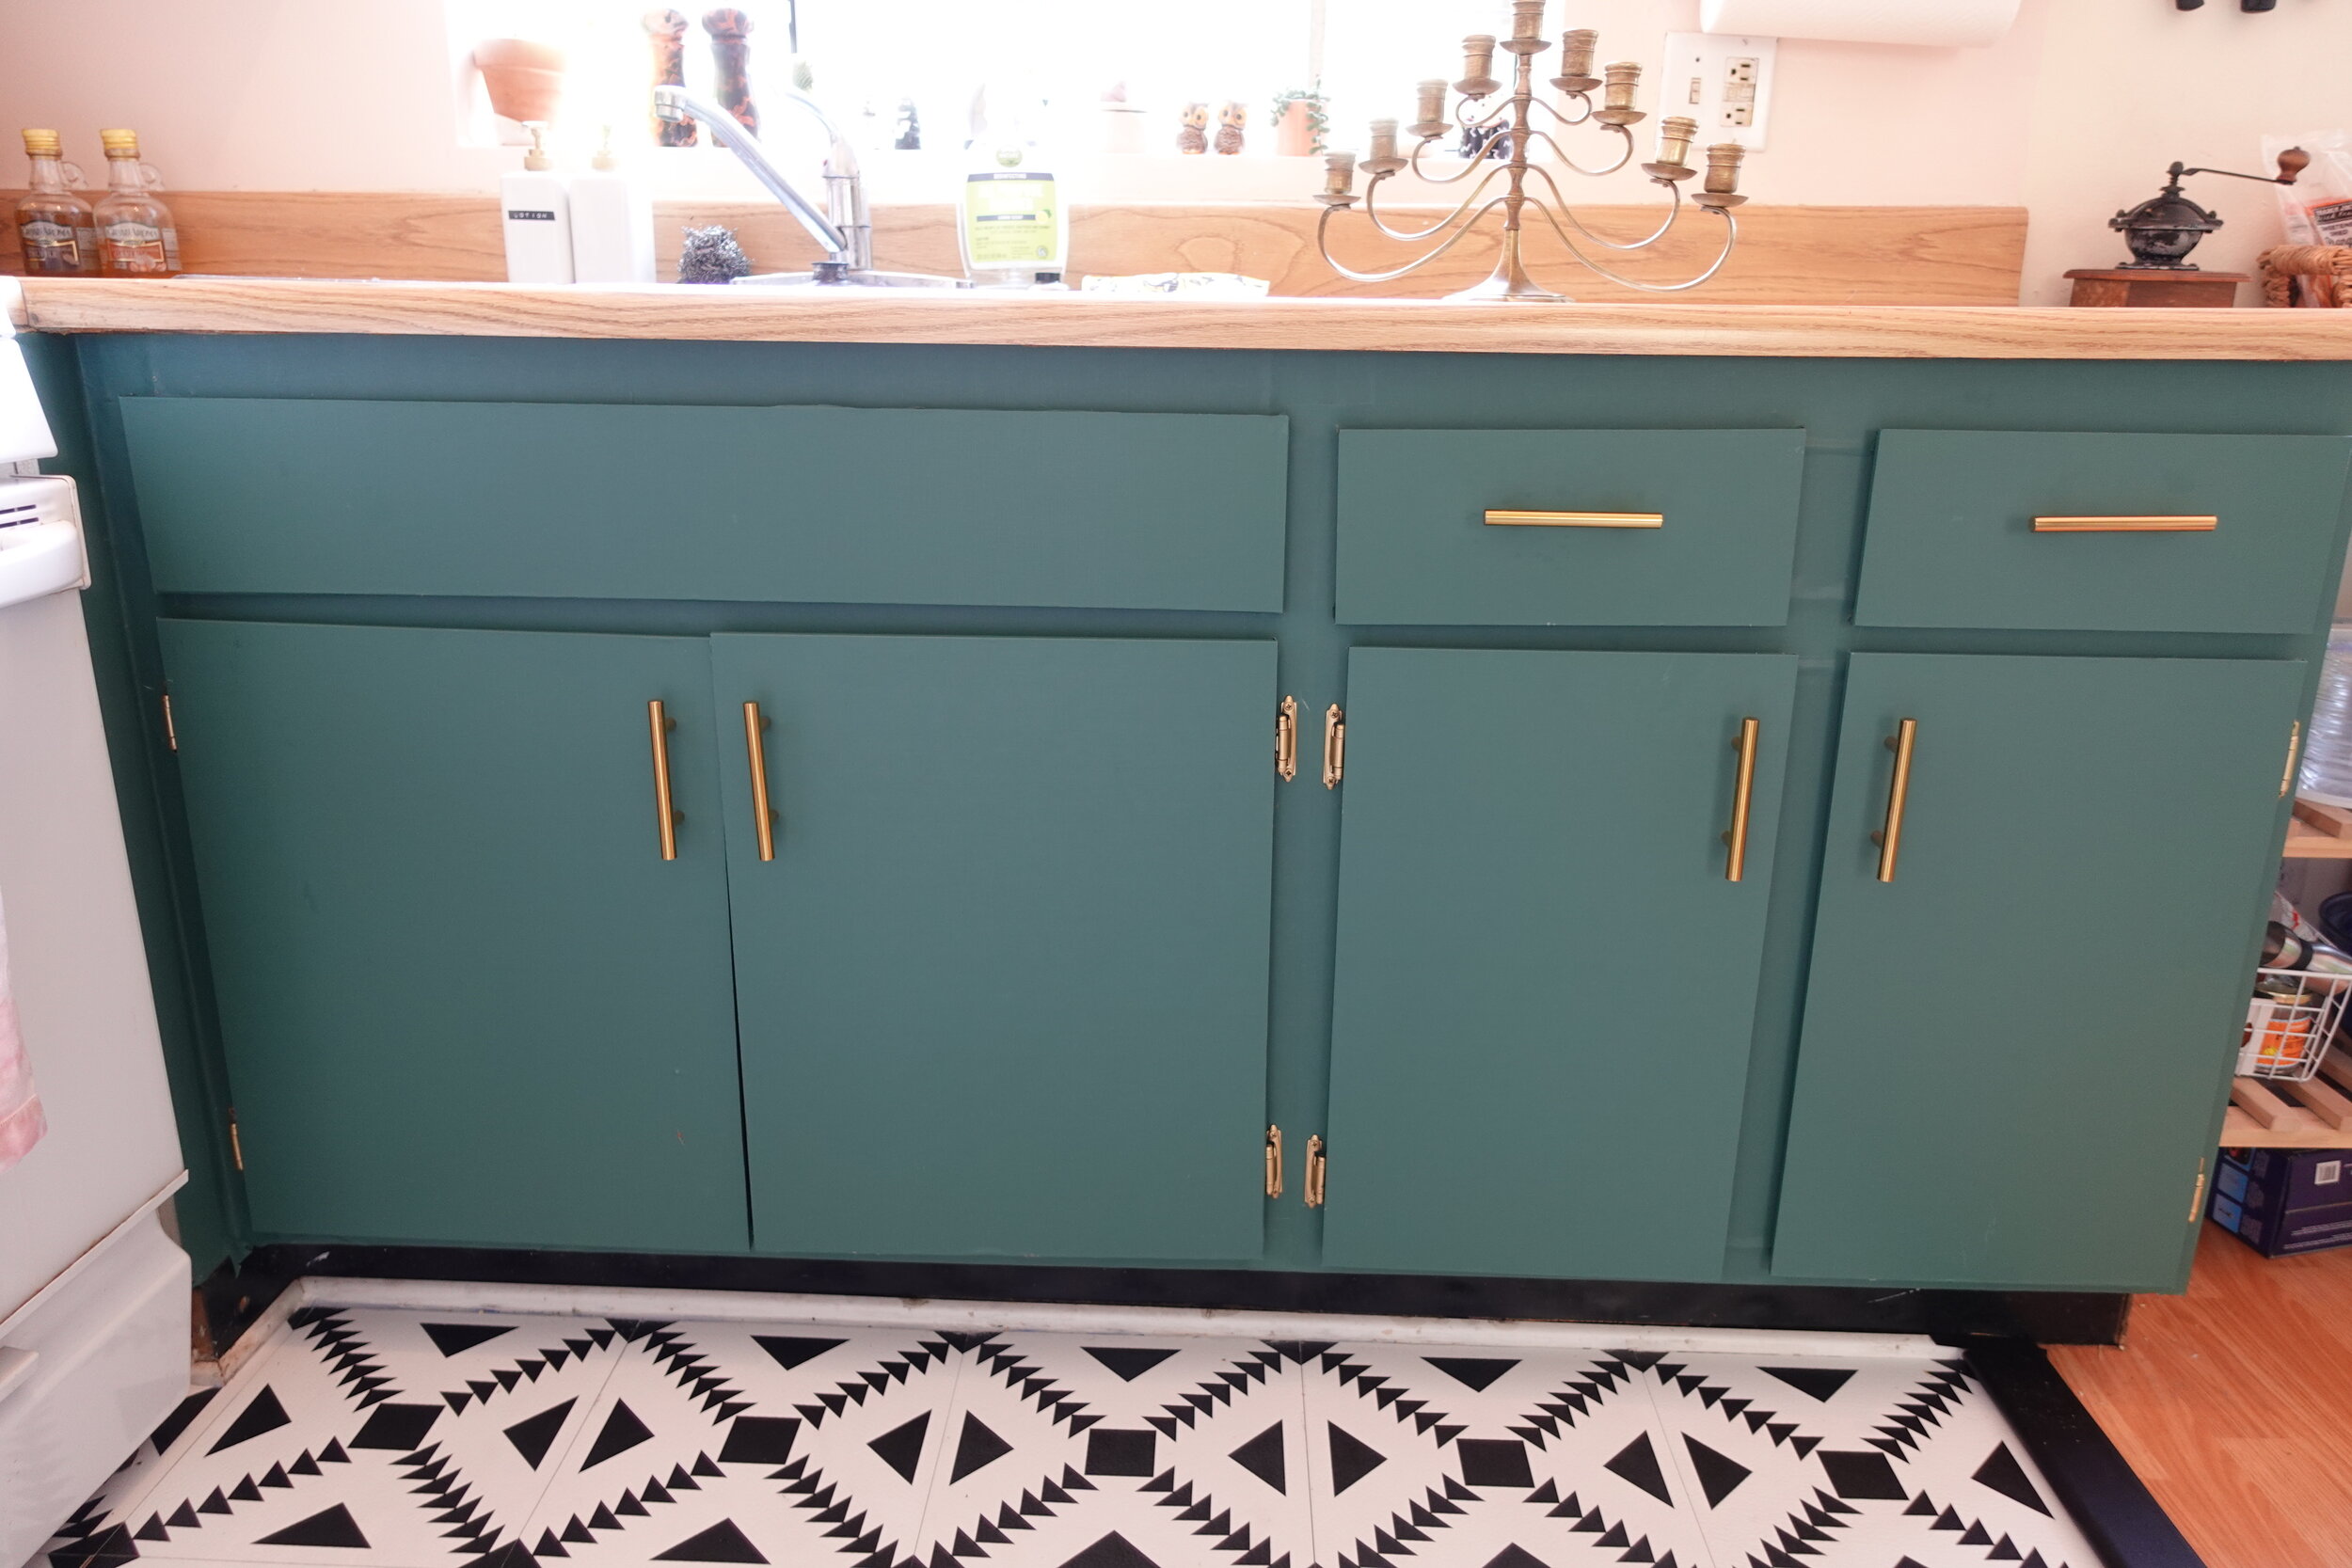
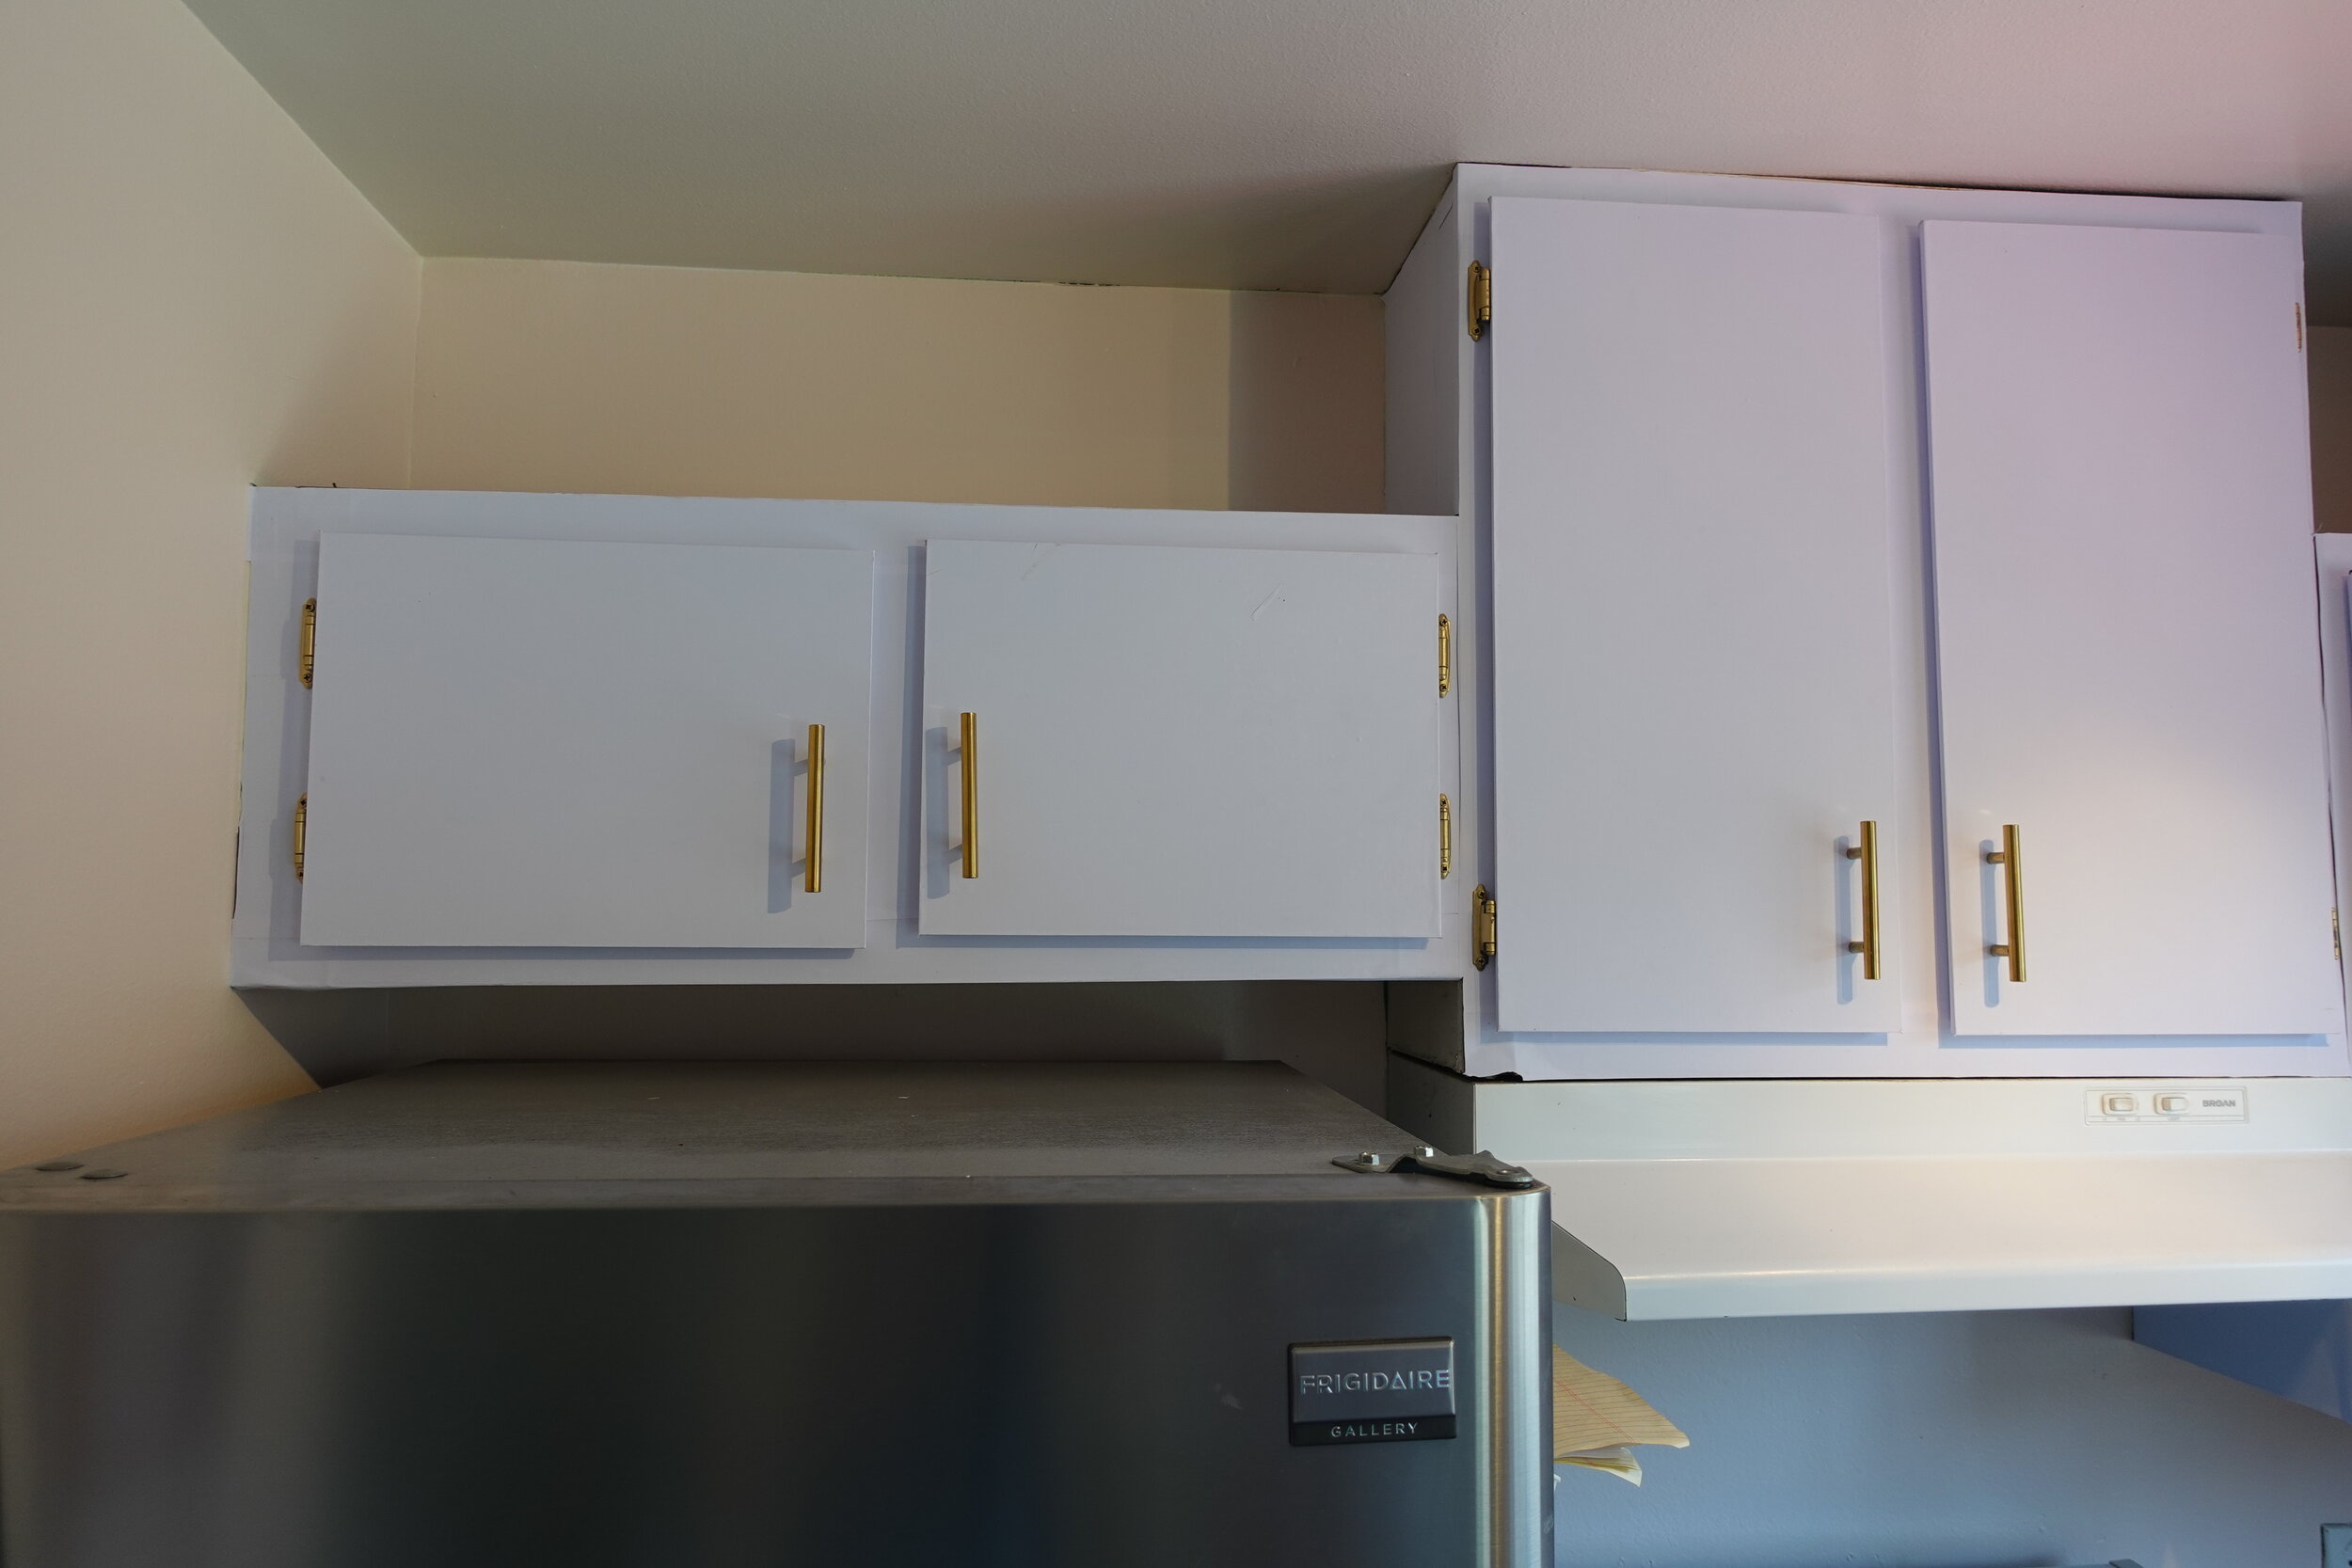
STEP 3: Contact paper the cabinets.
Naturally, the cabinets were our biggest headache. We wanted to make the cabinets green on the bottom, white on the top. (White on top was Rach’s wonderful idea. This simple color trick makes the kitchen feel about 10 times bigger.)
But, as you probably know, painting cabinets is miserable and not renter-friendly. Even if you have permission, if you have janky old laminate cabinets, it’s a process that summons actual demons from hell. Thus, painting the cabinets was out. We needed a cheaper, easier renter-friendly alternative. The answer? CONTACT PAPER. I’m a contact paper queen, and I knew this would be the easiest way to cast a glamour spell (that could also be removed). So we ordered a couple of rolls of green and white contact paper off Amazon. Pro tip: Always over-order because…
They print batches all at once. If you run out of paper and order more later, the color might not match. Queue your meltdown.
You will need more than you think. I’m horrible at math, and my calculations for this looked like some Good Will Hunting equation mess. We were OK for this one, but it’s always better to get more than you need because you can easily return them. BTW, these rolls are $10 or so each. SO CHEAP.
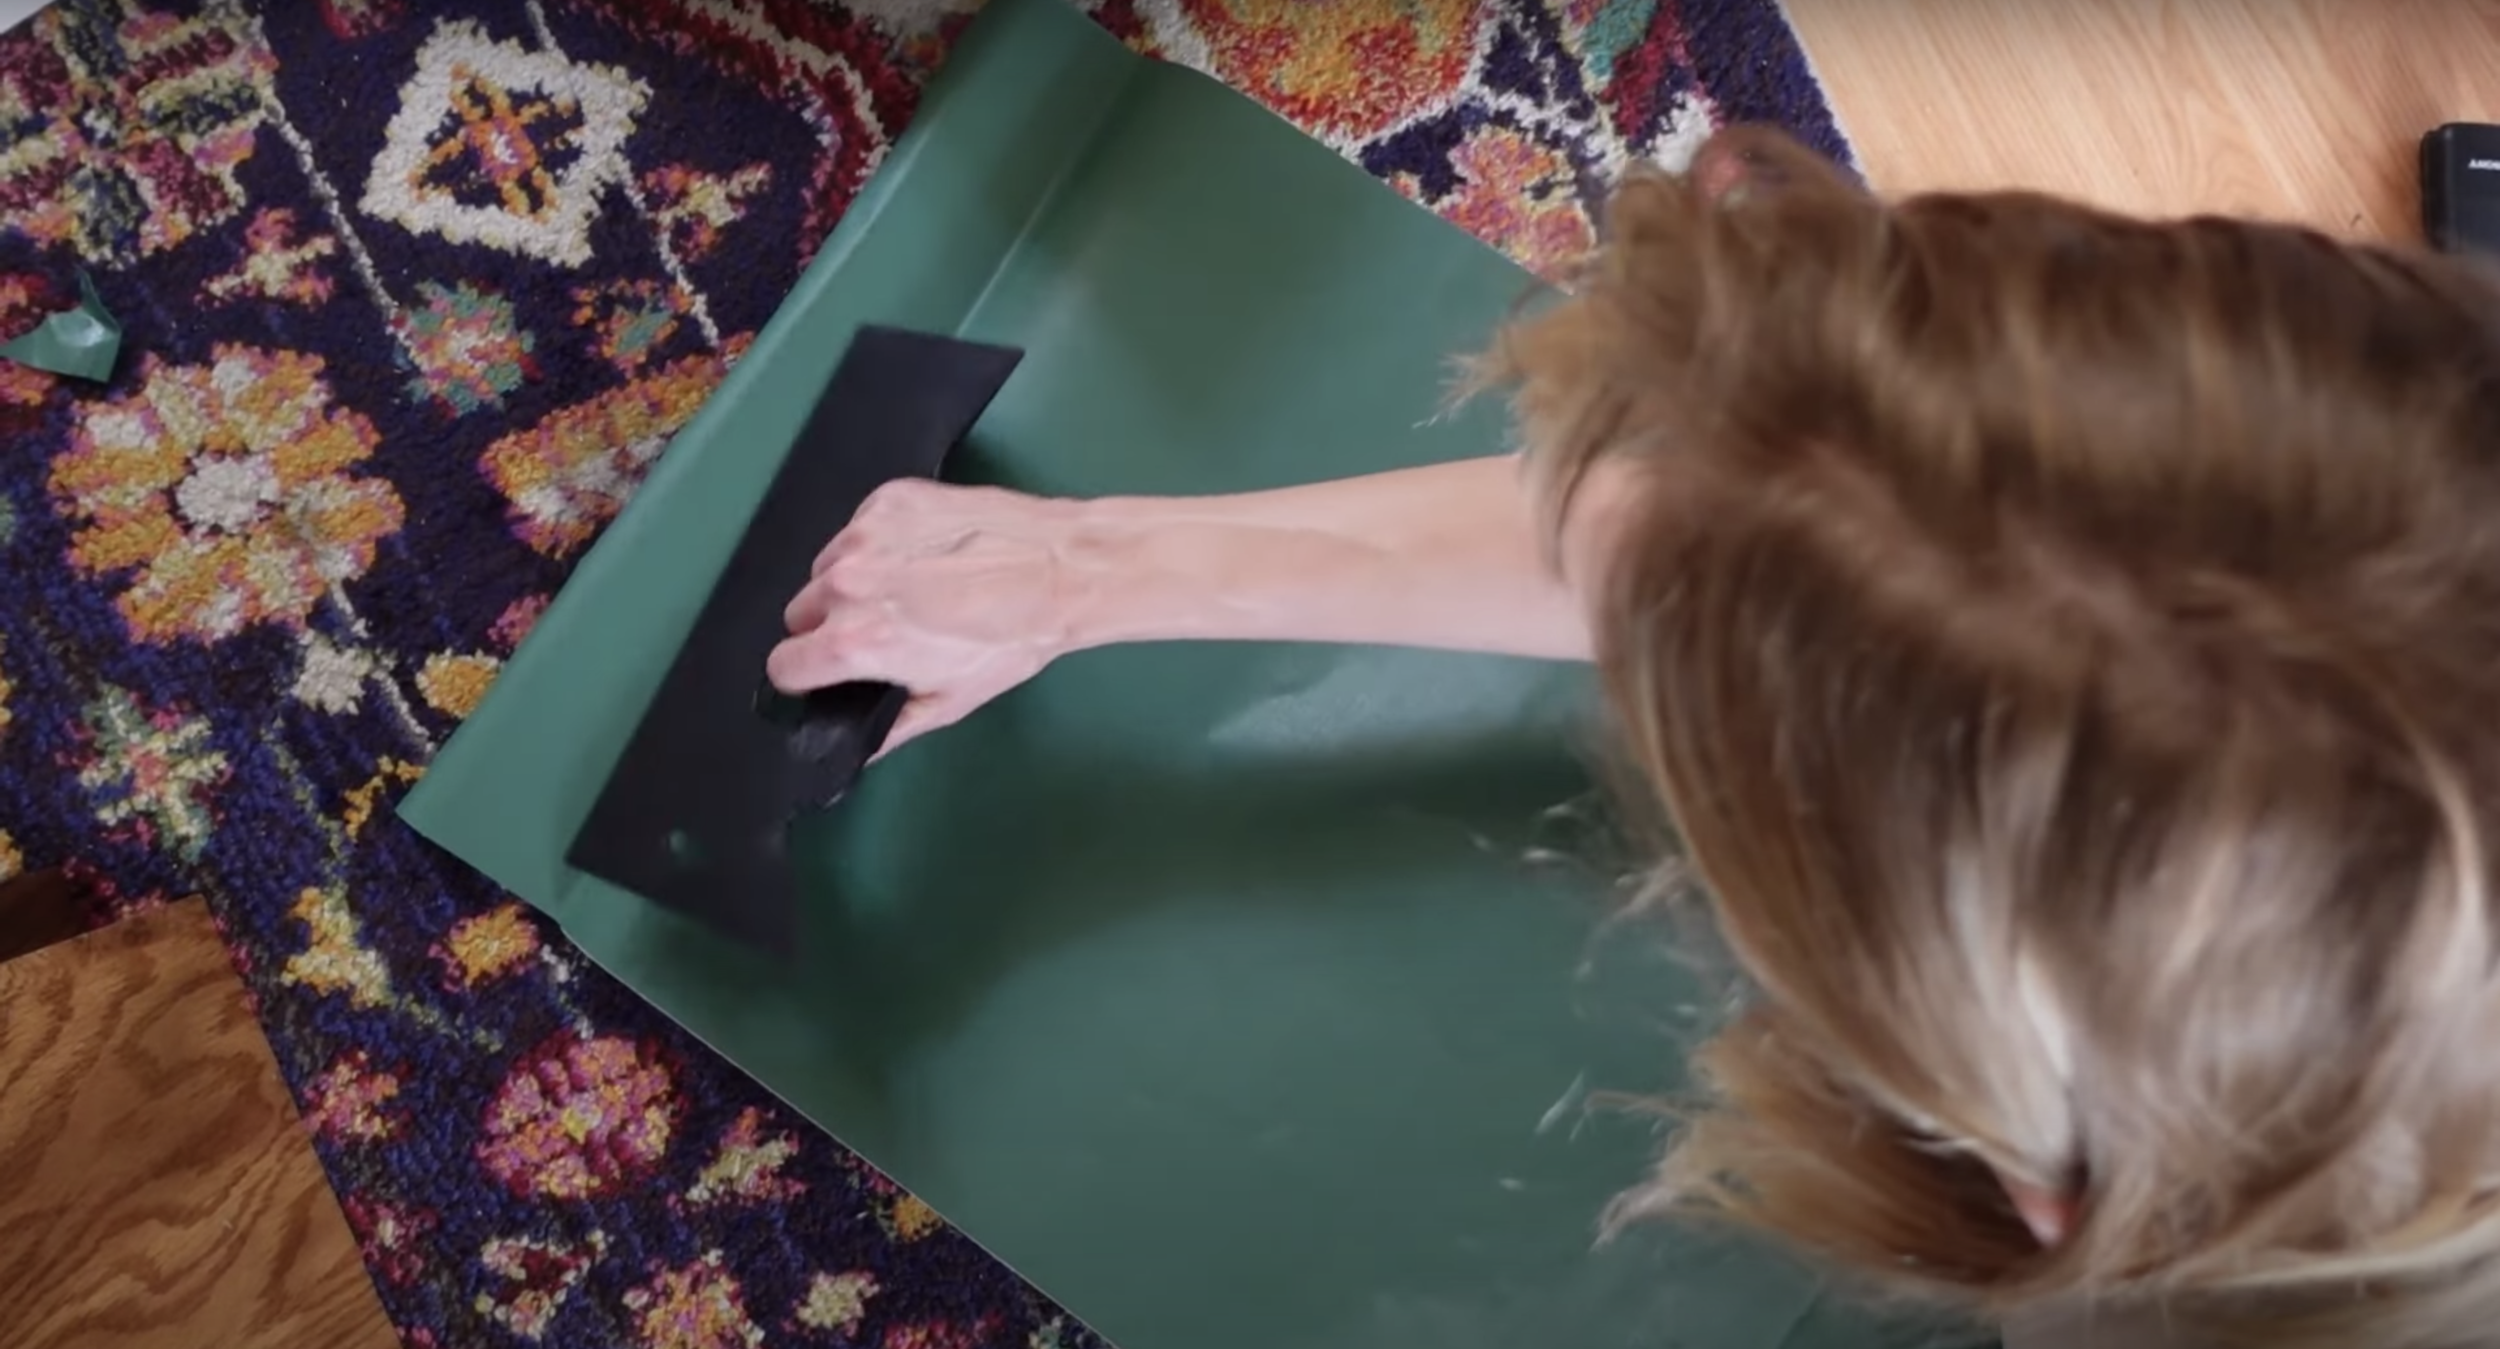
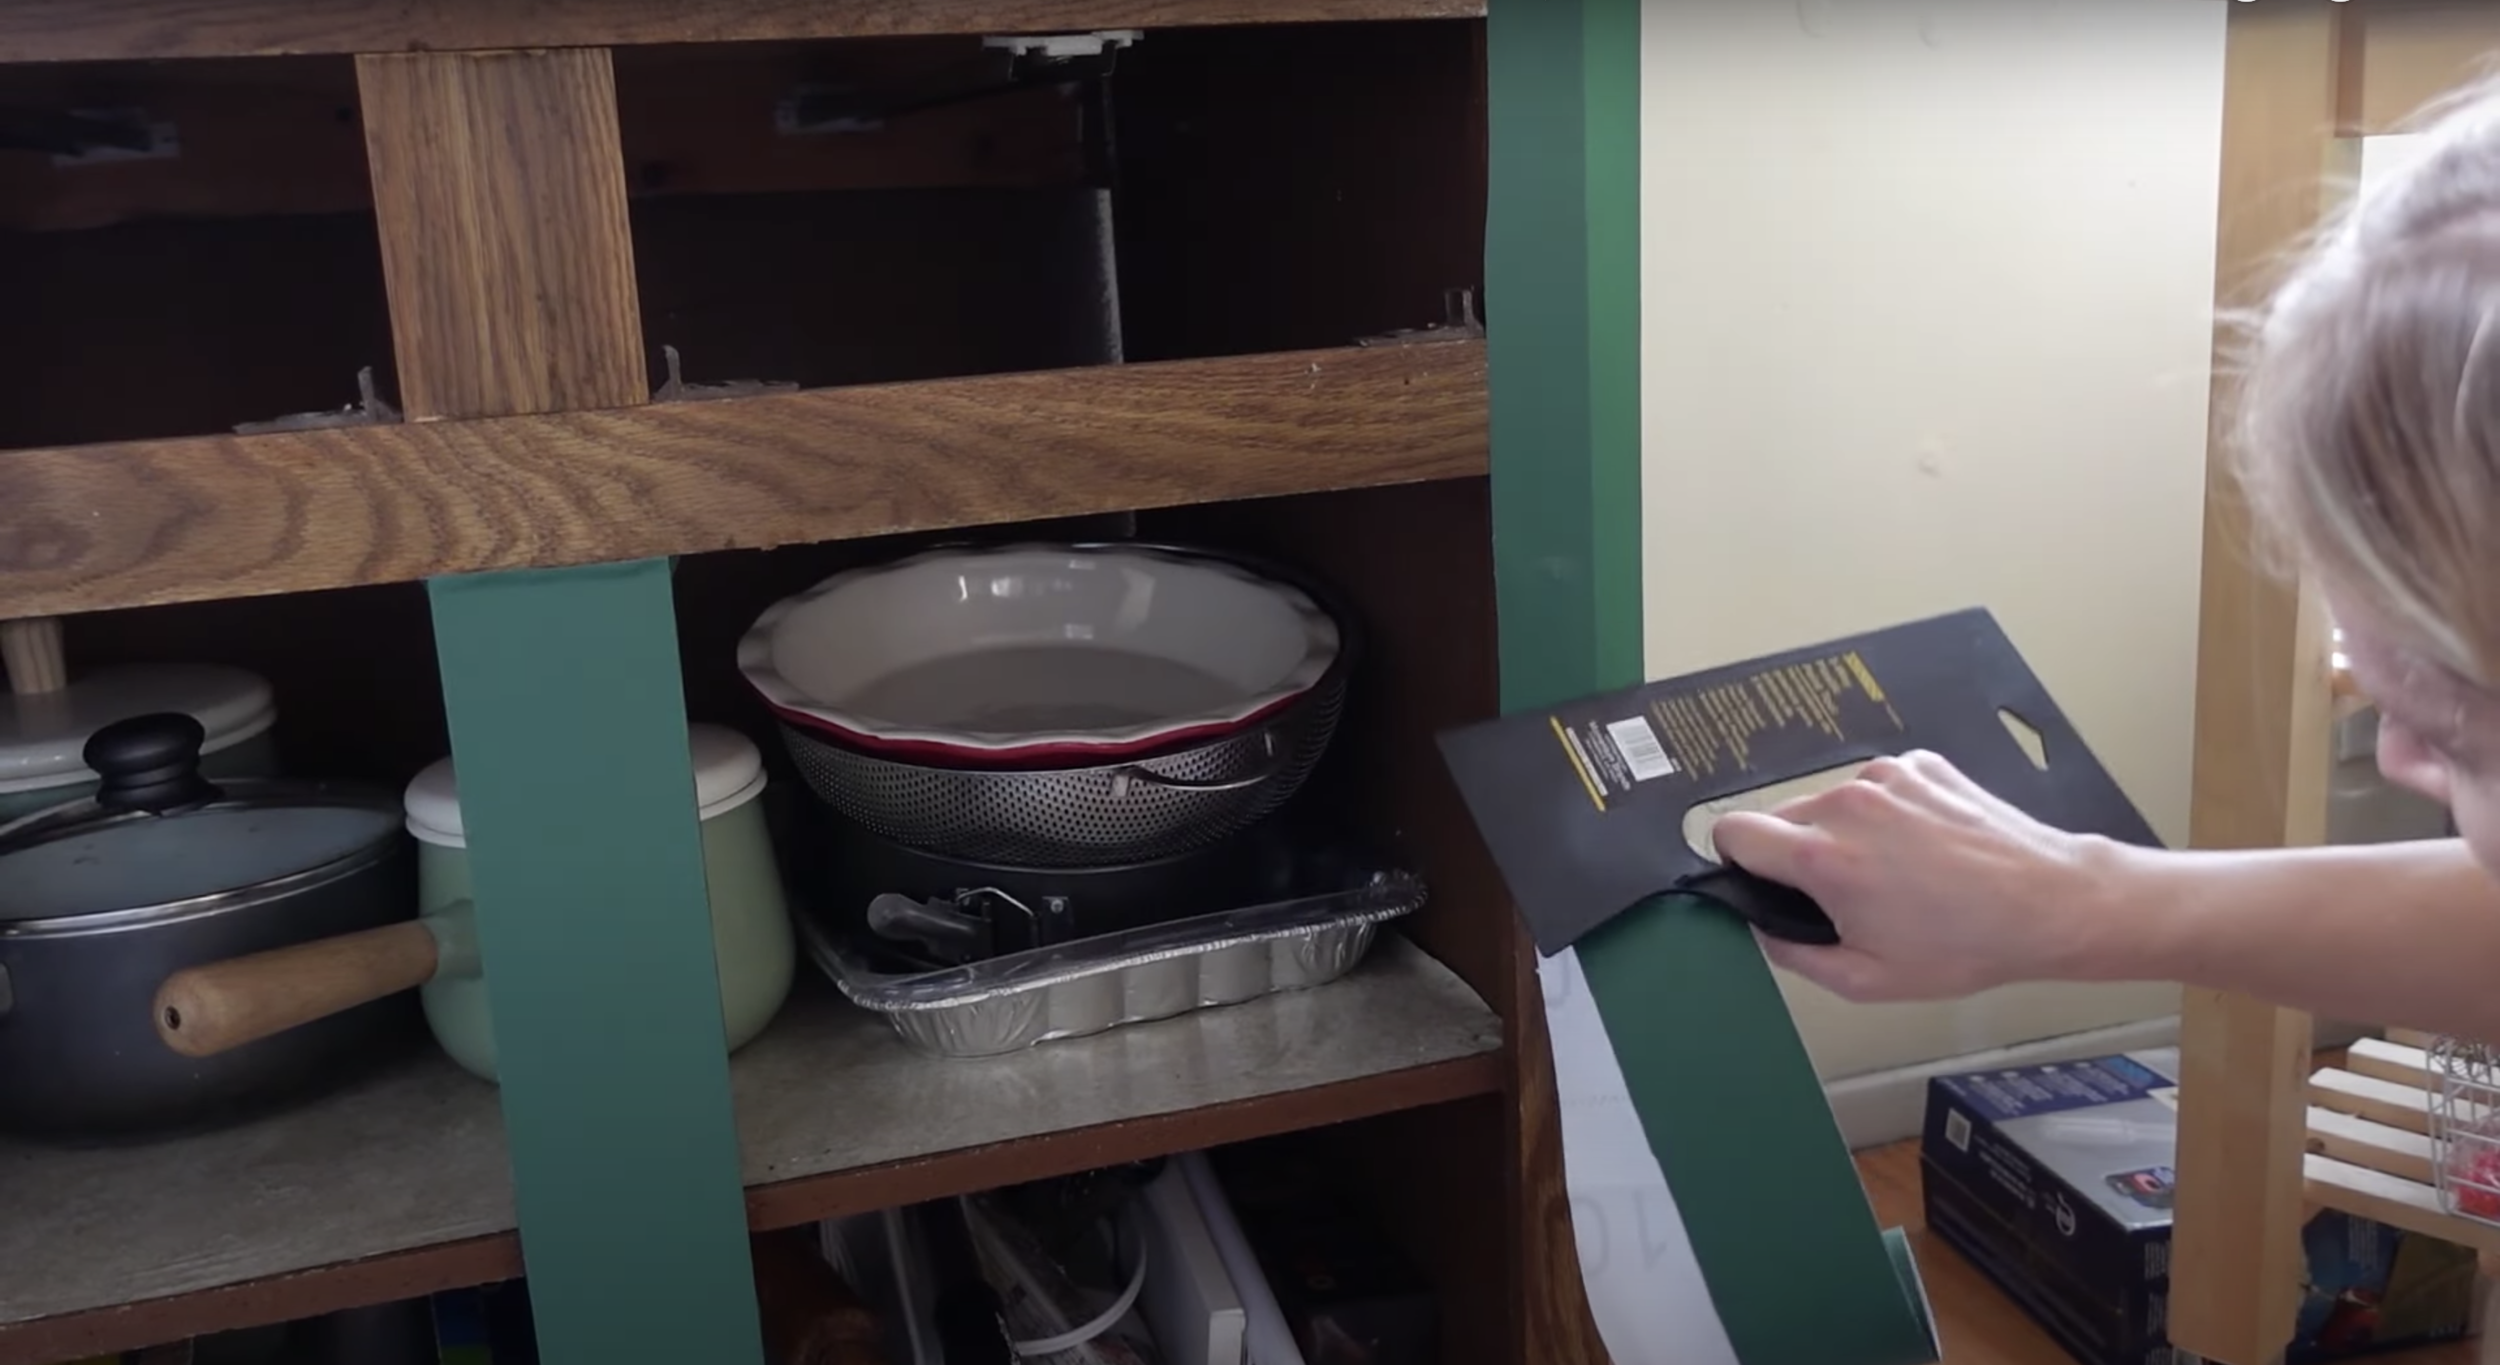
To do this successfully, you just need to go slow and patiently. Start by peeling off one inch of contact paper. Stick it to your cabinet, then slowly peel and smooth as you go. A smoother tool is very helpful to do this (I’ve also used a squeegee and a credit card in the past.)
Note: We were fortunate that Rach’s cabinets already had flat fronts, which made it particularly easy to contact paper. Luckily, if yours don’t, there’s a hack! Check out YouTuber @Beauty Is Ageless’s genius workaround. (You basically tape thin poster board over the cabinet detailes, then paper over those). I did this in my own bathroom, and it worked great.
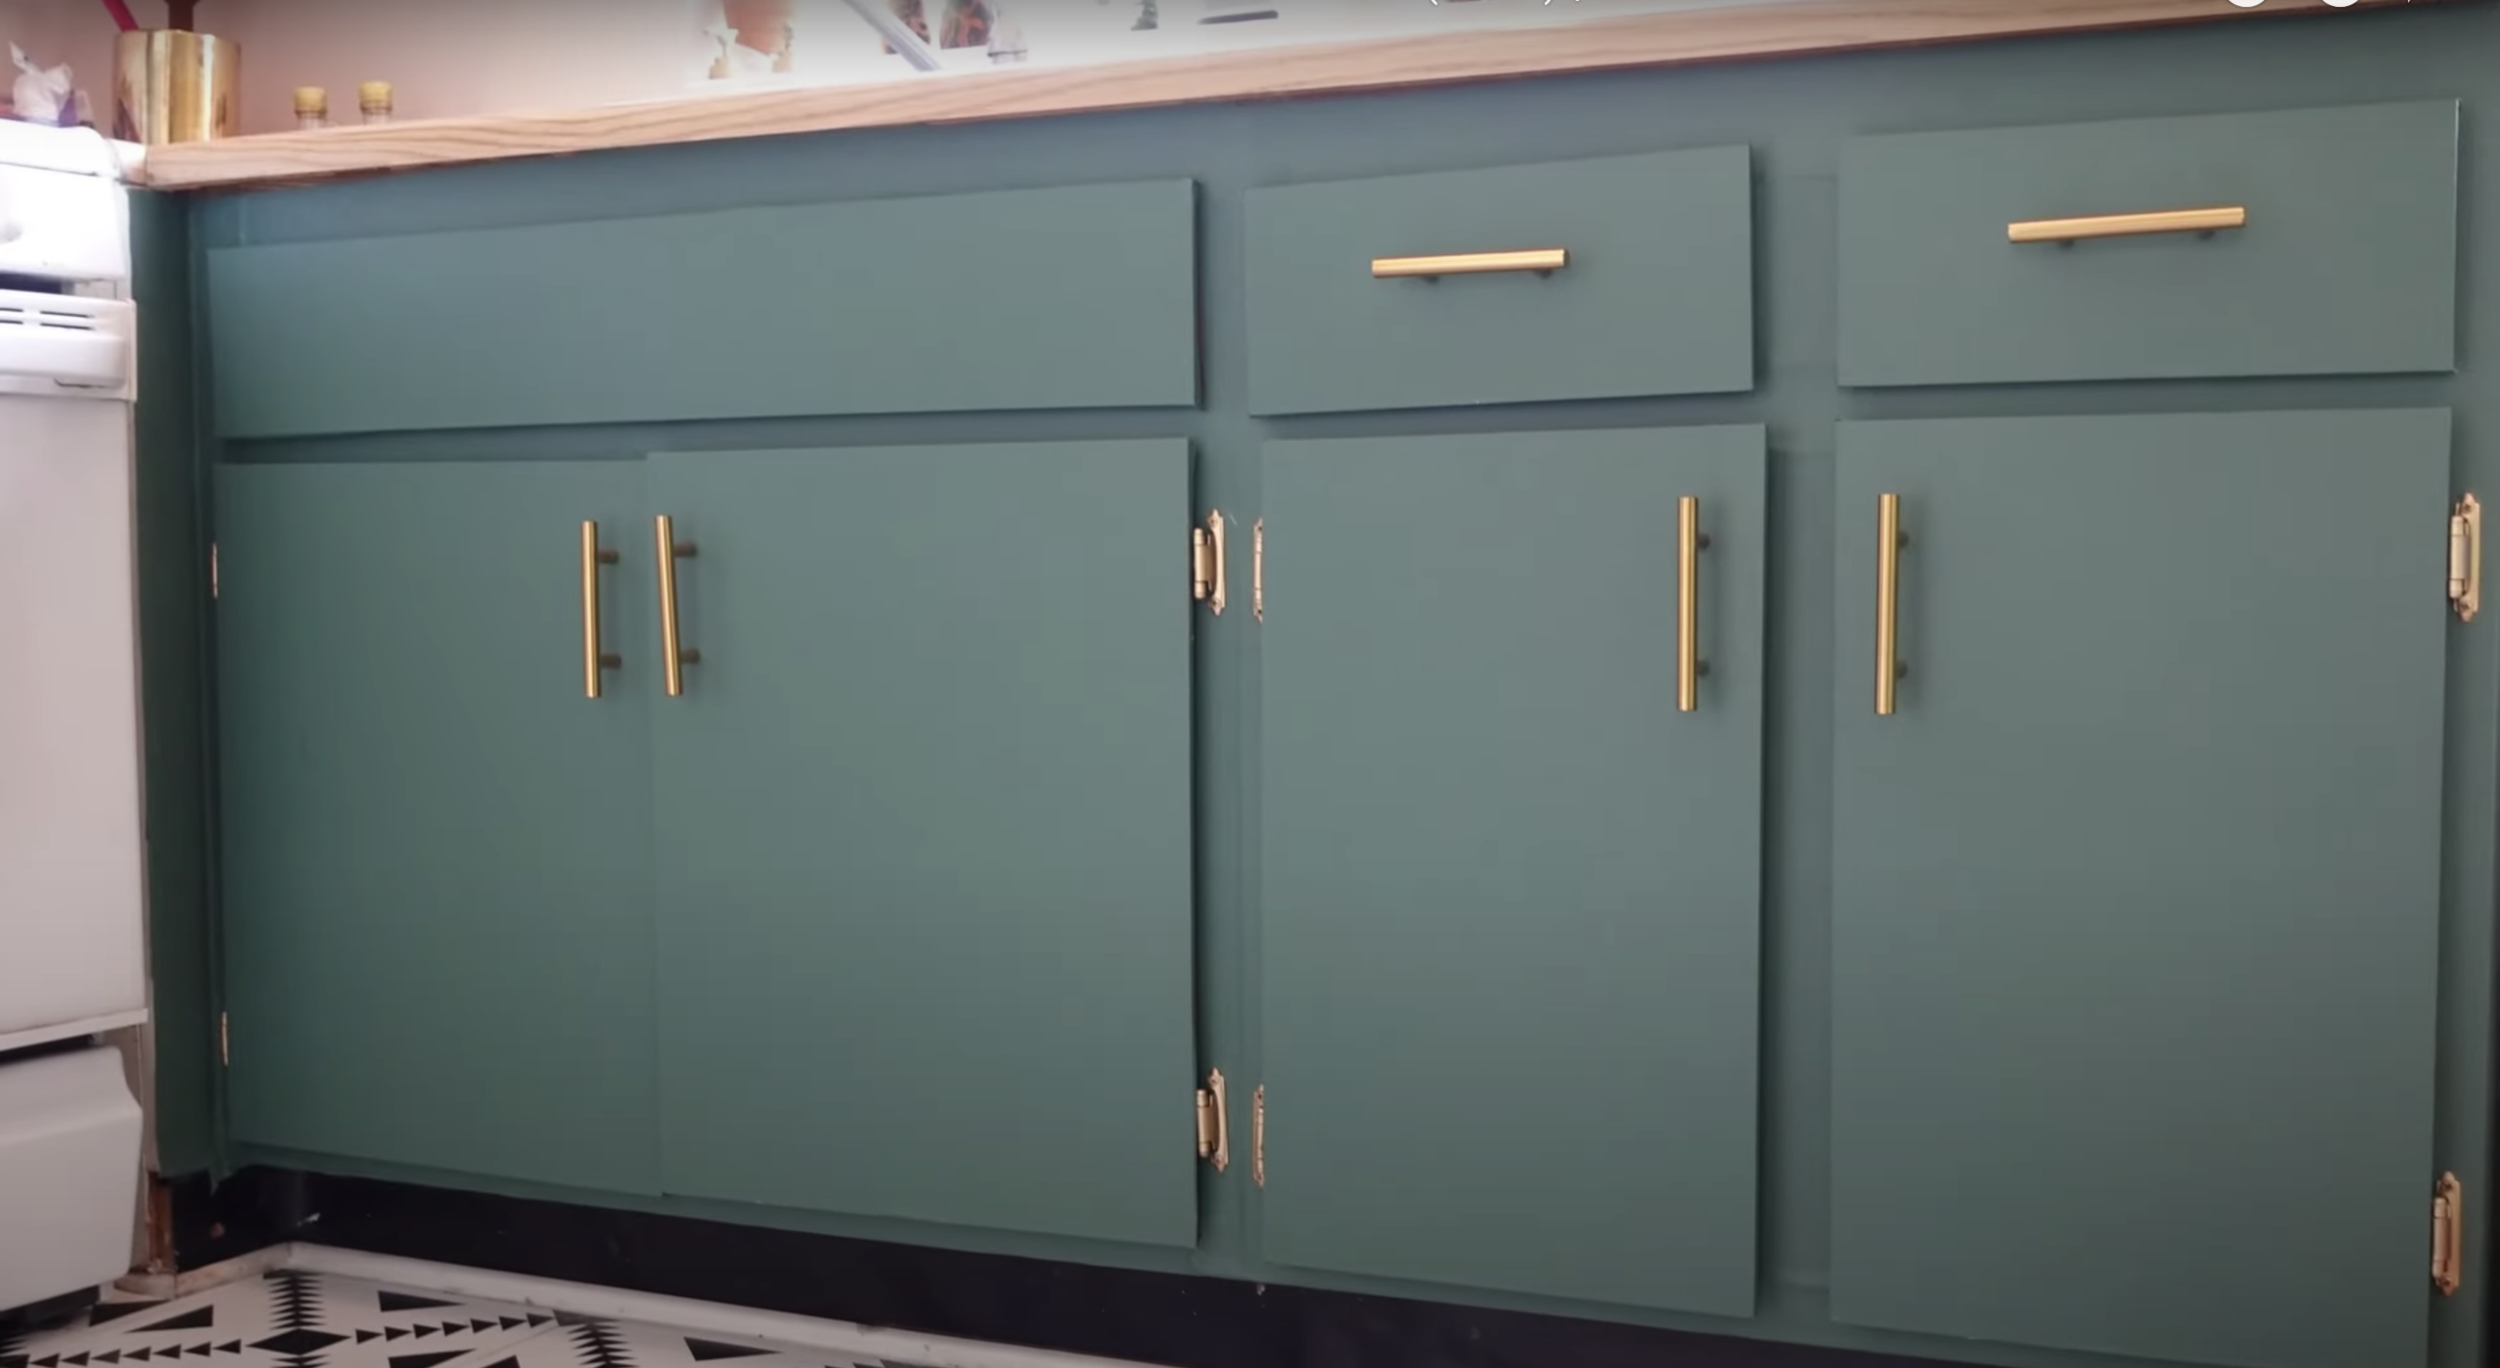
Once we had papered the doors and frame, we put the actual hardware on. We went with these basic-but-trusty gold handles. Why? Because it was only $20. For. 15. Of. Them.

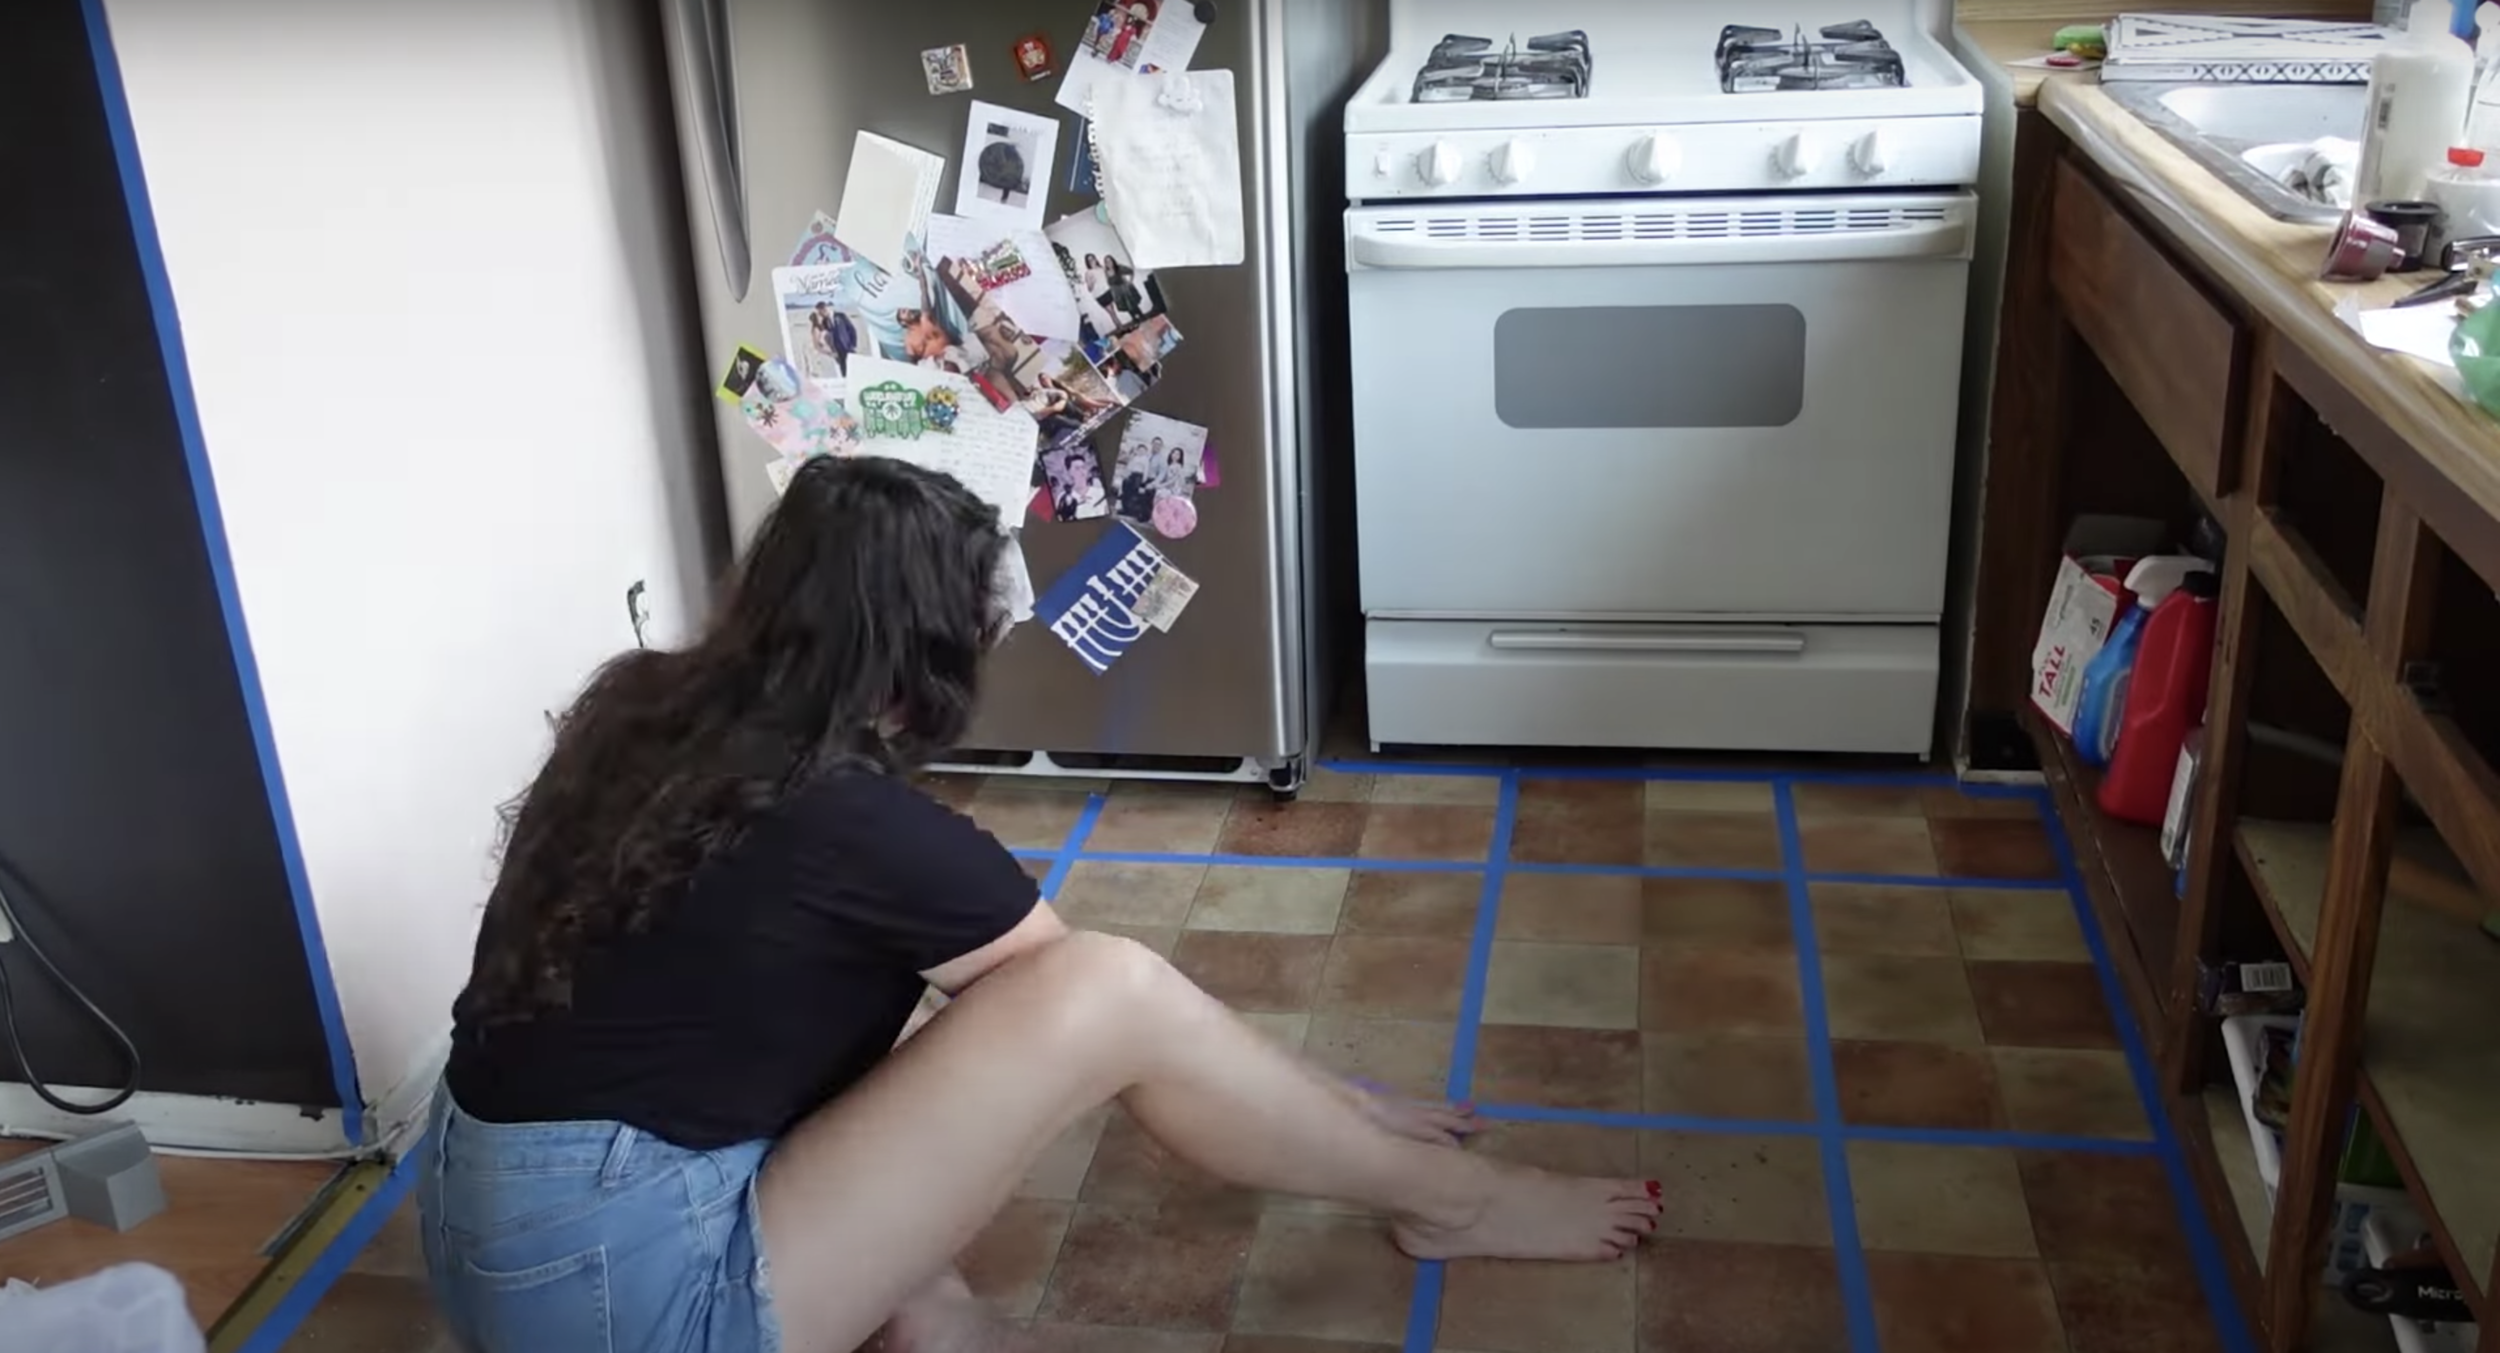
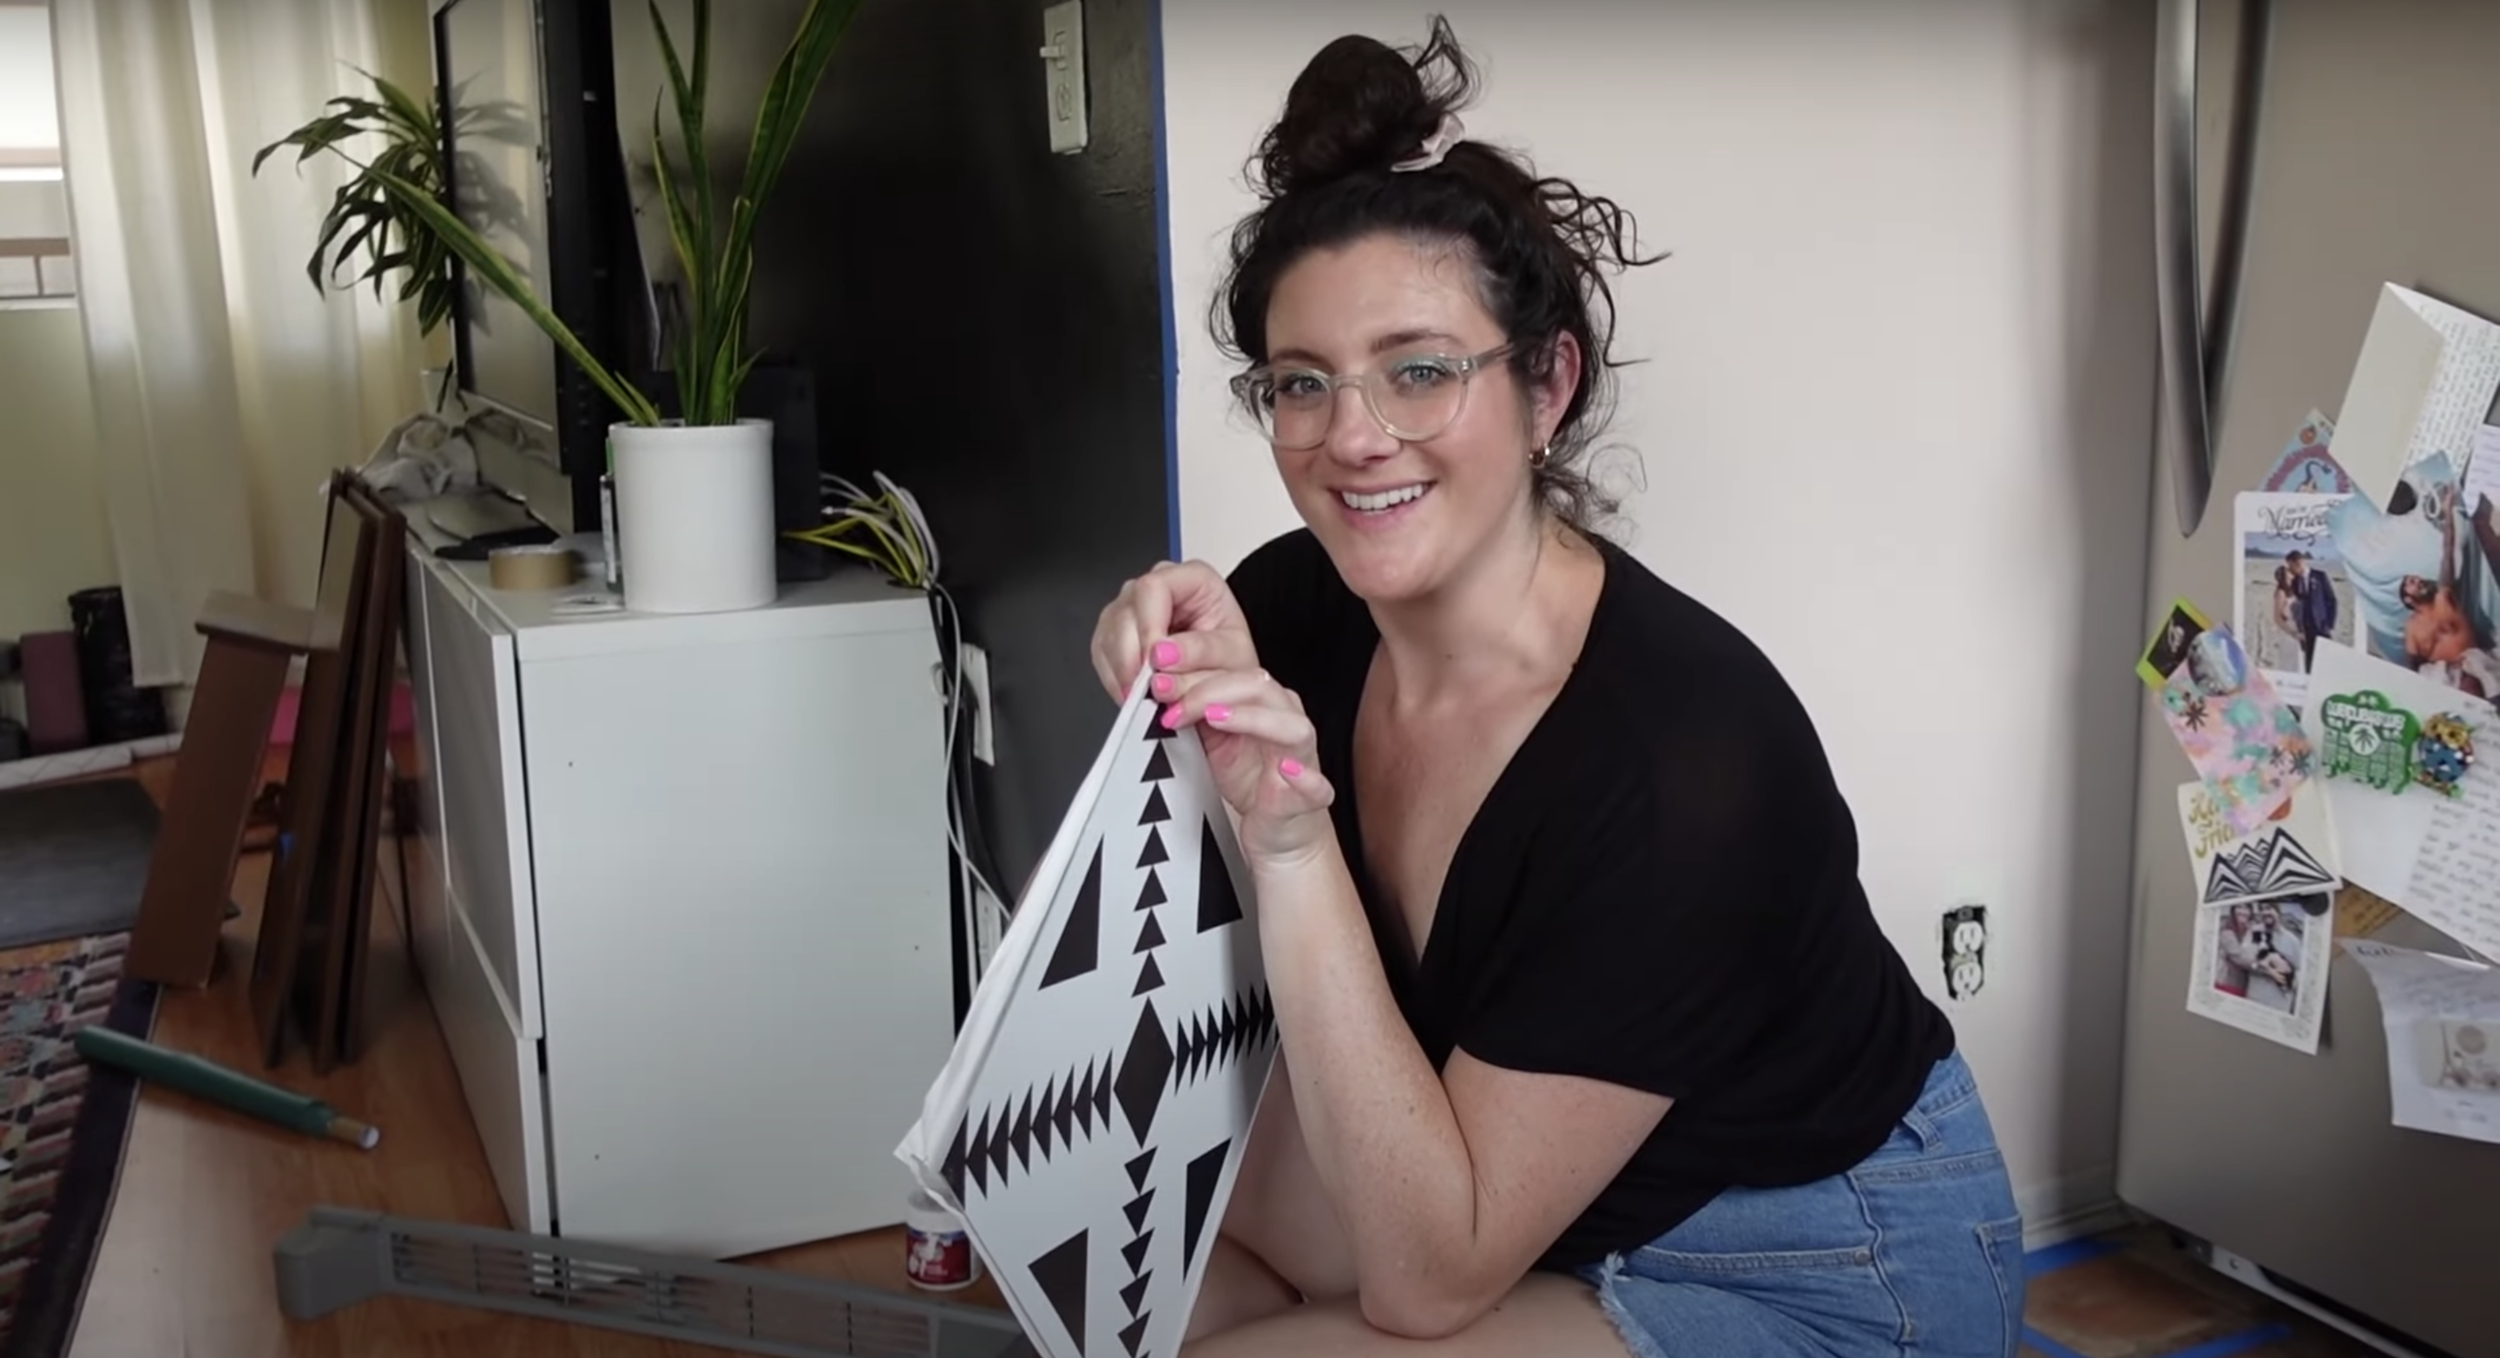
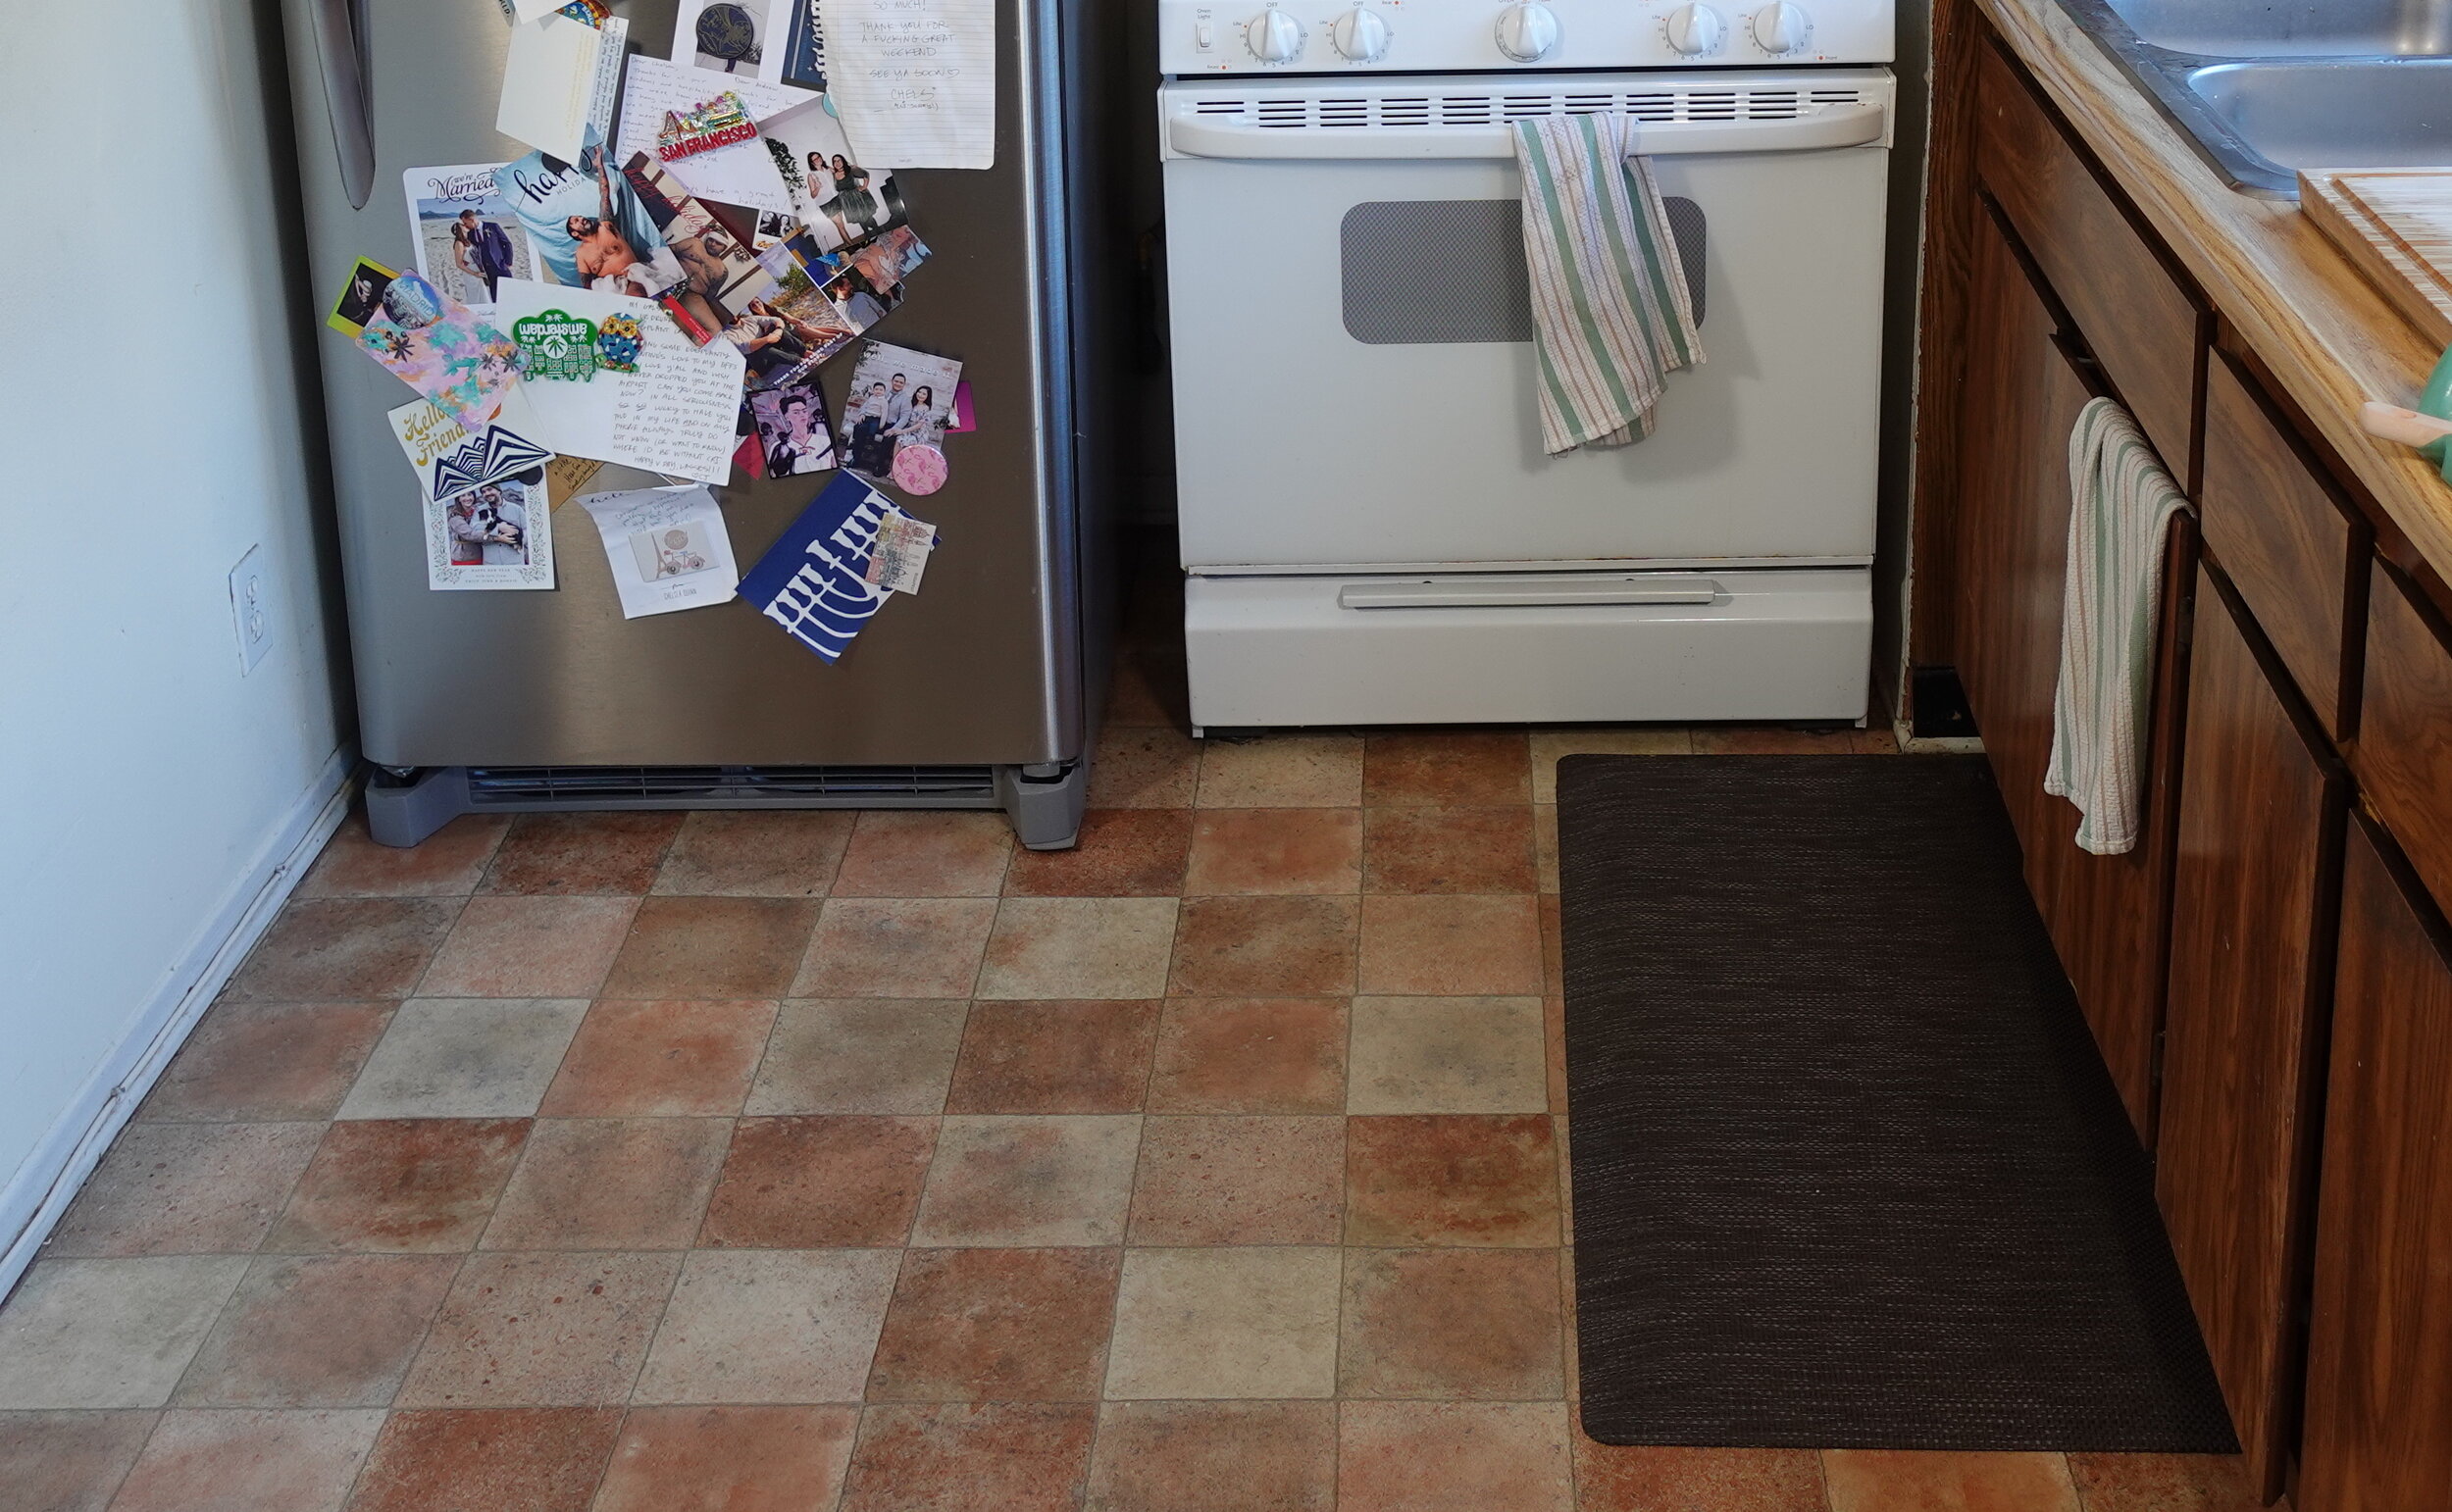
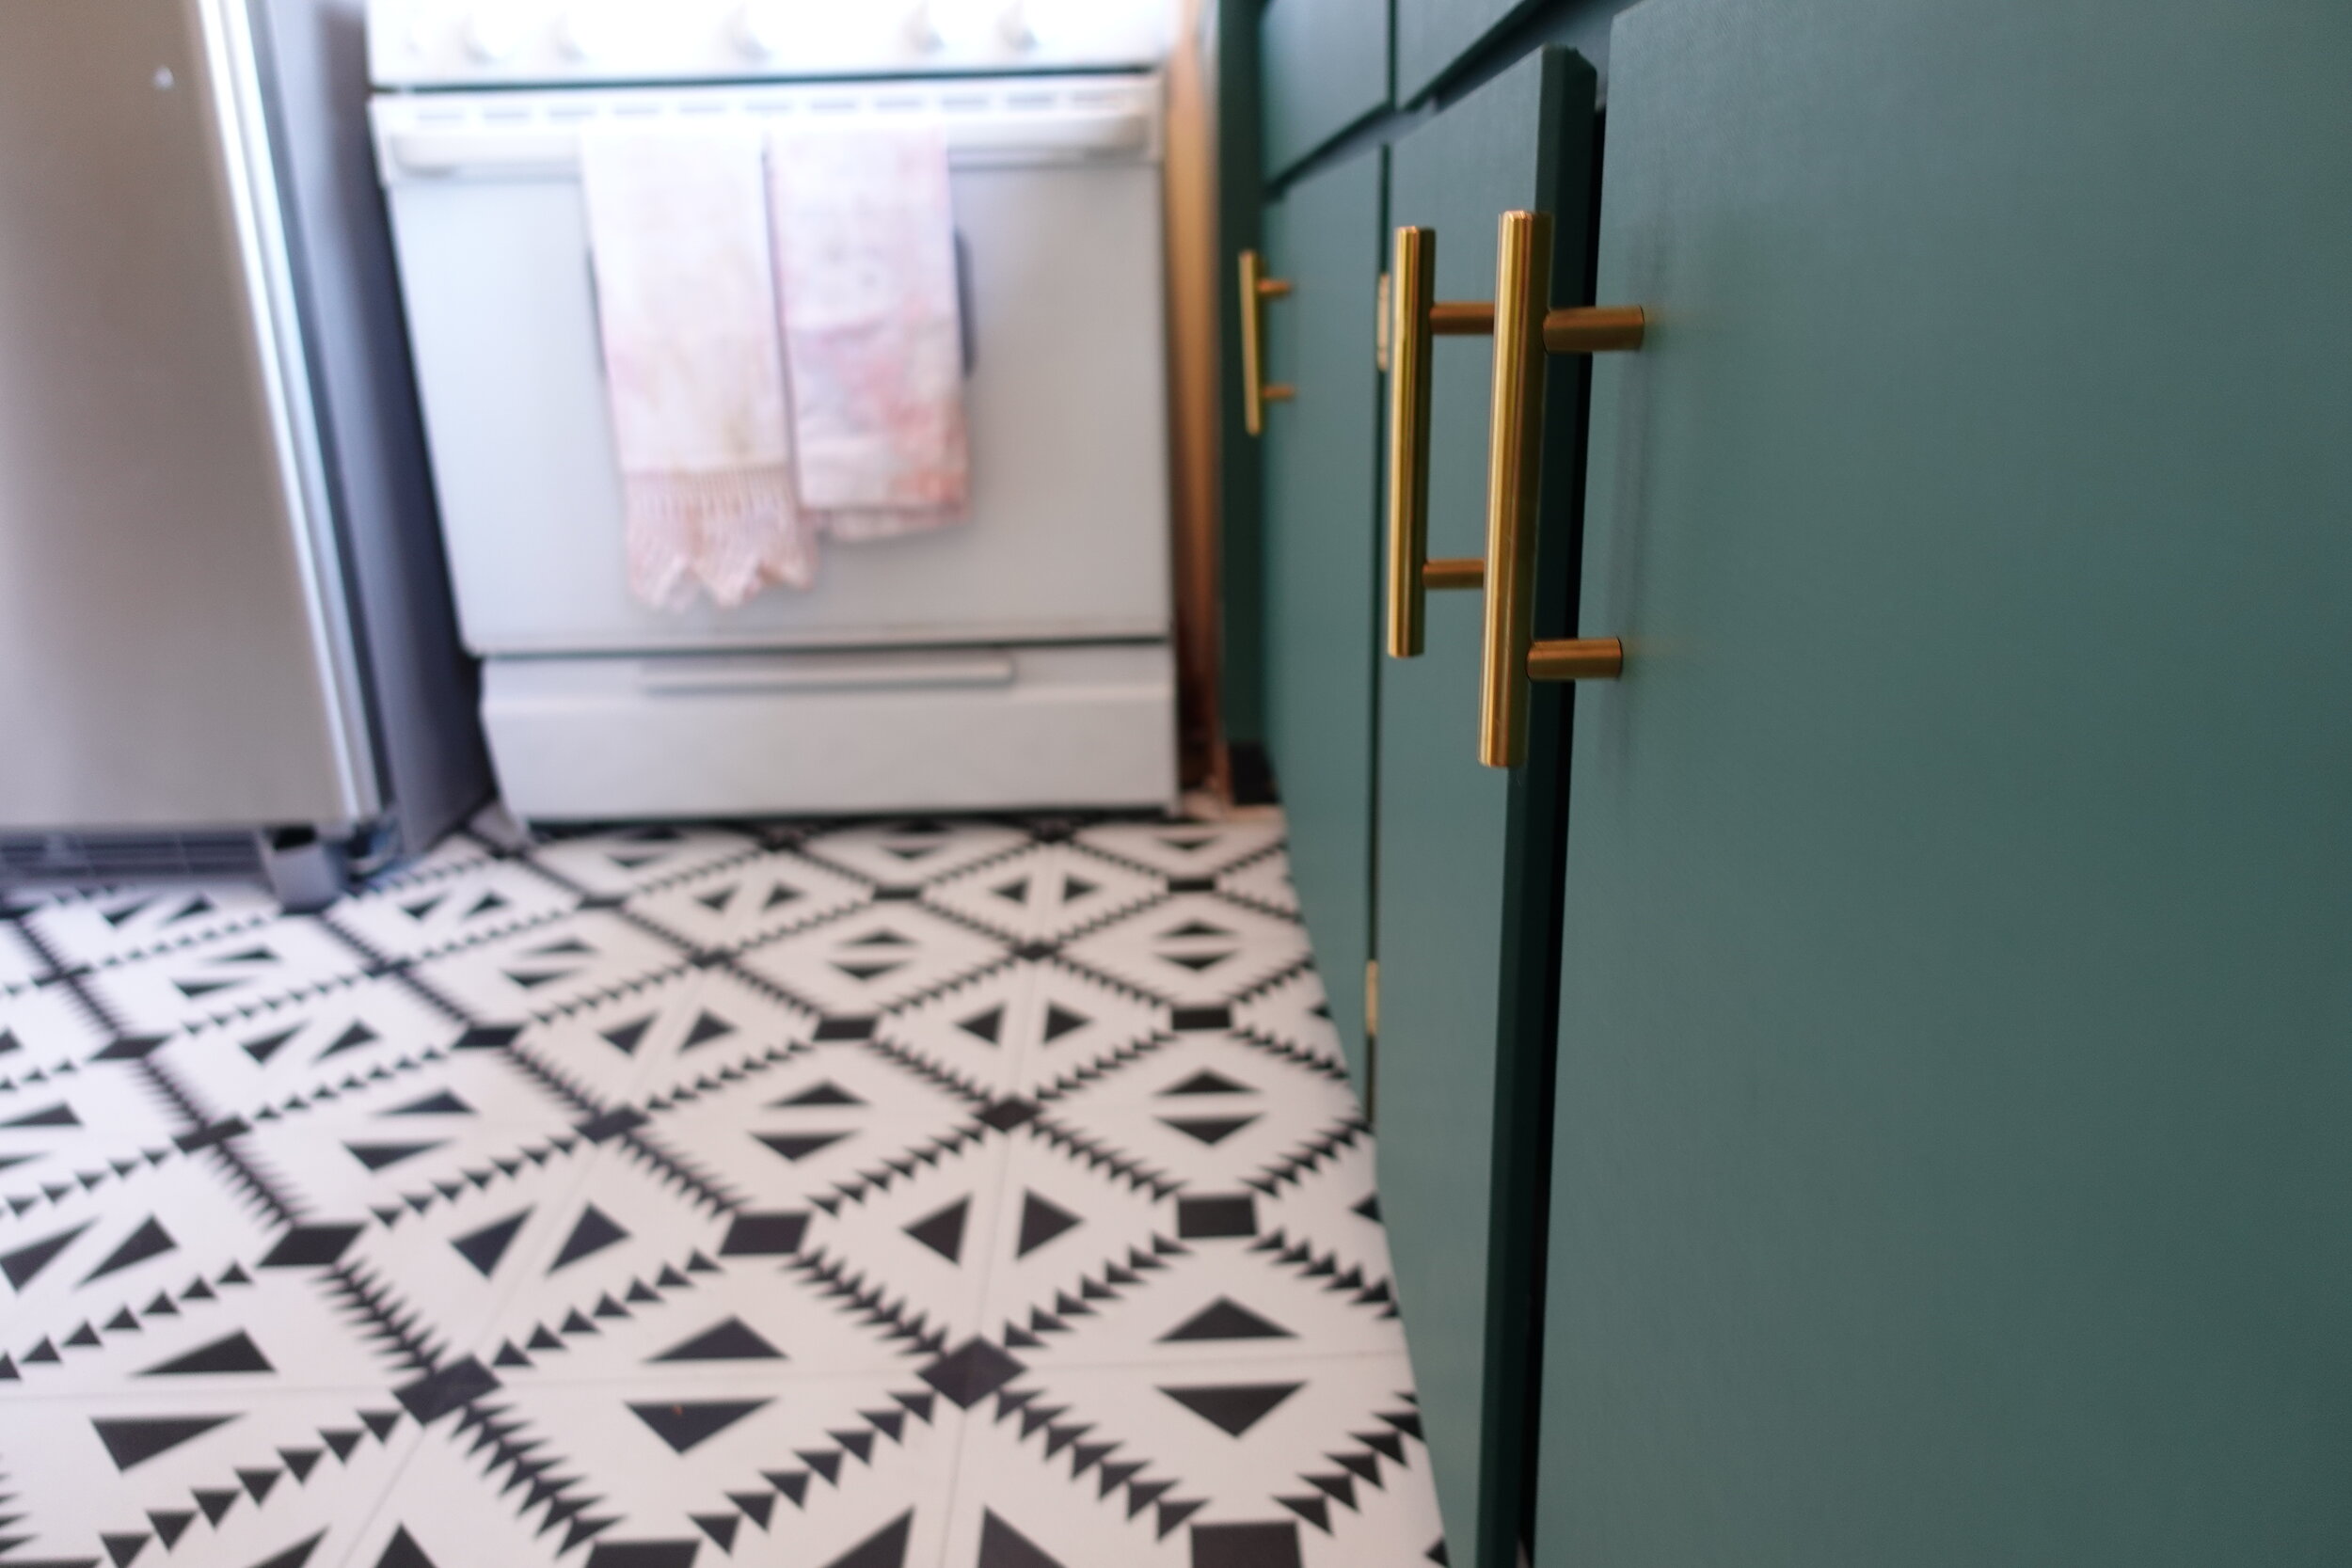
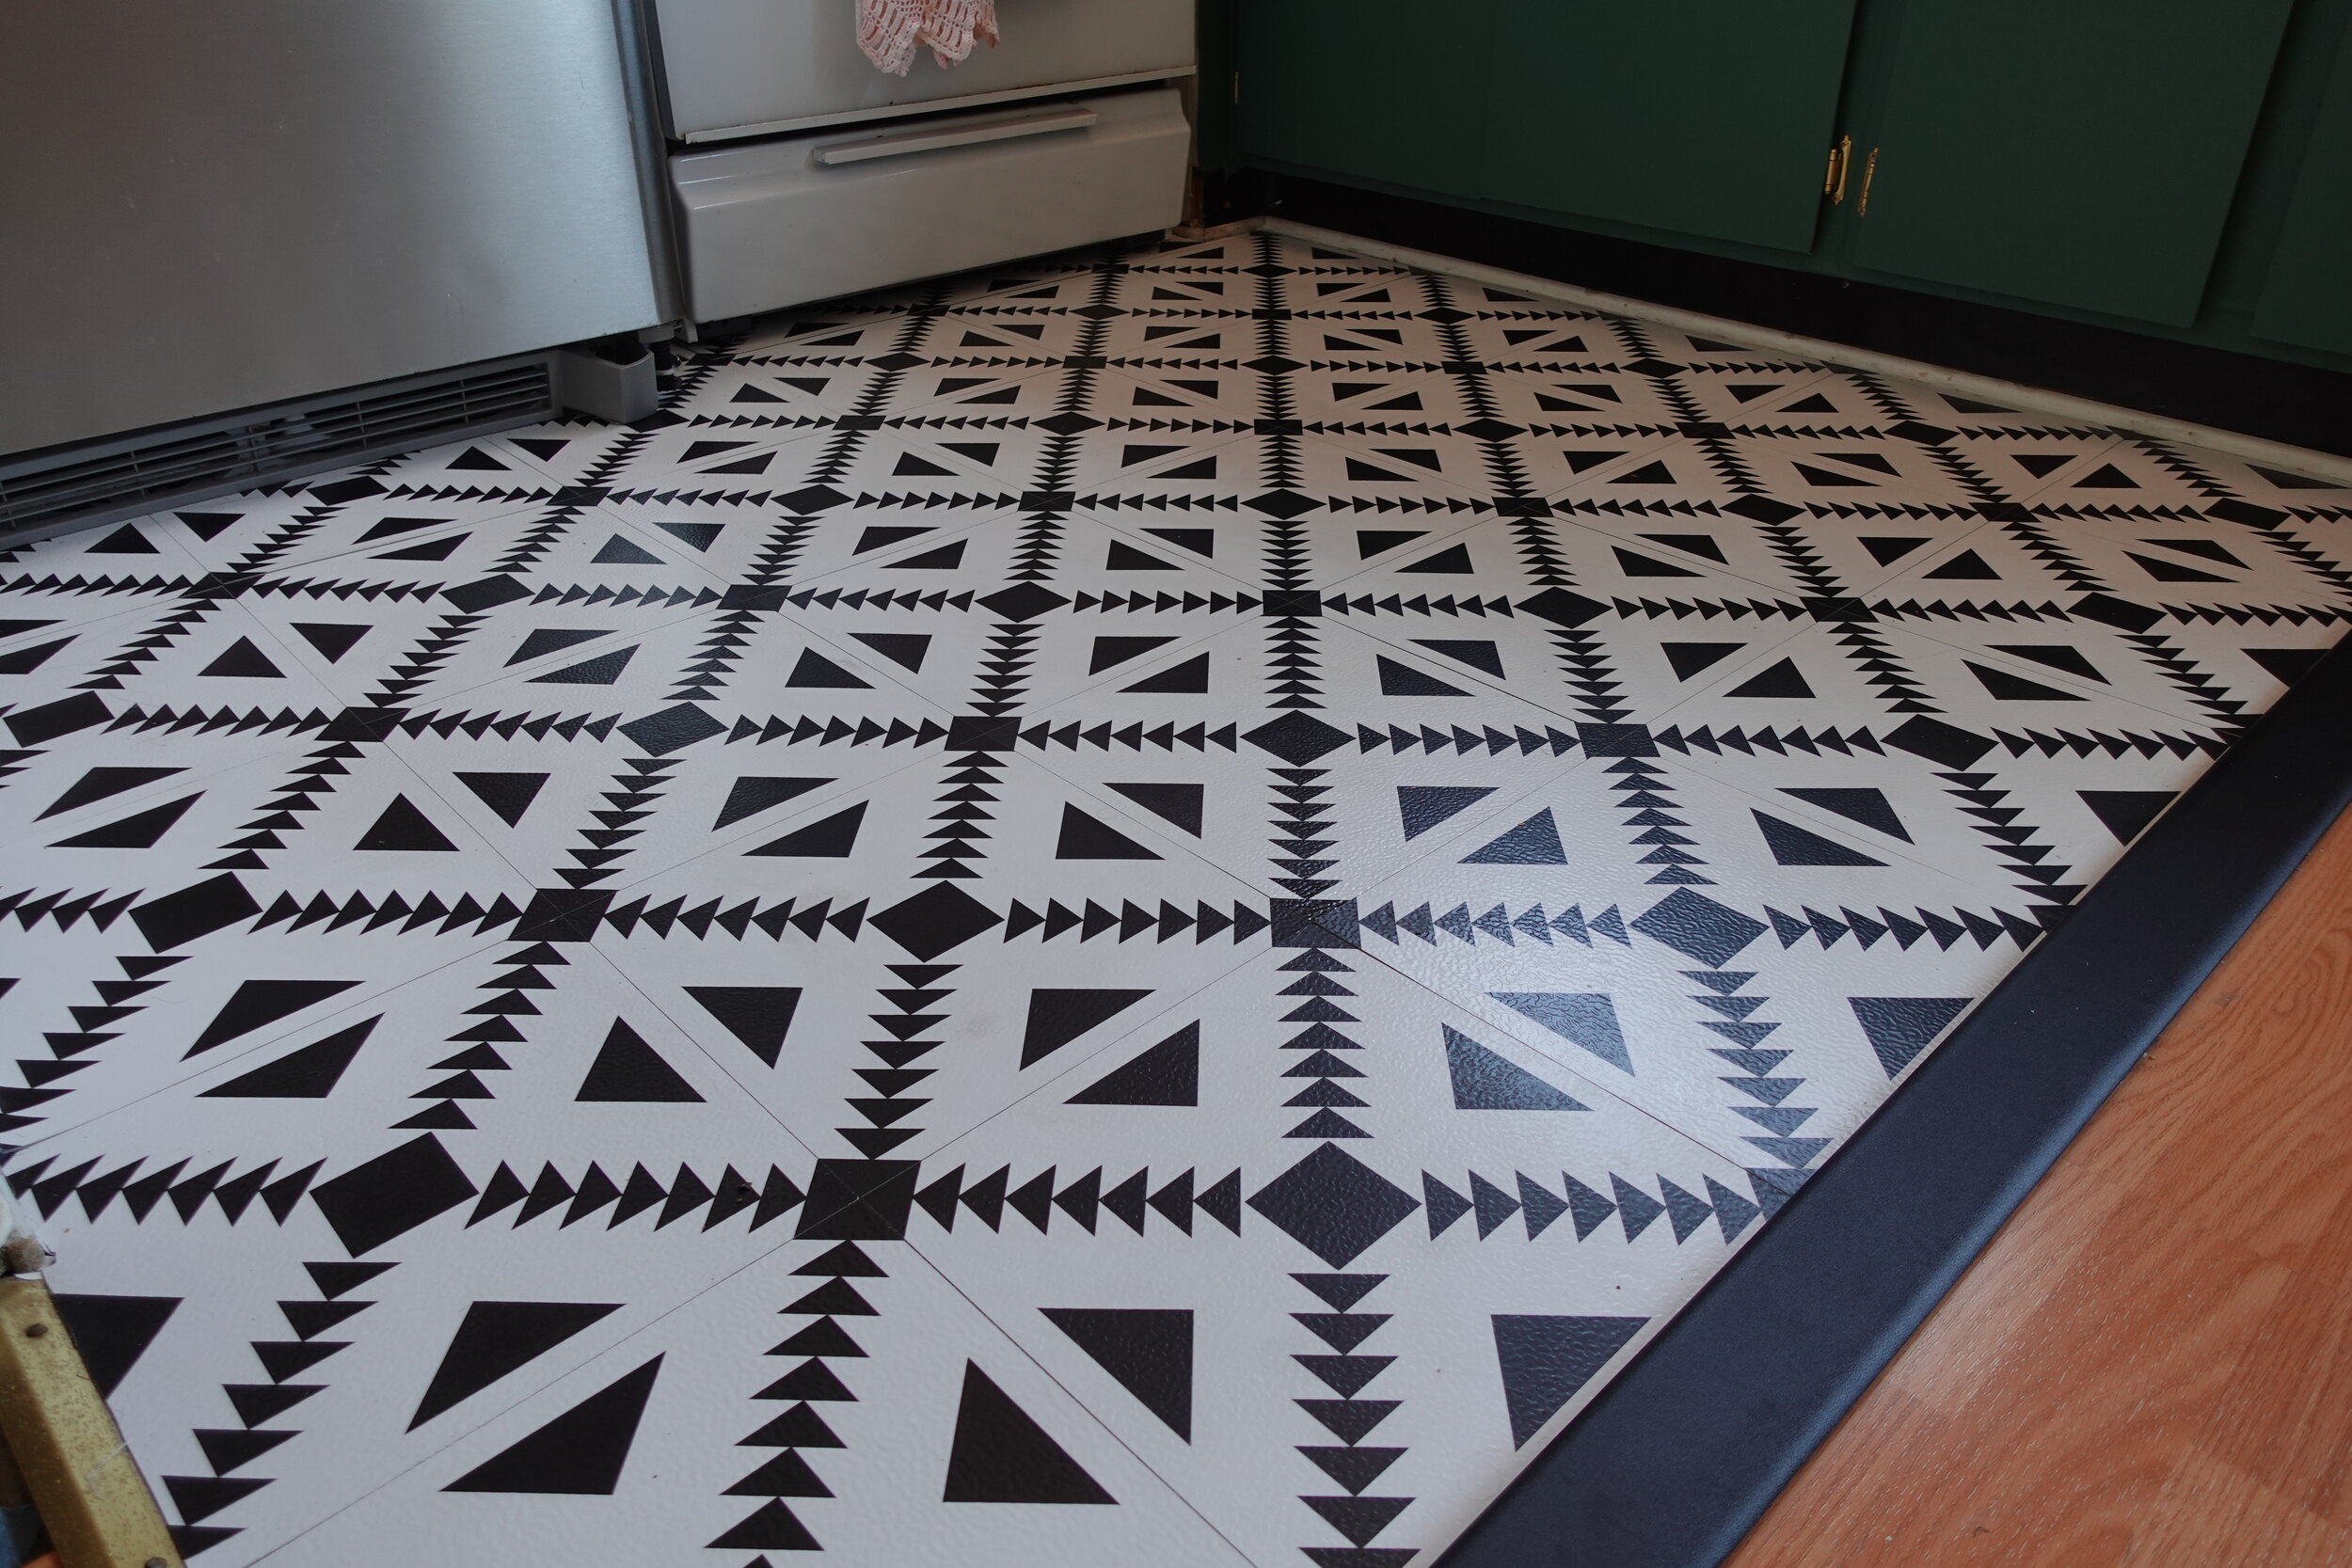
STEP 4: Add floor tiles.
I am clinically allergic to brown linoleum, which I also have in my current apartment. In searching for a fix for myself, I discovered the world of peel-and-stick floor tile. (Here’s how I tackled mine.) You have a few options here, and they are easy AF to install. We went with Wallpops peel-and-stick floor tiles in the beautiful Parla geometric pattern. Their adhesive is very strong/effective (you can also use them in the bathroom since they’re that strong/waterproof). Note: There is a debate as to whether these particular type of tiles are TRULY renter-friendly.
Some people have horror stories, spending hours trying to remove them.
Some people say it just takes a heat gun and little elbow grease.
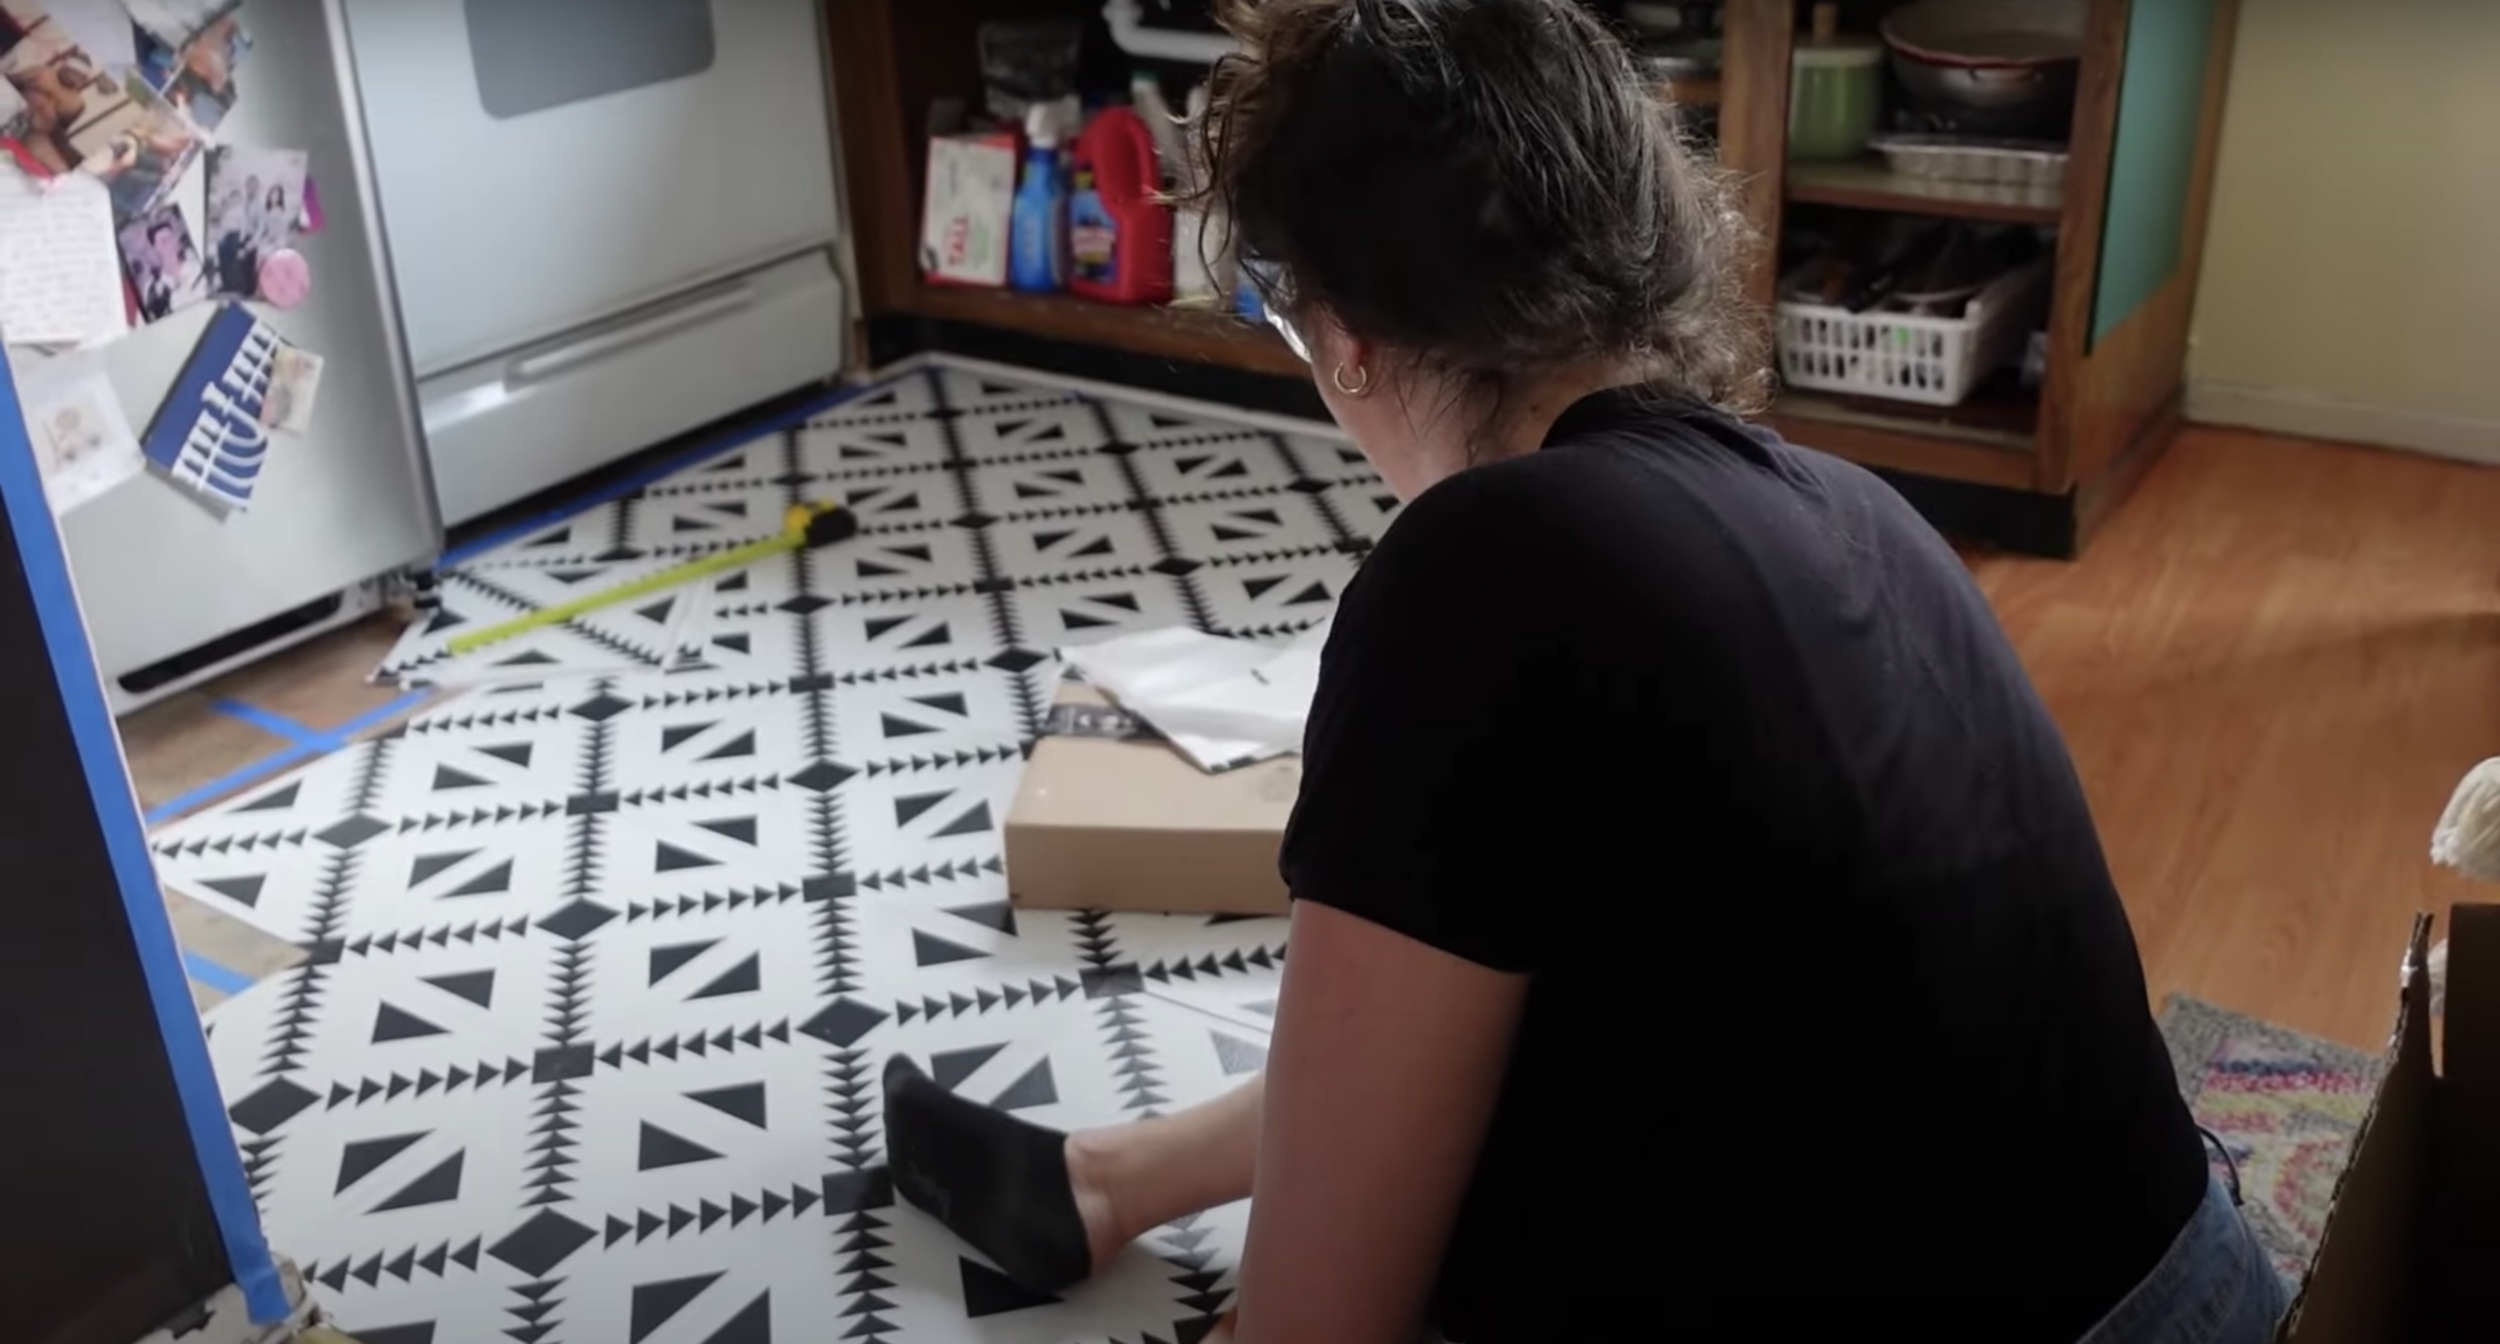
And some people are true geniuses who know how to do a little something now to save your sanity later. I wanted to be one of those people, so we first gridded the floor with painter’s tape. I’ve seen people tape their whole floor, then put the tiles on top of them. (Genius, but very tedious.) We did a quickie grid to make it easier to get them up/minimize clean-up time. I would probably do even more if I were to do it again. Also, a subscriber told me she put poster board down over her floor, leaving an uncovered edge, then put the tiles on top of that. That way it had enough to stick to but was super easy to remove. BRILLIANT!
Other than that prep work, they are super easy to install. You just peel and stick, and trim around any cabinets, fridges, or whatever. (OK, Rach did have a meltdown installing them, but it’s highly entertaining to watch.)
After that, we did a little light styling, cleared up some clutter, and that was it.
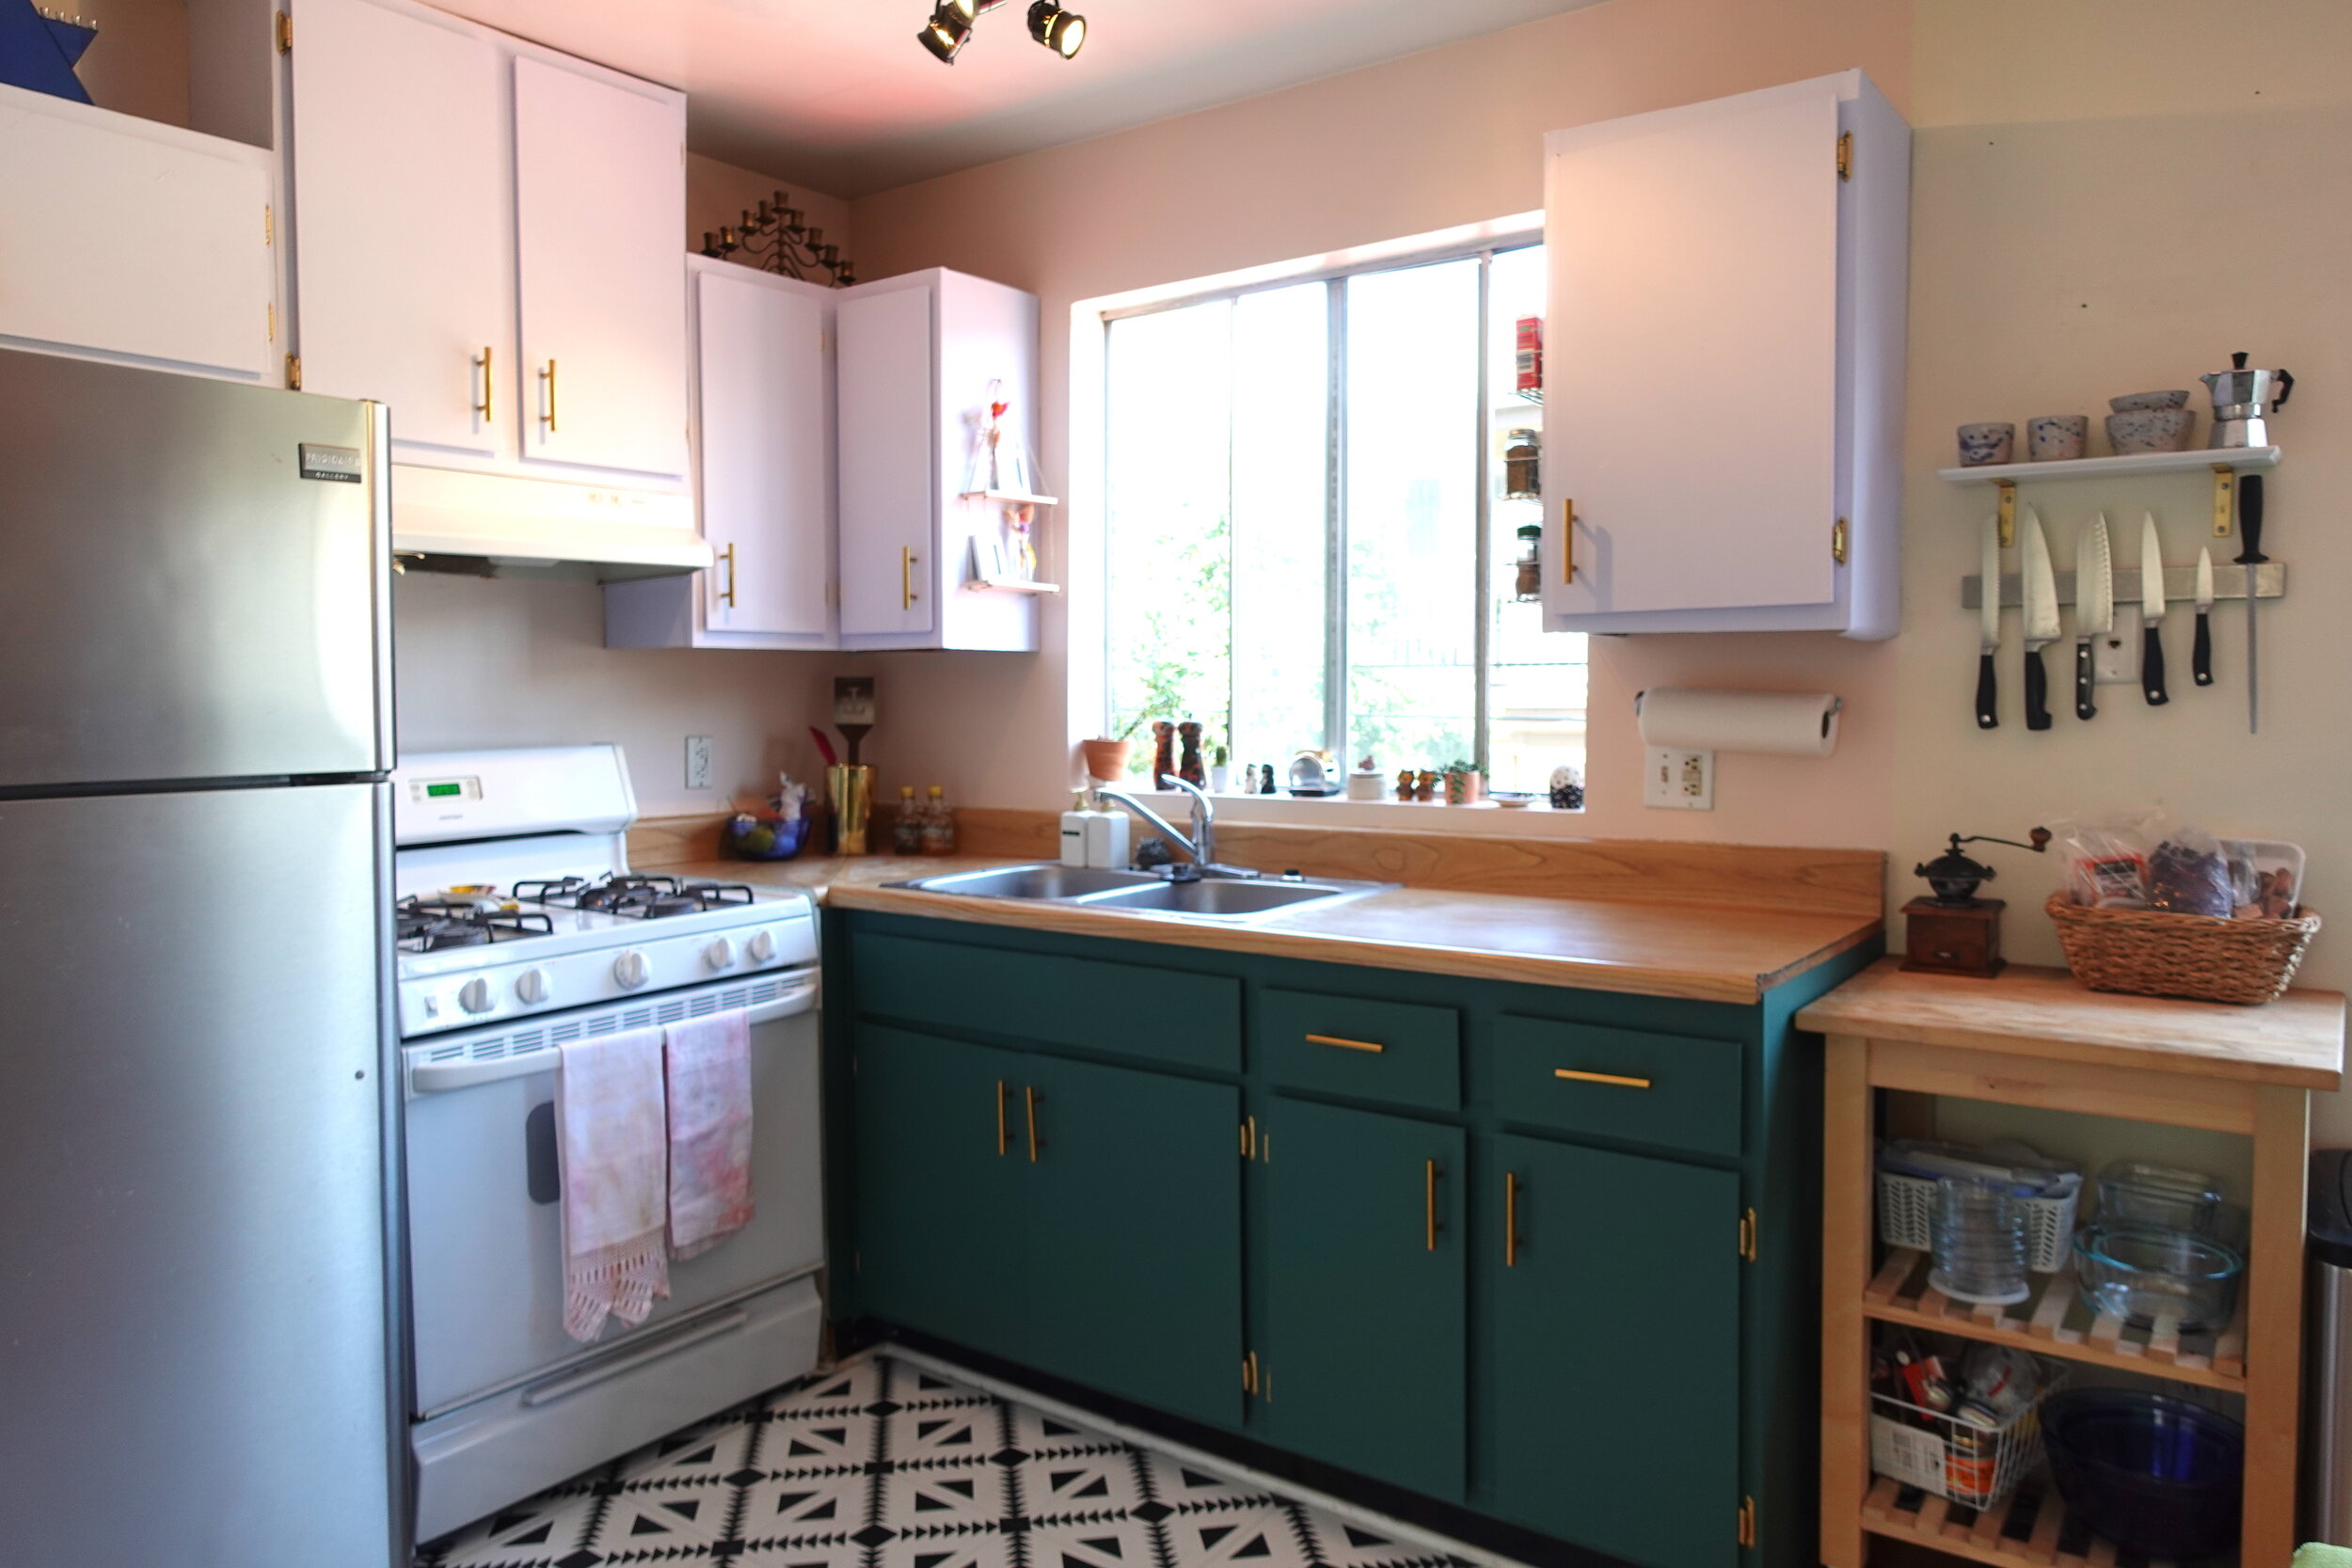
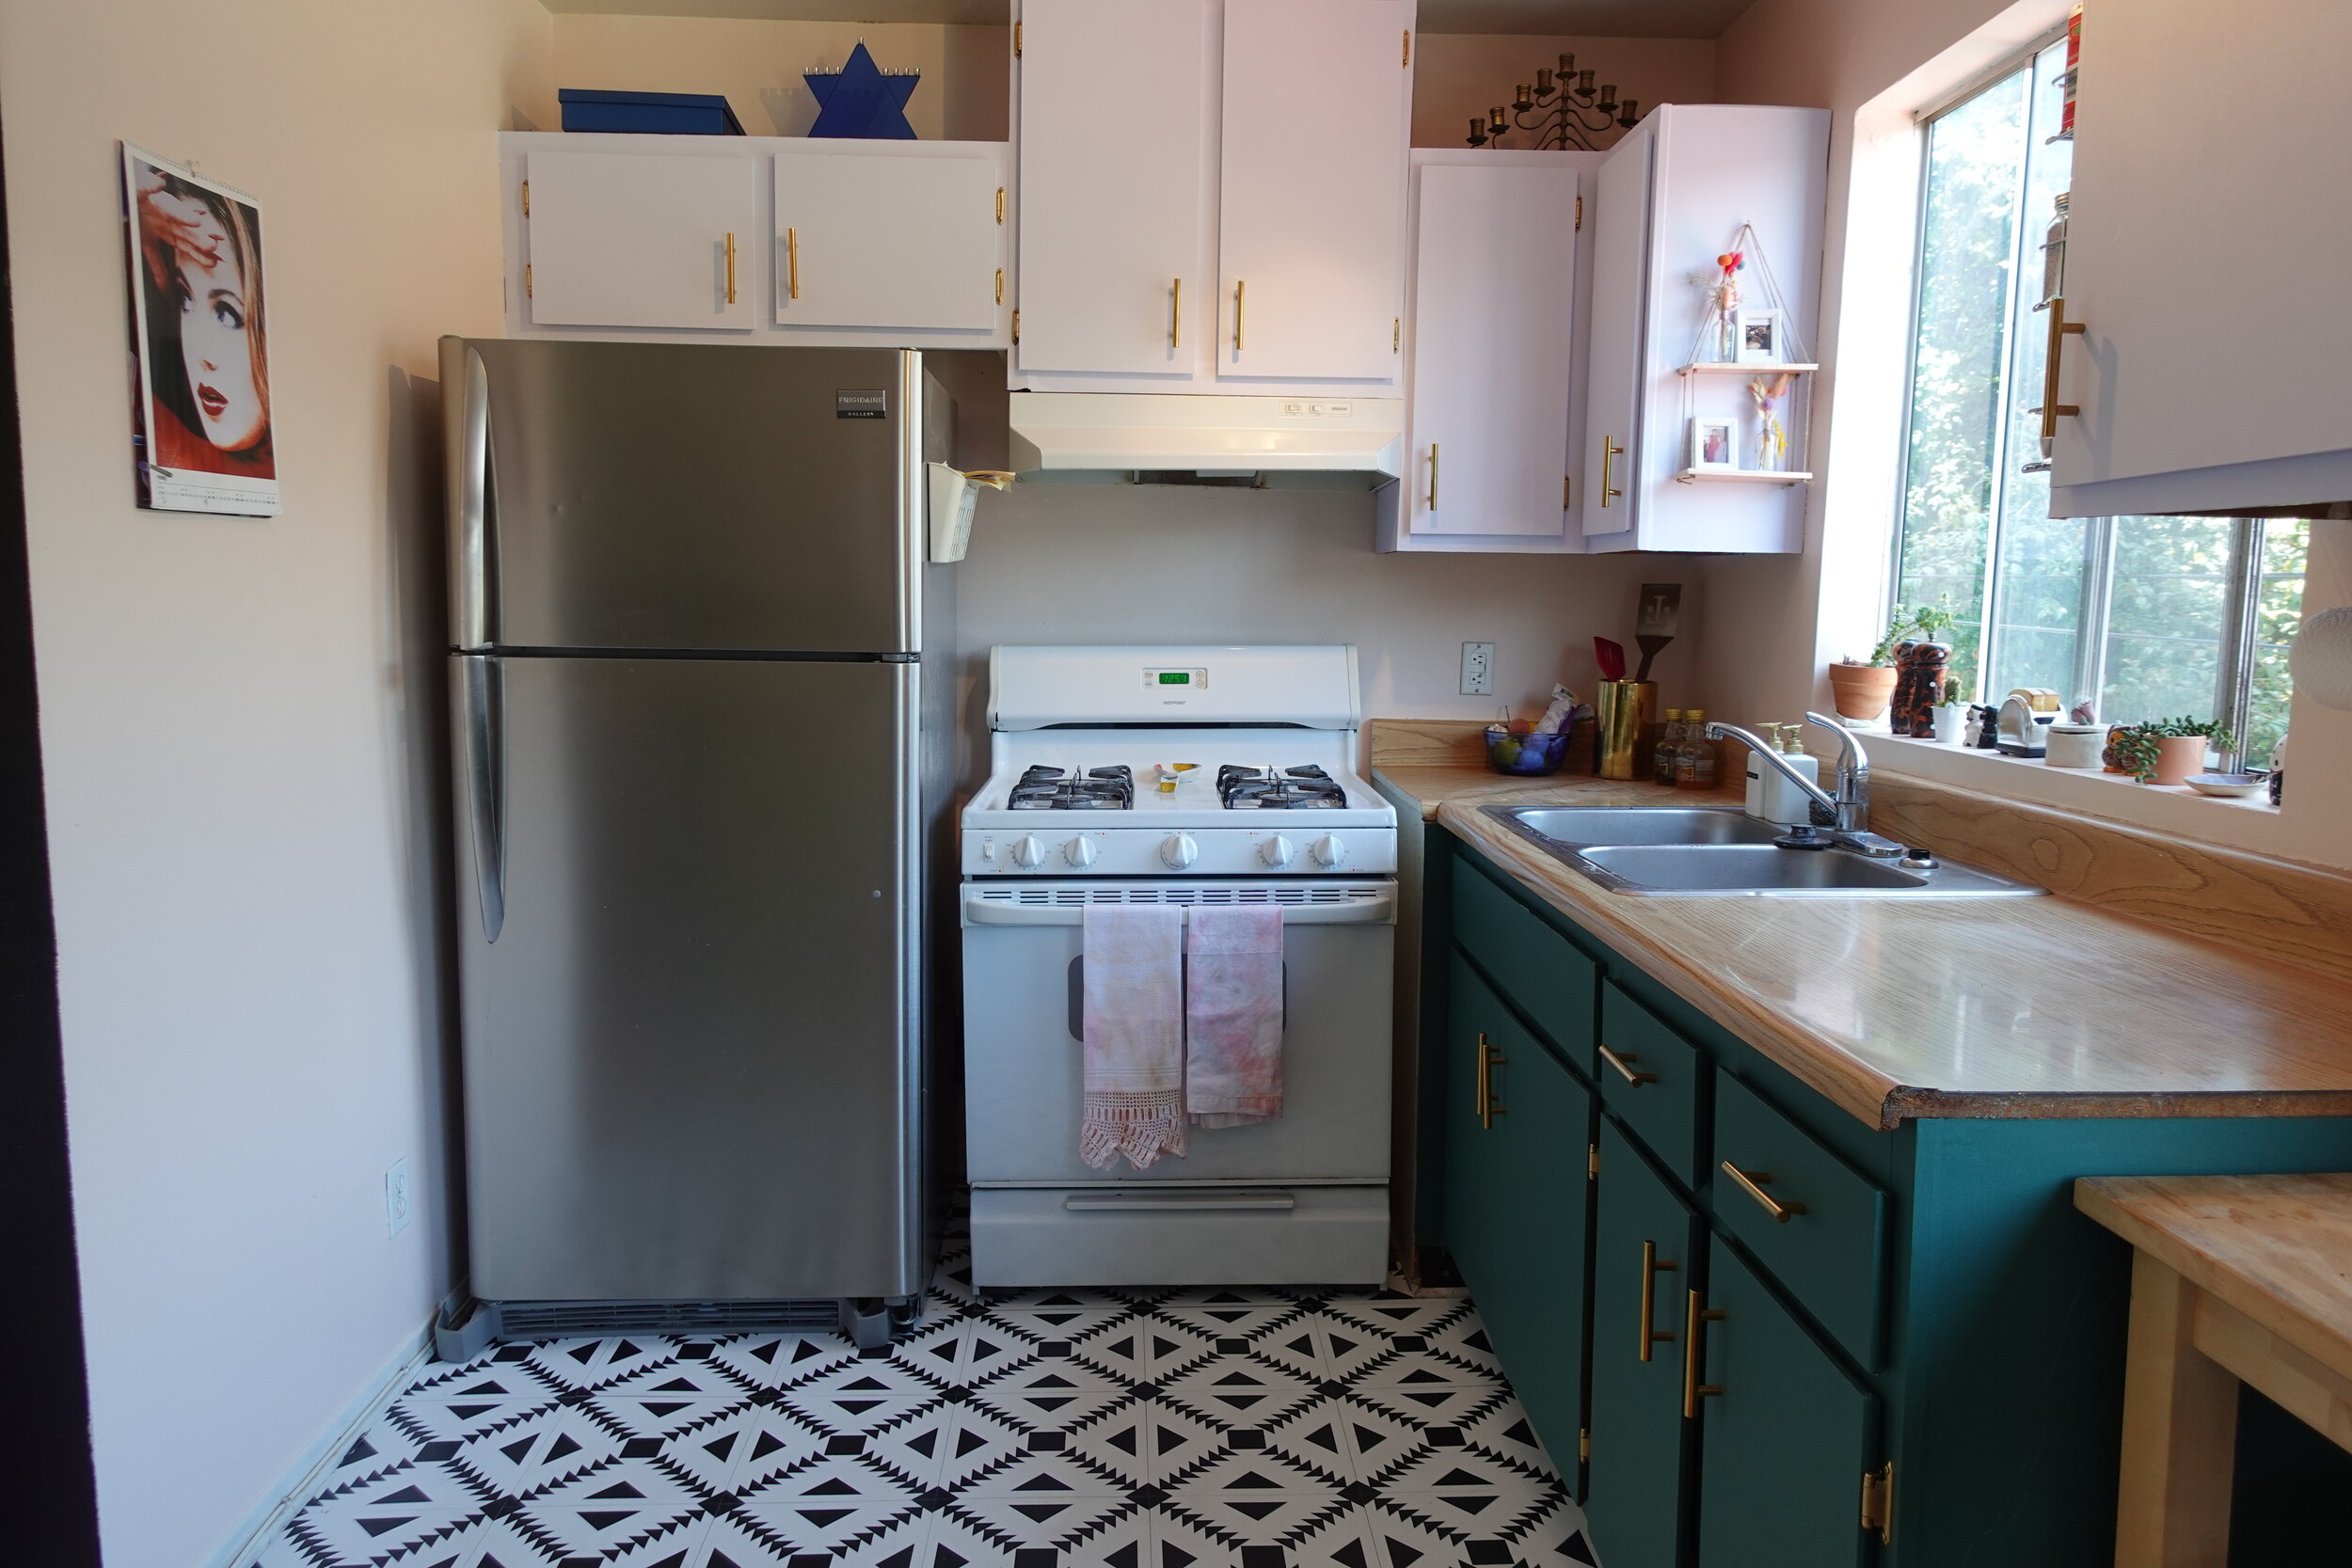
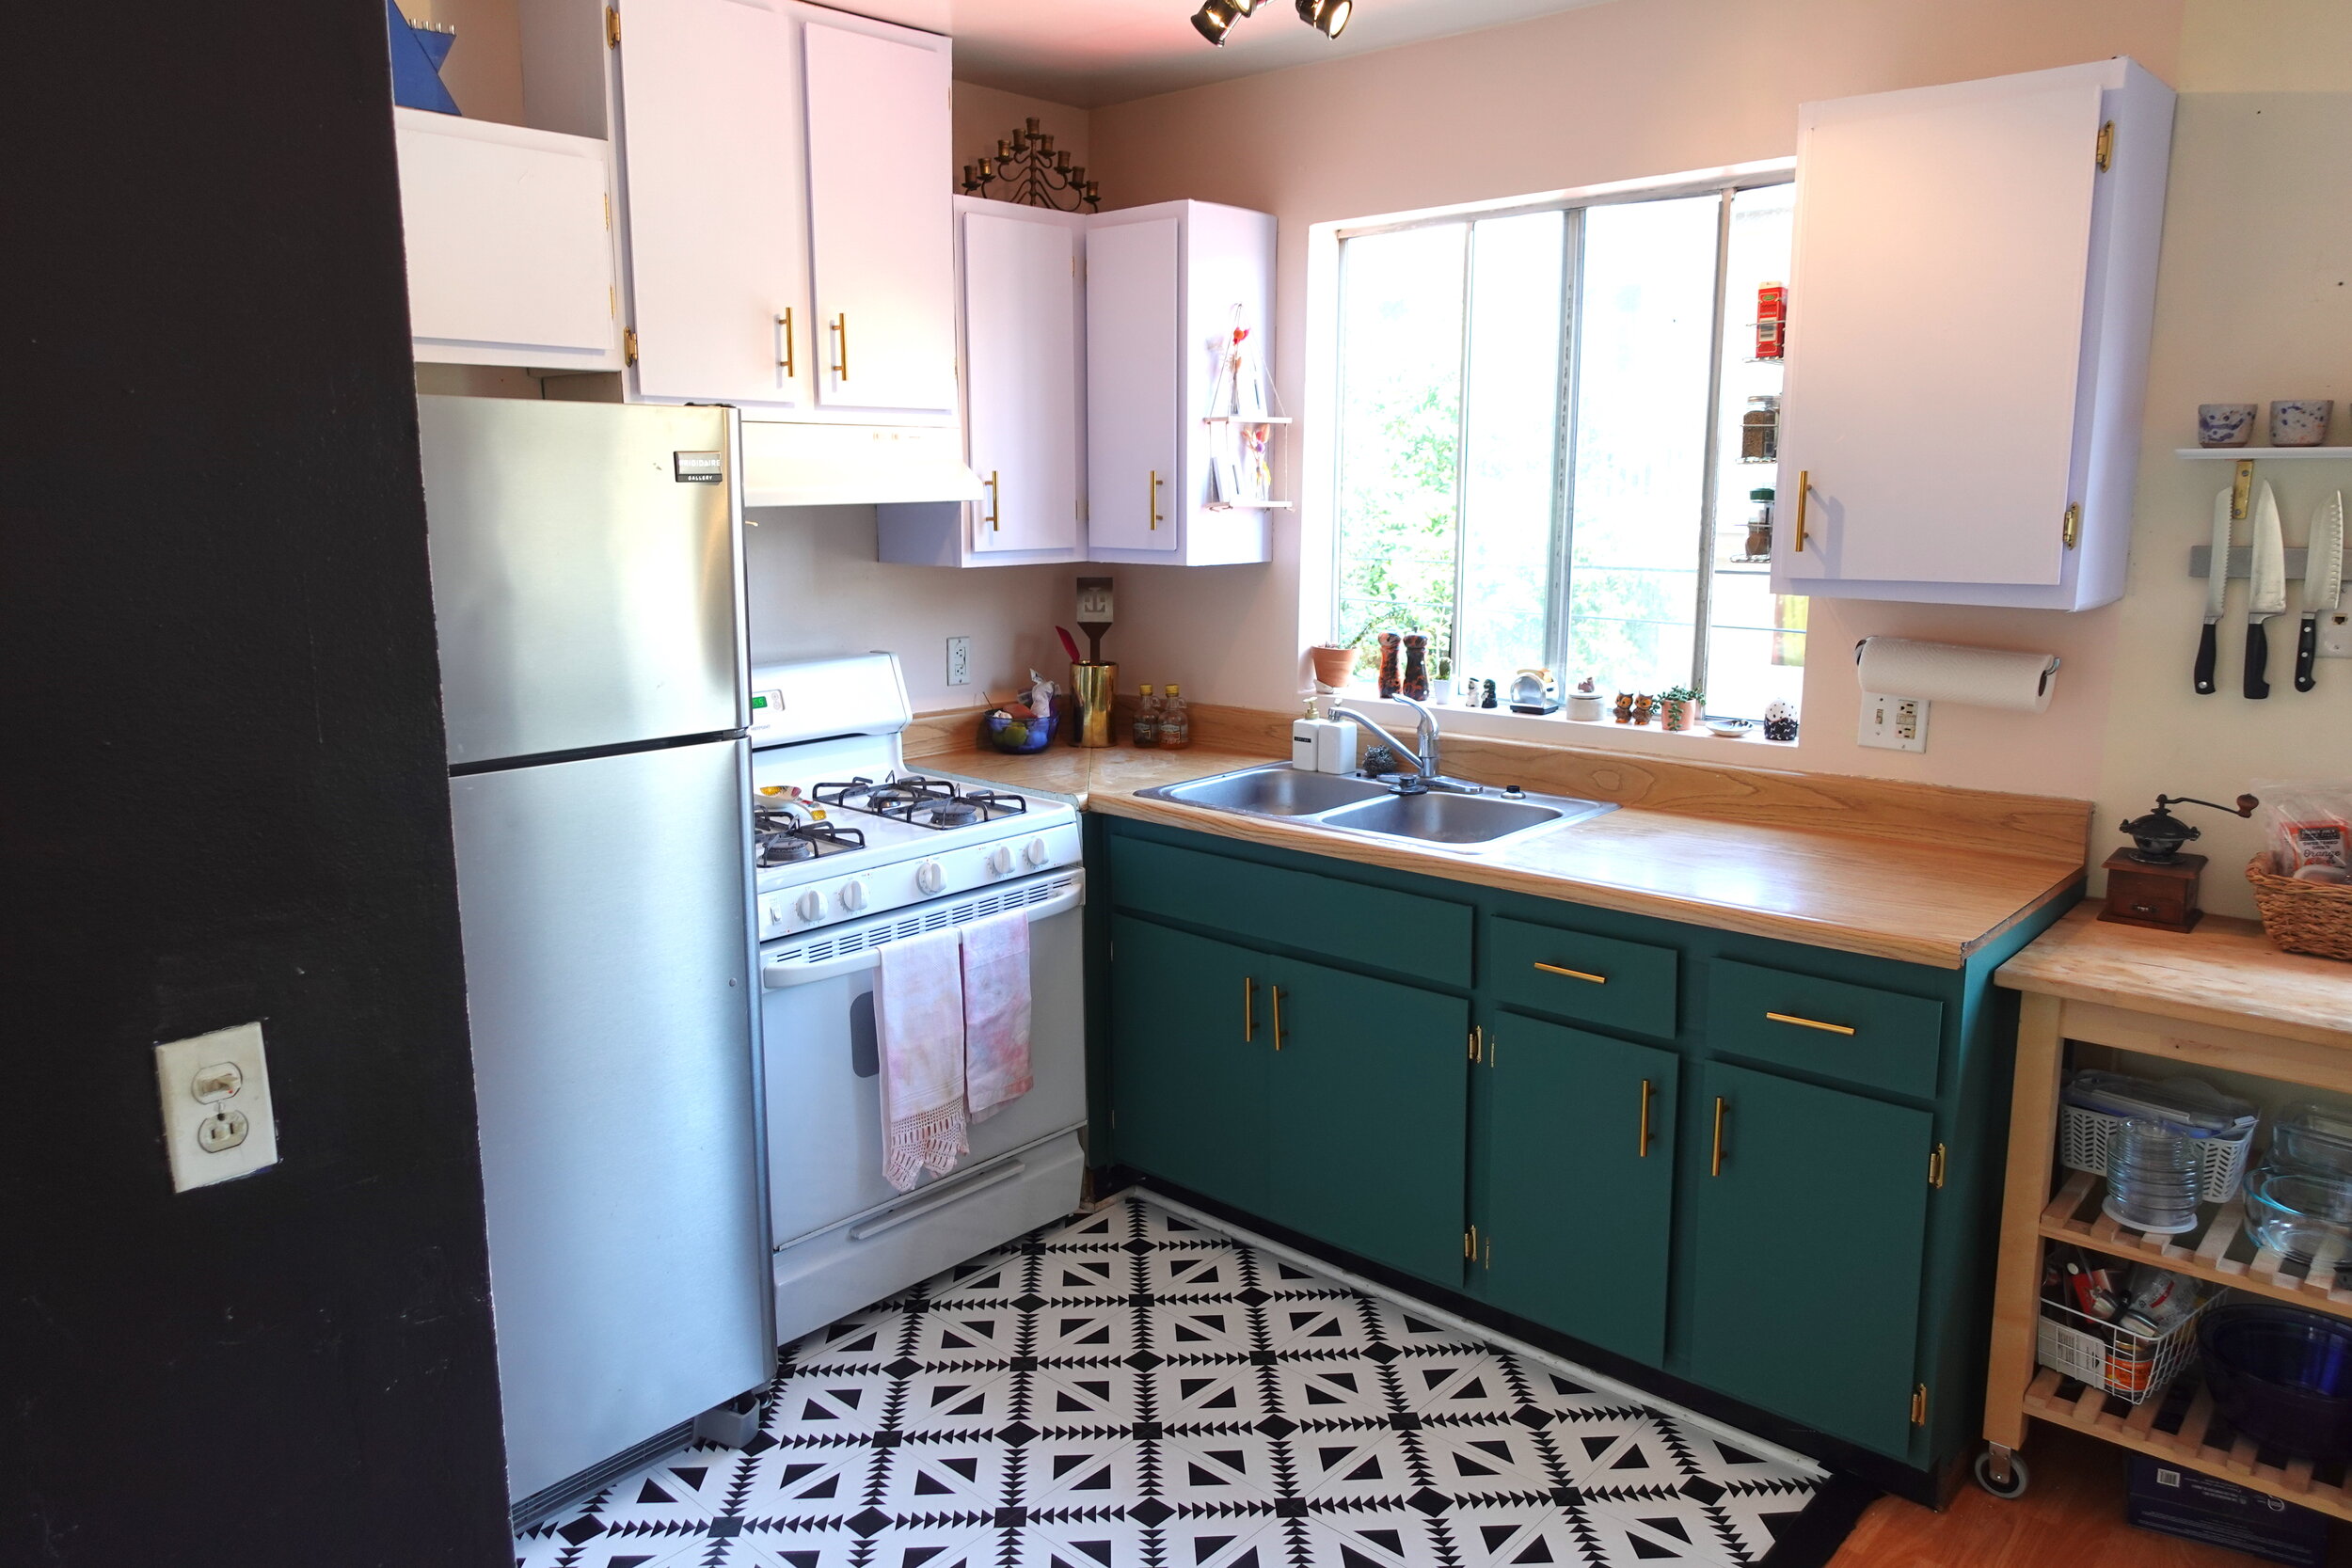
THE REVEAL
TBH, this transformation was pretty incredible. And the shocking total? $149 (minus any tools). I’m sorry the title of this post says $150. You know we love a clickbait headline.


Again, if you want to see the magic happen in real-time, watch the full episode and like & subscribe to Laugh Cry DIY on YouTube. Oh, and if this inspires you to try this in your own place, share before/after pics with me on the @LaughCryDIY Instagram! Otherwise, you can see more projects below.
✌️—Katy
⬇ I KNOW YOU WANT MORE ⬇


